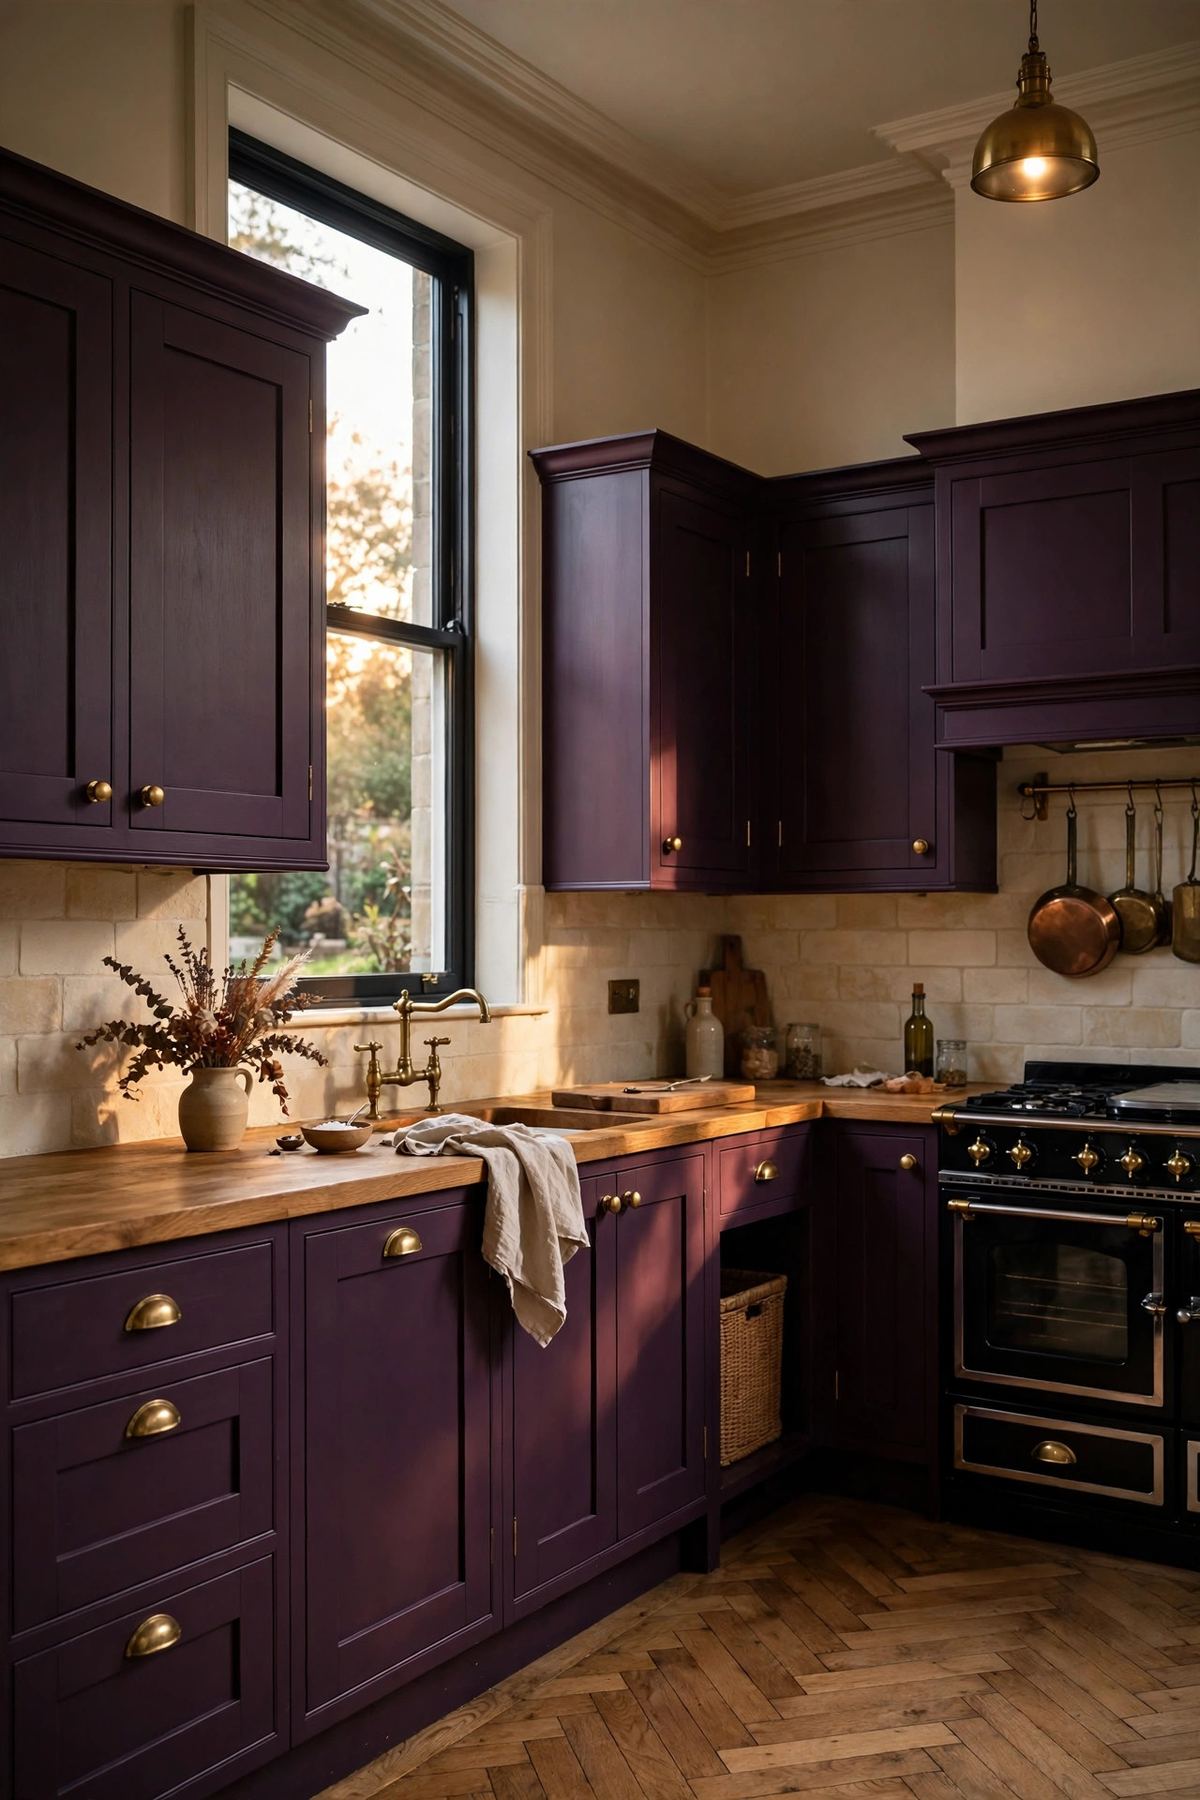
New kitchen cabinets can cost thousands of dollars, but a can of navy paint can give you the same dramatic transformation for under $150. Painted navy kitchen cabinets are one of the most impactful budget makeovers in home decor: the deep blue reads as both classic and current, hides everyday wear far better than white, and pairs beautifully with brass hardware and butcher-block or white countertops.
This is a genuinely doable weekend project. With the right prep and the right paint, you can take tired oak or dated white cabinets to rich, moody navy in two days. Below is the complete step-by-step process, including exactly what to buy, which paints actually hold up on cabinets, and a full budget breakdown.
Why Navy Cabinets Work in Almost Any Kitchen
Navy sits in the sweet spot between bold and timeless. It is dark enough to feel dramatic and custom, but it is still a classic color that will not look dated in five years. Navy cabinets ground a kitchen visually, which makes the room feel more expensive and intentional. They also pair with nearly everything: white subway tile, marble-look counters, warm wood floors, stainless appliances, and especially unlacquered brass or matte black hardware.
From a practical standpoint, navy is forgiving. It hides fingerprints, smudges, and the small dings of daily kitchen life far better than white or cream cabinets. If your cabinets are structurally sound but stylistically tired, paint is almost always the smarter move than replacement.
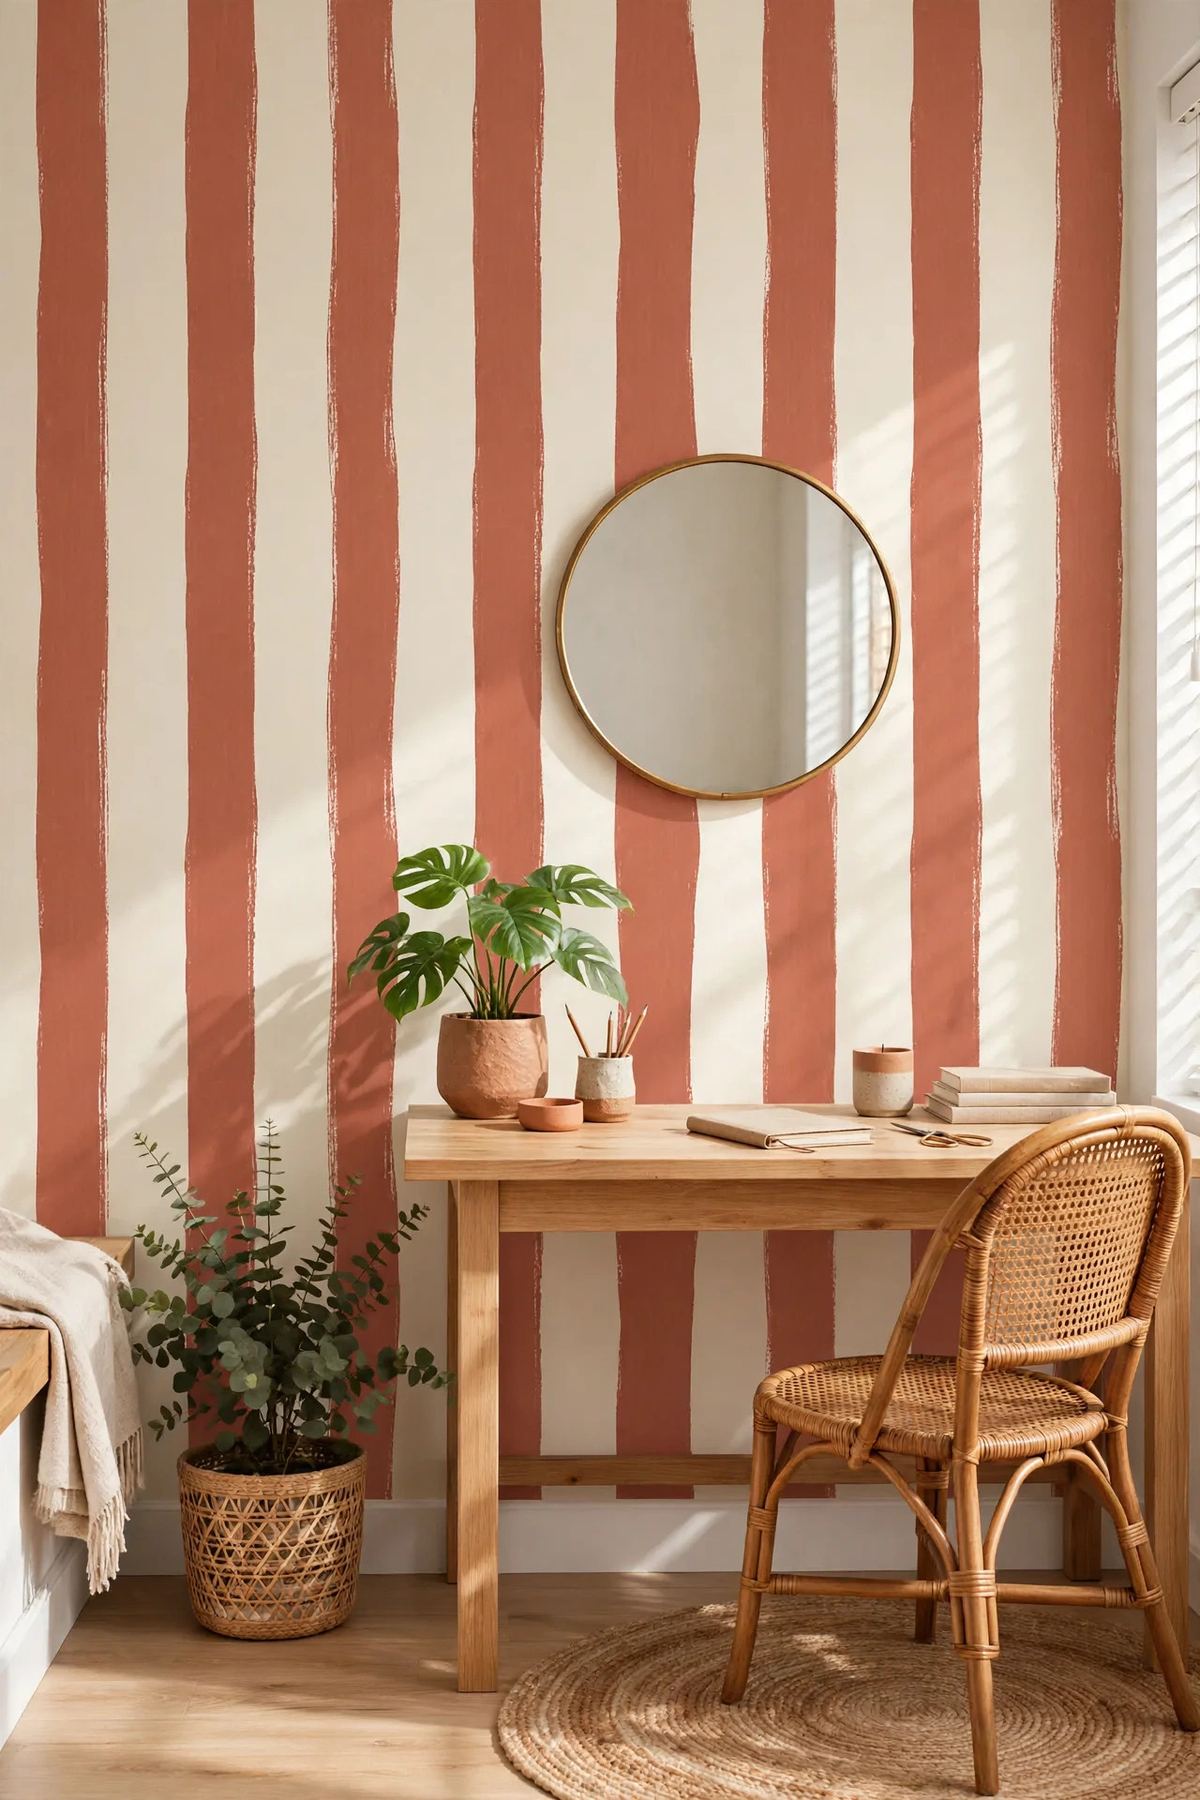
Love bold color? These accent wall paint ideas bring the same drama to living spaces.
What You Will Need: Full Budget Breakdown
Here is everything for an average 10x10 kitchen with around 20 cabinet doors and drawer fronts. Total cost: roughly $120 to $150.
Deglosser or liquid sandpaper ($12), 120- and 220-grit sandpaper plus a sanding sponge ($10), high-adhesion bonding primer, one gallon ($28), cabinet-grade enamel paint in navy, one gallon ($45 to $55), a high-density foam roller set and quality angled brush ($18), painter's tape, tack cloths, and drop cloths ($15), and new hardware if you want it, basic brass bar pulls run about $2 to $3 each ($40 to $60 for a full kitchen, optional but transformative).
The single most important purchase is the paint itself. Do not use standard wall paint on cabinets. You need a cabinet-grade enamel, either acrylic-alkyd or urethane-alkyd, which levels smooth and cures to a hard, scrubbable finish. Cheap paint on cabinets chips within months; the right enamel lasts for years.
Prep: The Step Nobody Should Skip
Prep is about 70 percent of a successful cabinet paint job, and it is the step most people rush. Start by removing every door, drawer front, and piece of hardware. Label each door on the back with painter's tape so you know exactly where it goes back. Numbering saves hours of frustration on reassembly day.
Clean everything with a degreasing cleaner, especially around the stove where cooking grease builds up invisibly. Paint will not stick to grease, and skipping this step is the number one cause of peeling cabinet paint. After cleaning, scuff-sand every surface with 120-grit sandpaper. You are not trying to strip the old finish, just roughing it up so the primer can grip. Follow with a wipe-down using a tack cloth to remove every speck of dust.
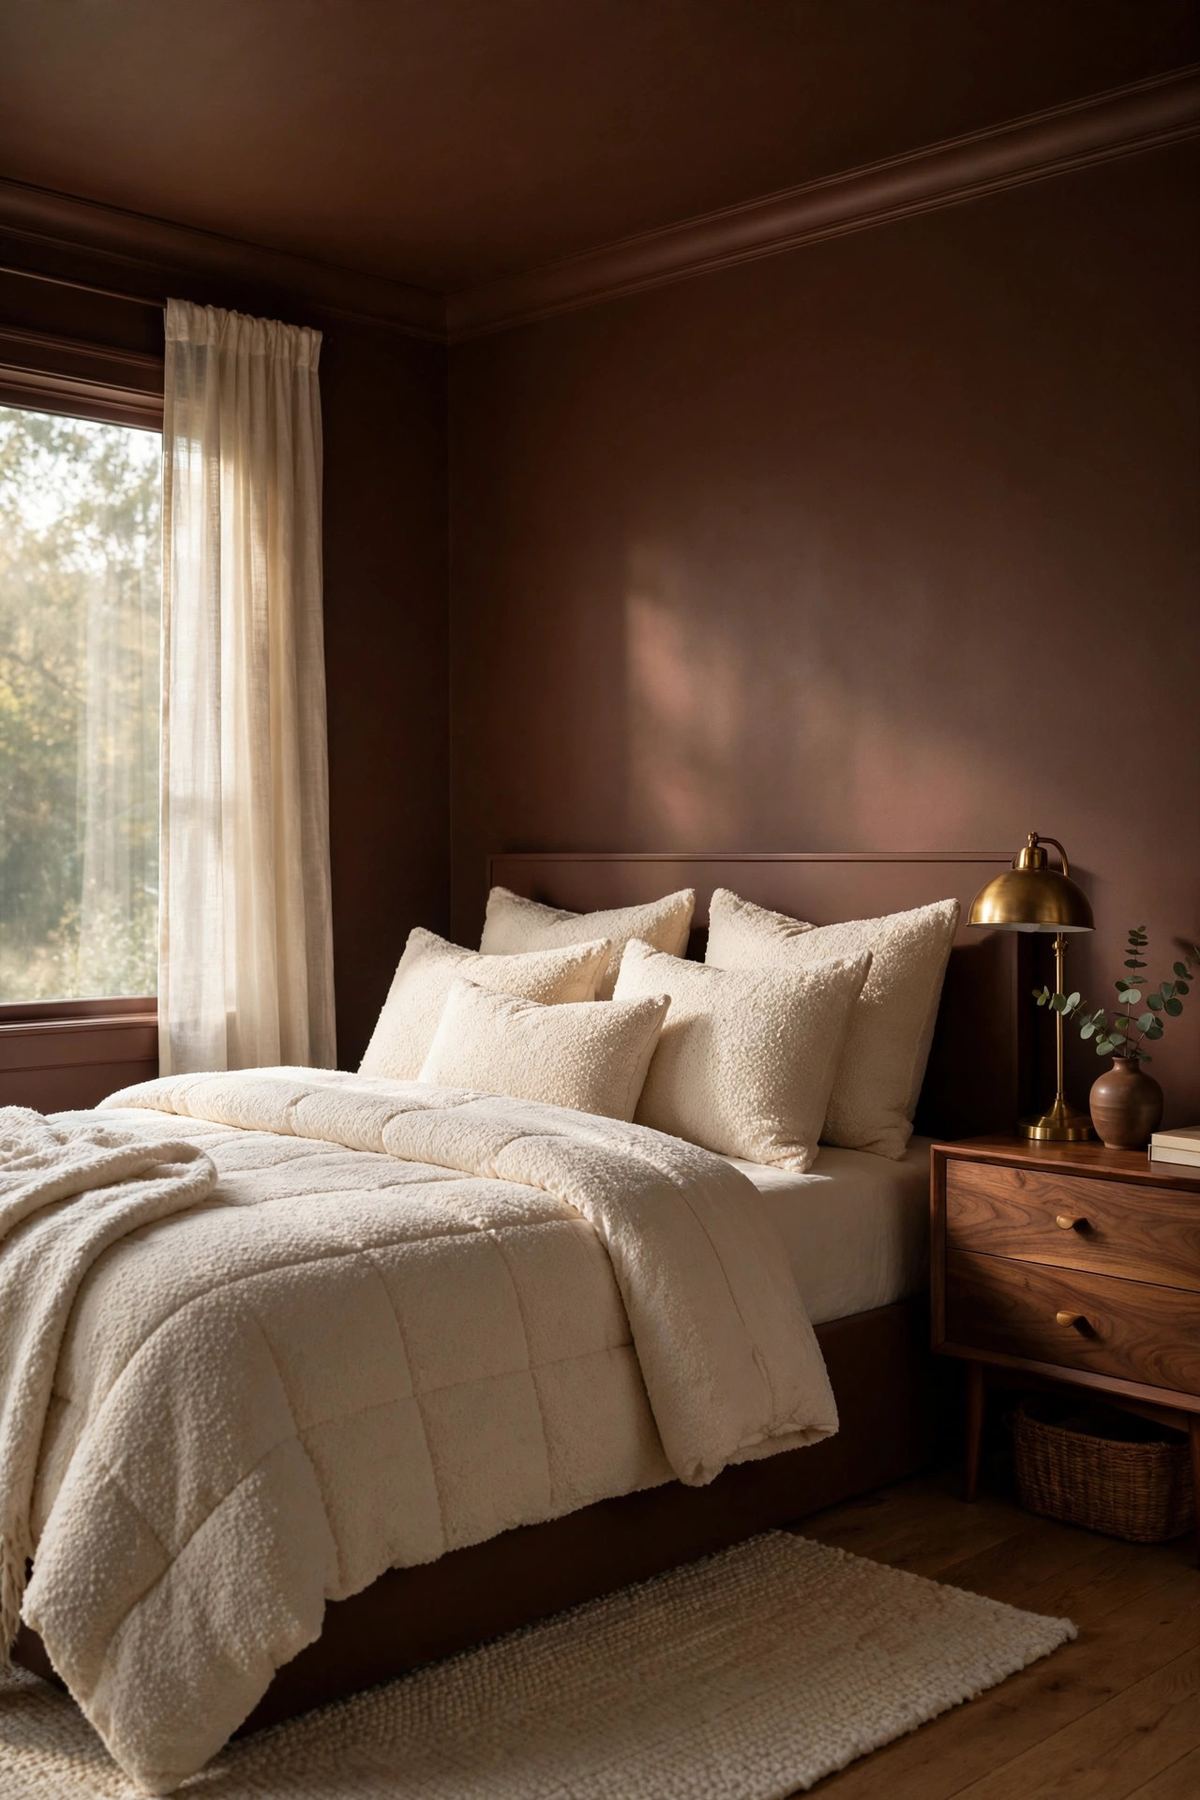
Warm up the rest of your home with the best brown bedroom paint colors.
Choosing the Right Navy Paint
Not all navies are equal. The best kitchen cabinet navies have enough depth to read as true navy rather than black or bright blue. Look for shades with subtle green or gray undertones, which keep the color sophisticated in changing light. Classic choices in this family include deep maritime navy, inky midnight blue, and slate-leaning navy.
Always test your navy in your own kitchen before committing. Paint a large swatch on poster board and prop it against your cabinets. Check it in morning light, afternoon light, and under your kitchen's artificial lighting at night. Navy can shift dramatically: a shade that looks perfect at noon can read almost black under warm evening bulbs. If your kitchen gets limited natural light, lean toward a slightly brighter navy so the room does not feel too dark.
Step-by-Step: Painting Weekend Schedule
Saturday morning: remove, label, clean, and scuff-sand everything. Apply one coat of bonding primer to all doors, drawer fronts, and cabinet frames. Let it dry the full recommended time, usually 2 to 4 hours, then lightly sand with 220-grit and wipe clean. Saturday afternoon: apply your first coat of navy enamel with a foam roller for flat areas and an angled brush for details and edges. Work in thin, even coats; thick coats drip and take forever to cure.
Sunday morning: lightly sand with 220-grit between coats, wipe with a tack cloth, and apply the second coat of navy. Most cabinet enamels need two full coats for even coverage, and navy over a light primer sometimes needs patience on the first coat. Sunday afternoon: let everything cure. Do not rush reassembly. While enamel feels dry to the touch in hours, it needs days to fully harden. Rehang doors gently after 24 hours, but treat them delicately for the first week and avoid slamming or heavy cleaning for 30 days while the paint fully cures.
More budget kitchen updates under $100 that punch above their price.
Finishing Touches: Hardware Makes the Makeover
If your budget allows one splurge, make it hardware. New pulls and knobs are the jewelry of the kitchen, and against navy cabinets the right hardware looks custom and expensive. Unlacquered brass bar pulls are the classic pairing, developing a beautiful patina over time. Matte black hardware gives a more modern, graphic look. Champagne bronze sits in between.
Measure your existing hole spacing before buying. If you are switching from knobs to pulls, you will need to drill new holes and fill the old ones with wood filler before priming. This is a small extra step during prep that makes an enormous visual difference. Finish the transformation by styling open shelves or counters simply: a wooden cutting board, a small plant, and clear containers let the navy cabinets be the star.