Every December, the same photo stops you mid-scroll: a Christmas tree that looks professionally styled, with ribbon flowing through the branches like it grew there. Then you glance at your own tree, where the ribbon is either a limp spiral or missing entirely. Here is the truth: designers do not have a magic touch. They have a method. And the best Christmas tree ribbon ideas are not about talent — they are about using the right ribbon, in the right amount, in the right order.
In this guide, you will learn exactly how to decorate a Christmas tree with ribbon like a pro: how much ribbon you actually need, the order that makes everything easier, and 7 Christmas tree ribbon ideas with step-by-step instructions you can copy tonight — plus the colors and textures designers are reaching for in 2026.
How Much Ribbon Do You Need?
Almost everyone buys too little ribbon. The reliable rule of thumb is 3 yards of ribbon per foot of tree height. A 7-foot tree needs about 21 yards, a 9-foot tree needs about 27 yards. Buy your ribbon in 10-yard rolls (the standard craft-store length), which makes the math easy:
- 4-foot tree: 12 yards — one 10-yard roll plus a little extra
- 6-foot tree: 18 yards — two 10-yard rolls
- 7-foot tree: 21 yards — two 10-yard rolls, plus one more if layering two colors
- 9-foot tree: 27 yards — three 10-yard rolls
If you are layering two ribbons (a trick I will show you in idea #6), double the total. And if this is your first year, buy one extra roll — beginners always use more ribbon while practicing the techniques. Wired-edge ribbon typically costs 8 to 15 dollars per 10-yard roll, so a fully ribboned 7-foot tree runs about 16 to 45 dollars in ribbon. That is the entire investment standing between your tree and the designer look.
Ribbon First, Ornaments Last: The Order That Works
The order of operations matters more than the technique. Professional tree decorators work in this exact sequence: fluff the branches, add the lights, add the ribbon, then add the ornaments last. Here is why: lights go first because the electrical layer should be buried deepest. Ribbon goes second because it establishes the color flow through the tree. Ornaments go last because they fill the gaps the ribbon leaves behind.
Most people do this backwards — they hang all their ornaments, then try to weave ribbon around them. That is how you end up with ribbon floating on the surface of the tree instead of woven through it. Put the ribbon on the bare lit tree, step back, and then place ornaments into the empty spaces. You will use fewer ornaments and the tree will look fuller, which is the entire point.
7 Christmas Tree Ribbon Ideas (Step by Step)
Every technique below works with wired-edge ribbon — the thin wire woven into the edges is what holds loops, bows, and waves in shape for the whole season. Unwired ribbon looks limp within days, so this is the one non-negotiable. Grab floral wire or pipe cleaners for anchoring, and you are set.
1. Vertical Cascade (the designer classic)
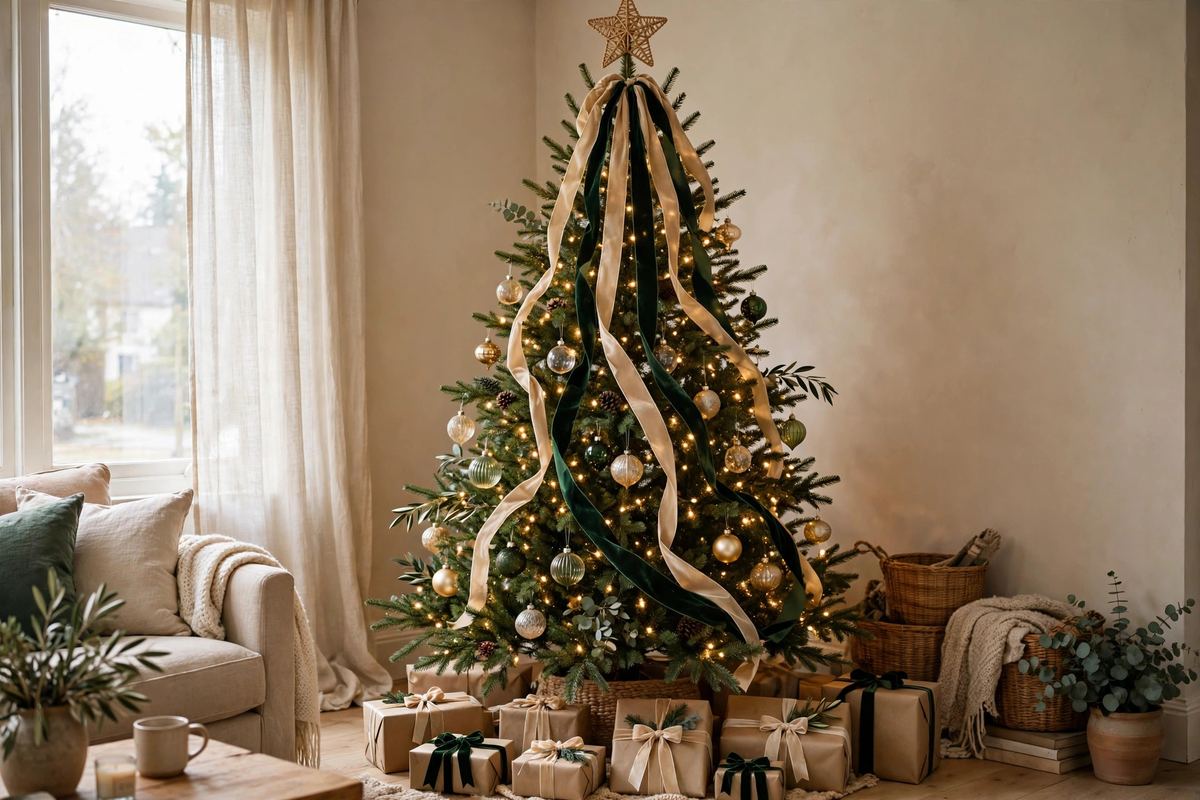
Cut strips of ribbon as long as your tree is tall, plus about 12 extra inches. Anchor the top of each strip near the tree topper with a piece of floral wire, hidden under a branch. Let the ribbon fall straight down, tucking it gently into the branches every 12 inches or so. Space the strips evenly around the tree — for a 7-foot tree, 8 to 10 strips looks full. This is the look in most designer showroom photos, and it is the easiest technique to get right on the first try.
2. Cascading Waves (soft and romantic)
Start like the vertical cascade, but instead of letting the ribbon fall straight, create a gentle dip between each tuck point. Wire the top, let the ribbon drape outward in a soft loop, tuck it into a branch 12 to 18 inches below, and repeat down the tree. The waves catch the light beautifully with satin or metallic ribbon, and this technique hides thin spots on artificial trees better than any other.
3. The Spiral Wrap (fast and foolproof)
Anchor the ribbon at the top of the tree and wrap it around the tree from top to bottom like a barber pole, spacing each pass 10 to 12 inches apart. Tuck the ribbon into the branches as you go so it looks woven in rather than laid on top. One continuous piece means no measuring — just keep one hand on the roll and walk around the tree. This is the fastest method here, taking about 15 minutes on a 7-foot tree.
4. Tuck-and-Poof Clusters (the 2026 bow trend)
Instead of long flowing ribbon, cut 18 to 24 inch strips, fold each one into a loop, and twist a piece of floral wire around the middle. Push the wire into a branch and fluff both sides of the loop so it looks like a small bow blooming out of the tree. Scatter 20 to 30 of these clusters evenly around the tree, staggering them like bricks. Designers are using this technique instead of a traditional tree topper this year — it reads modern, handmade, and expensive.
5. Bow Clusters Instead of a Topper
Tie 6 to 8 generous bows from wired ribbon — about 6 inches across each — and wire them into the upper third of the tree at different heights. Cluster three near the top and scatter the rest downward. This gives you the drama of a topper with movement and depth through the whole tree. Mix two ribbon textures (velvet plus satin, for example) for a layered look that photographs beautifully.
6. Layered Double Ribbon (the depth trick)
Run two ribbons in the same direction: a wide solid ribbon as the base layer (3 to 4 inches) with a narrower patterned or sheer ribbon (1 to 1.5 inches) centered on top of it. The two layers move together but read as one rich band of color with depth. Try champagne satin over forest green velvet, or gold mesh over burgundy velvet. This is how stylists make a tree look custom without spending custom money.
7. The Statement Topper Bow
Make one oversized bow — 10 to 12 inches across with long trailing tails — and wire it to the very top of the tree. Cut the tails at an angle or in a dovetail notch for a finished look, then let two long tails cascade down the front of the tree. Use the stiffest wired ribbon you can find; a floppy topper ruins the whole effect. One big bow plus the vertical cascade down the tree is the single most photographed Christmas tree formula on Pinterest. On a slim tree, size everything down: these pencil Christmas tree ideas for small spaces adapt every one of these ribbon techniques to narrow branches.
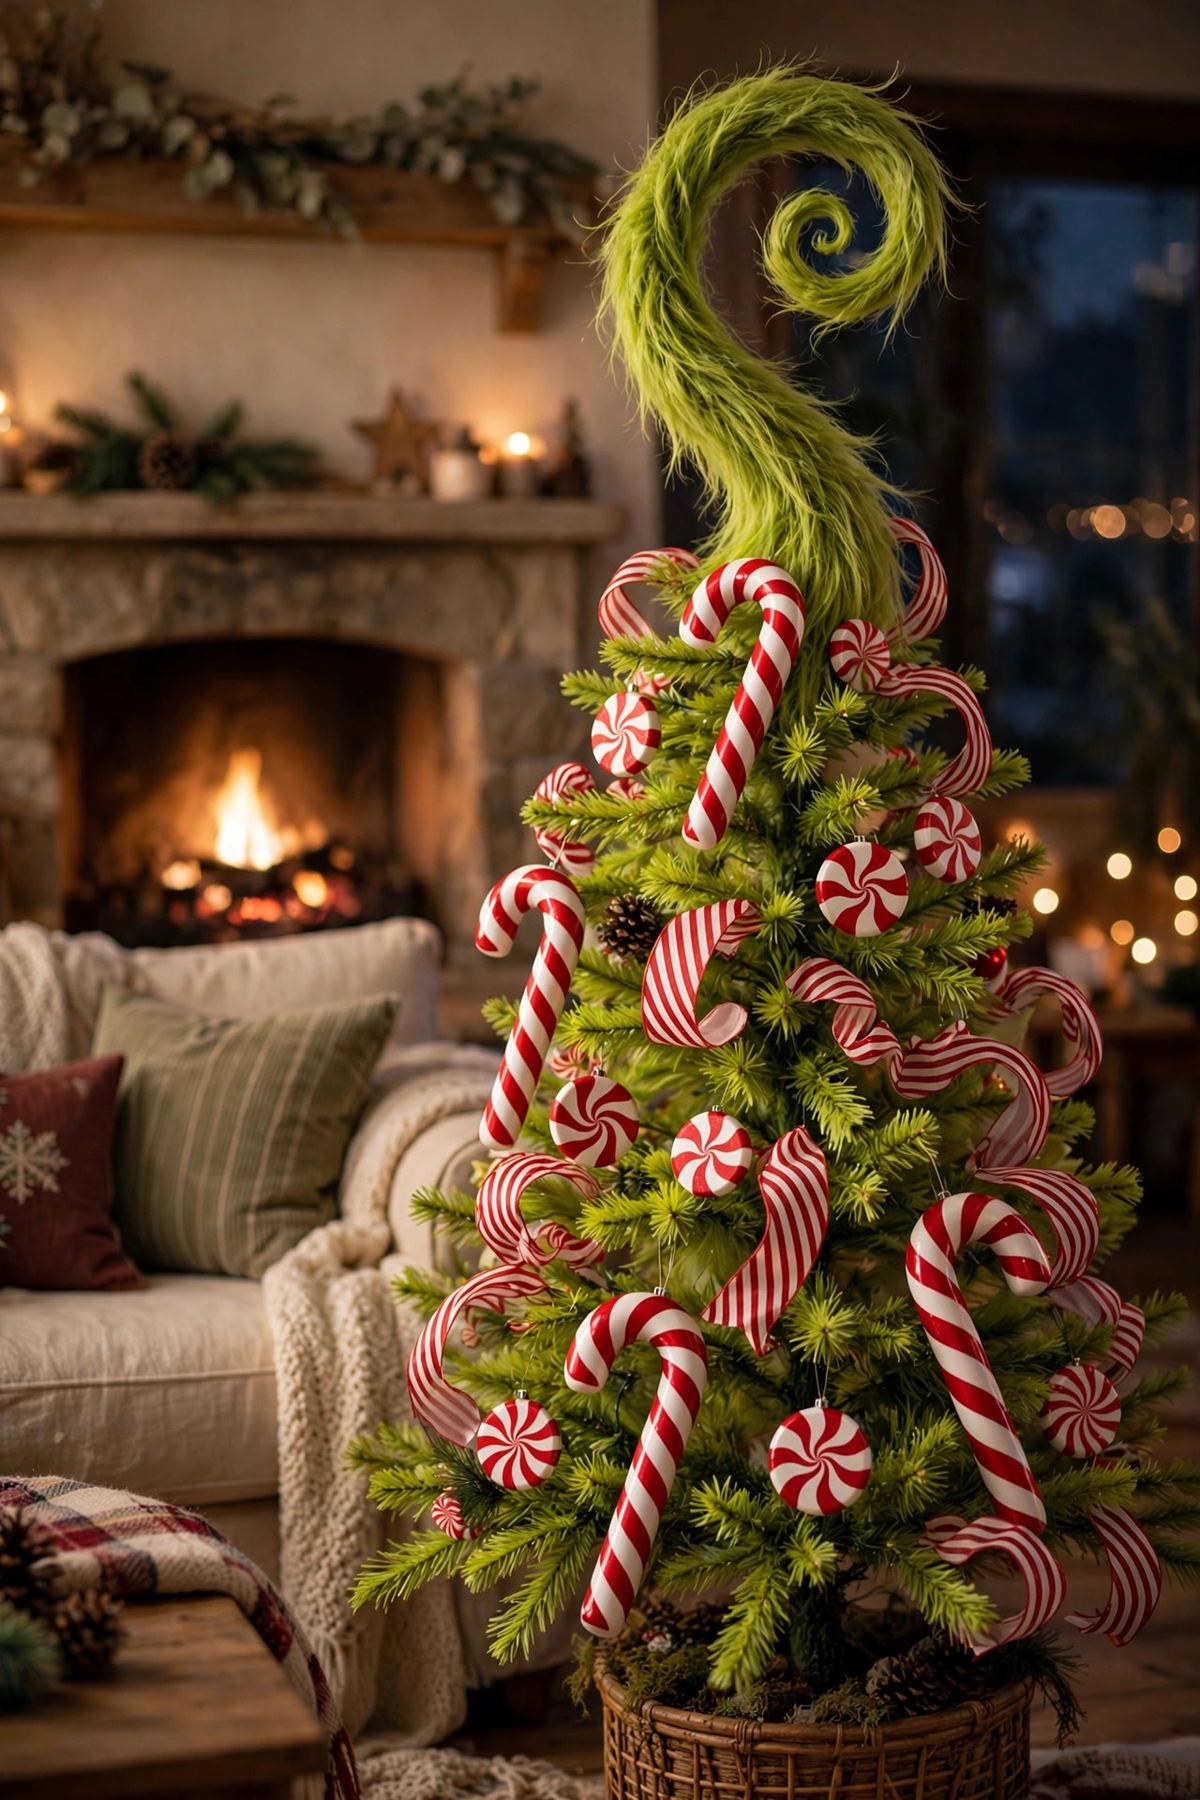
Once your ribbon is in place, ornaments become the easy part. If you are going for a playful theme this year, see how ribbon pairs with bold colors in these whimsical Grinchmas tree ideas — the same tuck-and-poof technique works perfectly with candy-cane colors.
2026 Ribbon Colors and Trends
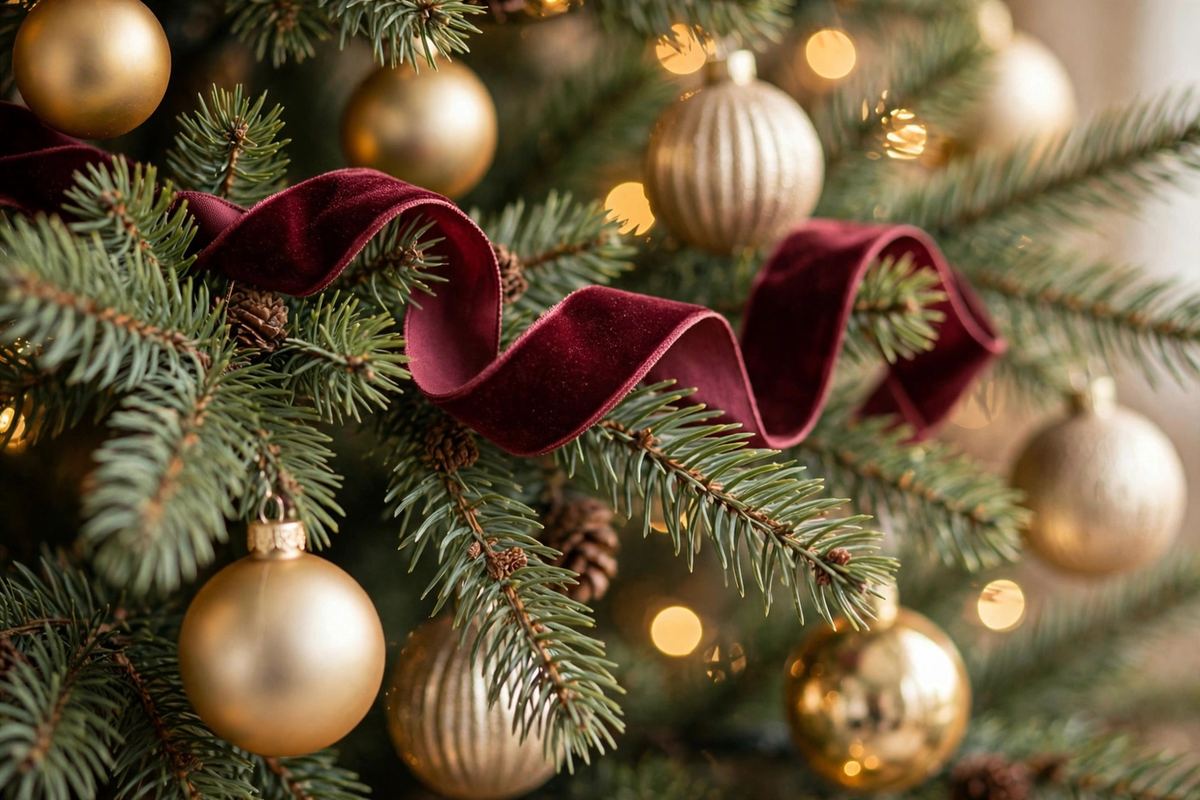
Velvet has officially dethroned satin. The matte texture of velvet ribbon photographs better, reads richer in person, and hides wrinkles — three reasons designers keep choosing it. The colors dominating this season: forest green, champagne, cinnamon, and burgundy. The move is mixing one jewel tone with one metallic — burgundy velvet with gold, forest green with champagne.
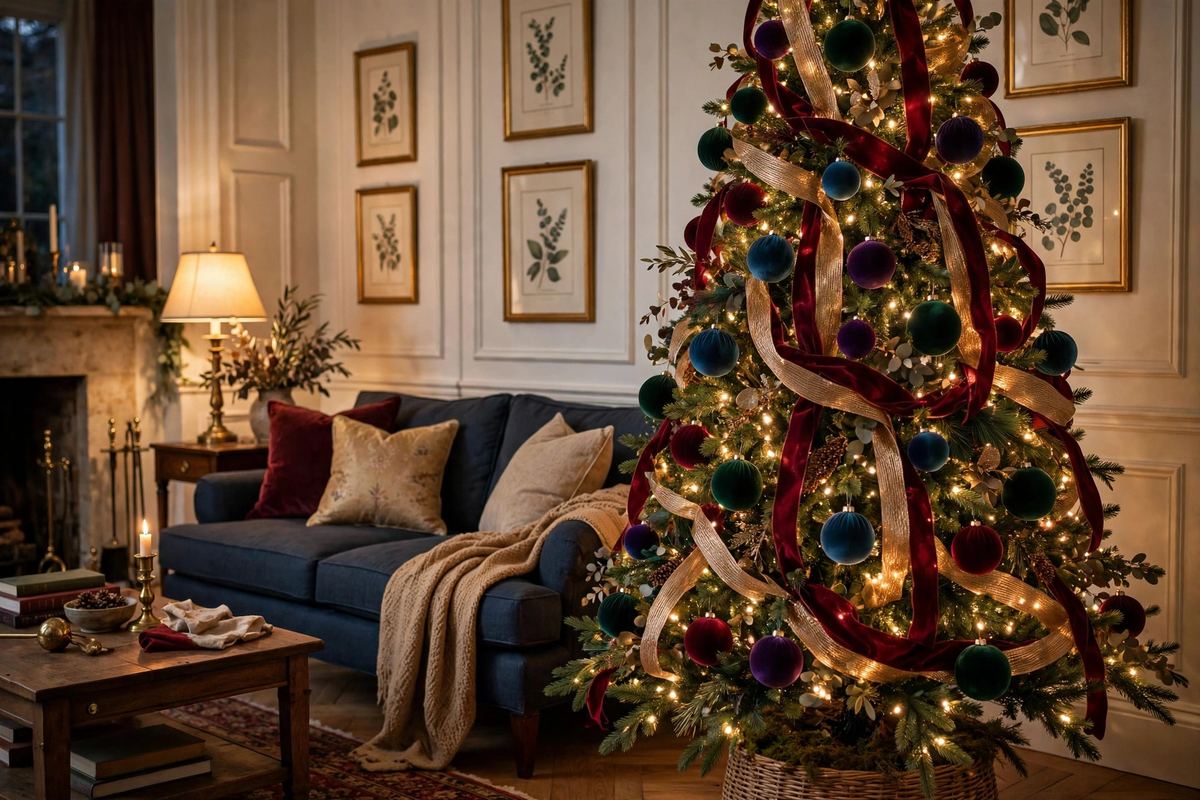
The other big shift for 2026 is bows tied directly onto branches throughout the tree, rather than one lonely bow on top. Space them evenly, mix two sizes, and the whole tree feels custom-styled. Velvet ball ornaments in the same jewel tones continue the ribbon's color story and are one of the season's biggest ornament trends. Going all-in on the color? These burgundy velvet sofa living room ideas show how to carry the palette from the tree into the whole room.
5 Ribbon Mistakes to Avoid
1. Using unwired ribbon. It goes limp within days and no technique can save it. Check the label — if it does not say wired-edge, put it back.
2. Starting at the bottom. Always work top to bottom. Gravity is on your side, and you will not be reaching over finished ribbon to fix the top.
3. Buying too little. The 3-yards-per-foot rule exists because sparse ribbon looks worse than no ribbon. Measure your tree before you shop.
4. Aiming for perfect symmetry. Slightly uneven tuck spacing reads natural and handmade. Perfectly even rows read stiff and store-bought.
5. Matching the ribbon to everything else. Ribbon should contrast or complement, not disappear. A red ribbon on a red-ornament tree vanishes; champagne on red glows. If your whole room is green and gold, try a cinnamon ribbon for warmth instead of more of the same.
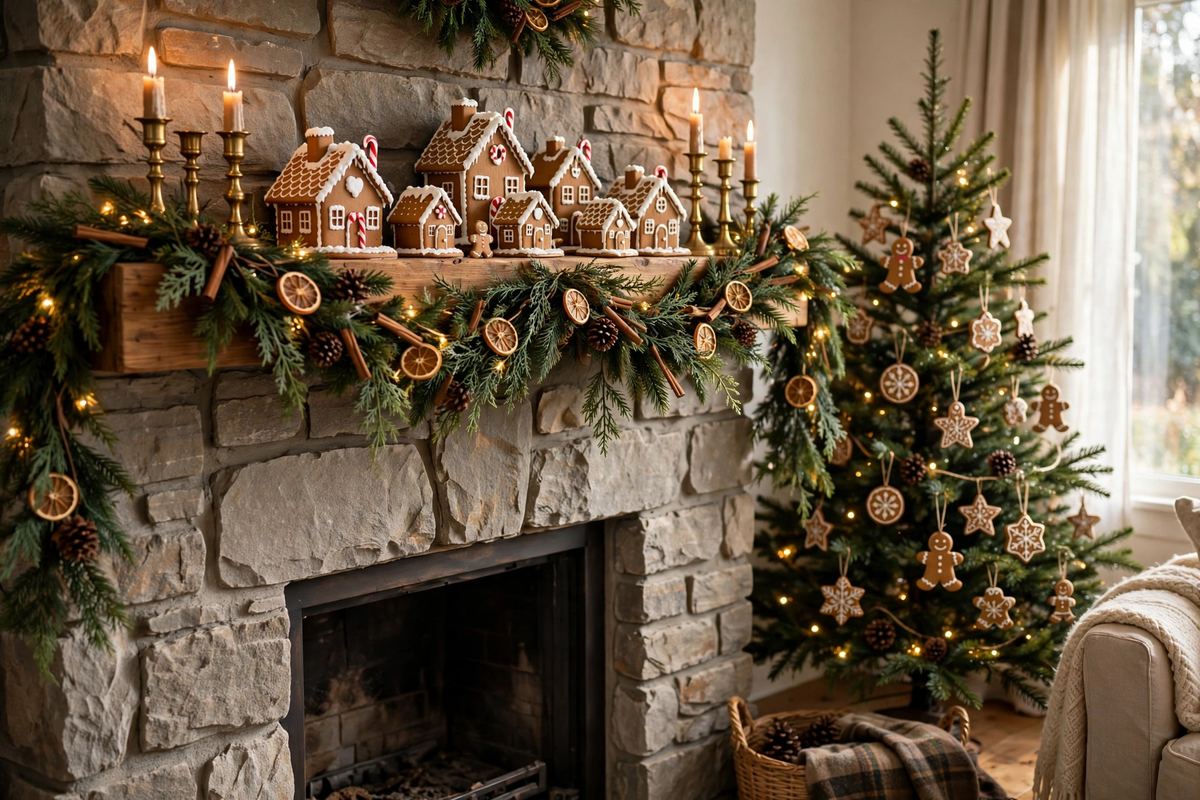
And when the tree is done, do not forget the mantel — it is the second most photographed spot in a decorated home. These gingerbread Christmas mantel ideas carry the same layered, collected feeling from the tree across the whole room. The layering logic is the same one behind our DIY fall mantel decor guide: establish the base layer first, add heights second, and let the lights do the final magic.
Going deeper in color? Pair your ribbon work with the red velvet Christmas palette — burgundy velvet ribbon, gold ornaments, and candlelight, styled room by room with real costs.