That empty wall next to your window is wasting its potential. While you are buying yet another plant stand that eats floor space, the smartest small-home gardeners are looking up — DIY floating plant shelves turn any blank wall into a lush botanical corner for under $50, and the whole project fits into one weekend afternoon.
In this guide, you will get real measurements, a complete materials list with actual costs, the hidden-bracket mounting method that makes shelves look like they float, and designer styling tricks that keep the finished corner looking intentional instead of cluttered. No fancy woodworking skills required — if you can operate a drill, you can do this.
What You Will Need: Tools and Materials
The beauty of this project is how short the shopping list is. For tools, you need a drill/driver, a stud finder, a 24-inch level, a tape measure, a pencil, 120-grit sandpaper, and a saw — or skip the saw entirely and have the lumber yard cut your boards for free. A screwdriver and a small brush for finishing are all that is left.
For materials, buy two pine boards sized 1 inch by 8 inches by 36 inches (actual size about 0.75 by 7.25 inches) at roughly 12 dollars each. You will also need two pairs of hidden floating shelf brackets with wall plates — the rod-style ones run 15 to 20 dollars online — plus 2.5-inch wood screws, high-quality toggle drywall anchors as backup, and a small can of water-based polyurethane or hardwax oil to seal the wood. Total real cost: between 40 and 50 dollars for two shelves.
For more high-impact, low-cost upgrades, browse these budget home makeovers under $100.
Choosing the Perfect Spot: Light and Weight
Pick your wall before you pick up the drill, because plants care more about location than lumber. The best spot gets bright, indirect light for most of the day — within a few feet of an east- or north-facing window is ideal. Do the hand-shadow test: hold your hand a foot above where the top shelf will hang. A soft, defined shadow means bright indirect light; a razor-sharp shadow means direct sun that can scorch tender leaves.
Weight is the second constraint, and beginners underestimate it. A freshly watered 6-inch terracotta pot weighs 5 to 8 pounds. On wall studs, each shelf safely holds 20 to 30 pounds, so you can group four or five medium pots. On drywall anchors alone, cap it at 10 to 15 pounds — two or three smaller plants. When you cannot find a stud where you want one, sliding the whole layout six inches sideways to catch one is worth it.
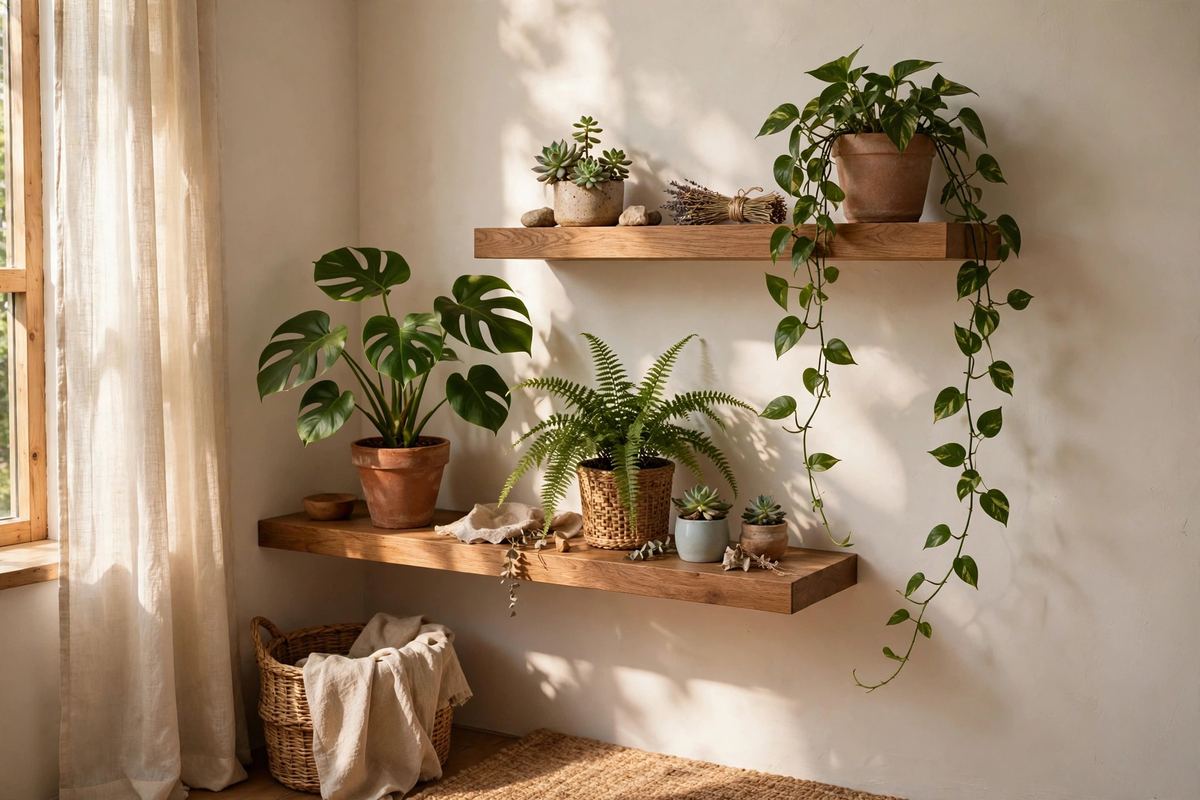
For layout, hang shelves 12 to 15 inches apart vertically so trailing plants have room to drape, and set the lowest shelf 48 to 60 inches from the floor — roughly eye level, where a display reads best. Staggering the shelves instead of stacking them in a column makes the corner feel organic and designed.
Step-by-Step: Building Your Floating Plant Shelves
Start by sanding both boards with 120-grit sandpaper, going with the grain, then wipe them down with a damp cloth and let them dry. Apply two thin coats of water-based polyurethane or hardwax oil, sanding lightly between coats — sealing before you hang is far easier than sealing on the wall, and it protects against drips when you water your plants later.
Next, hold each bracket plate against the wall and mark your screw holes with a pencil, using the level to keep everything honest. Run the stud finder across the area first and mark every stud with painter's tape. Wherever a hole lands on a stud, drive a 2.5-inch screw straight in. Where it lands on bare drywall, drill a pilot hole and set a toggle anchor — do not trust the plastic plug-style anchors that come free with most bracket kits; they are the reason shelves fail.
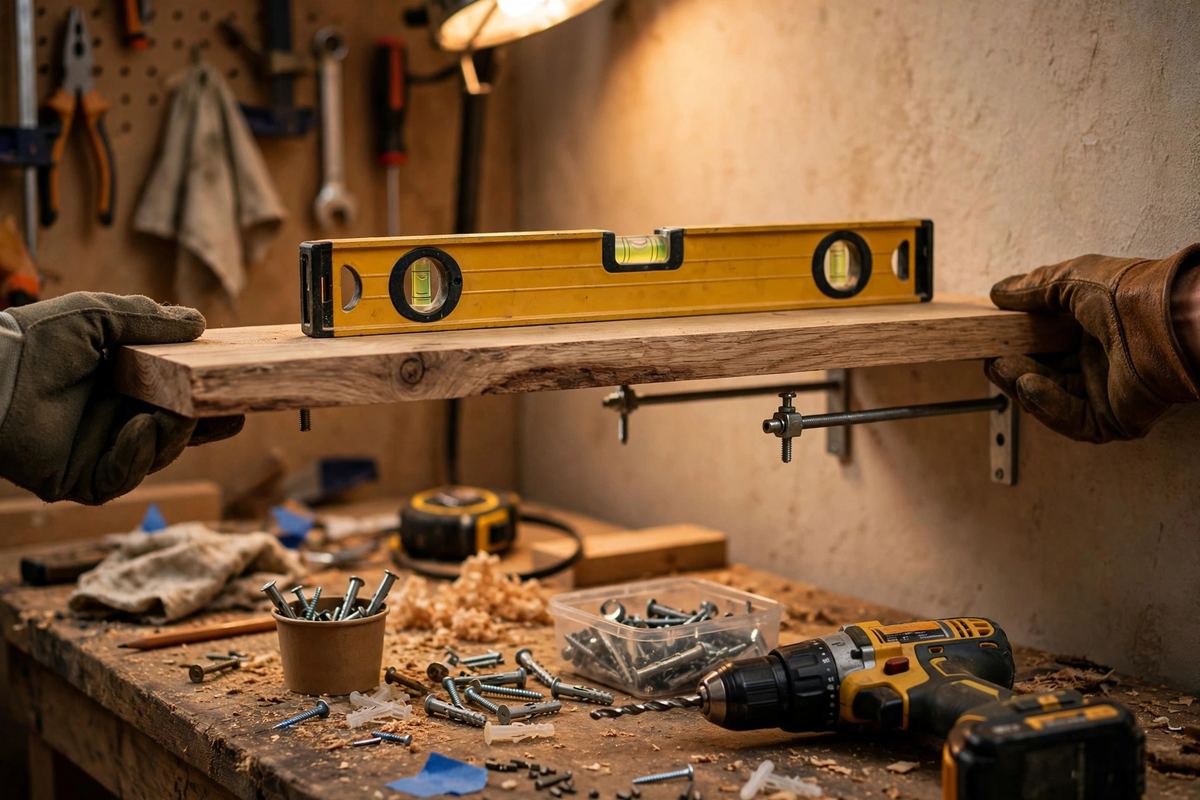
Slide each board onto the bracket rods — the rods should enter pre-drilled holes in the back edge of the shelf, so measure the rod diameter before you drill (most are half an inch). Set the shelf, then check level side to side and front to back. If a shelf tilts forward even slightly, pull it off and add a thin cardboard shim under the wall plate before re-seating it. Finally, press down firmly on each shelf with both hands to confirm it feels rock solid before any plant goes on it.
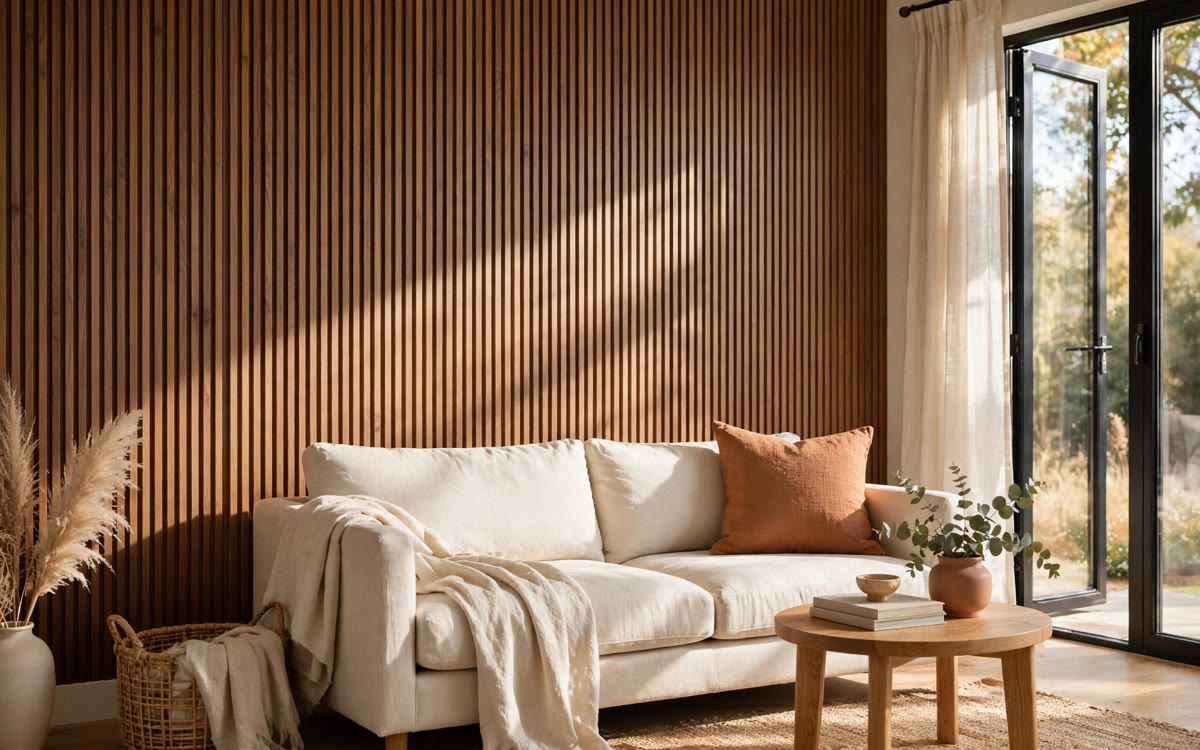
If you love a textured backdrop behind greenery, this fluted wood panelling DIY adds warmth that makes leaves pop.
Styling Your Shelves Like a Designer
Here is where most DIY corners go wrong: twenty plants crammed shoulder to shoulder reads as clutter, not design. Think in threes — one tall upright plant (snake plant, ZZ plant), one trailing plant (pothos, philodendron) that spills over the front edge, and one sculptural piece (a small olive tree, a ceramic vase, or a stack of two books with a succulent on top). That three-shape formula works on every shelf.
Mix pot materials for contrast: matte terracotta against glossy ceramic, or natural clay against black metal. Leave breathing room between objects — at least two inches — and step back across the room after every addition. The shelf should look composed from ten feet away, not just from arm's length. Small risers like books or wooden boxes let you vary heights without buying more plants.
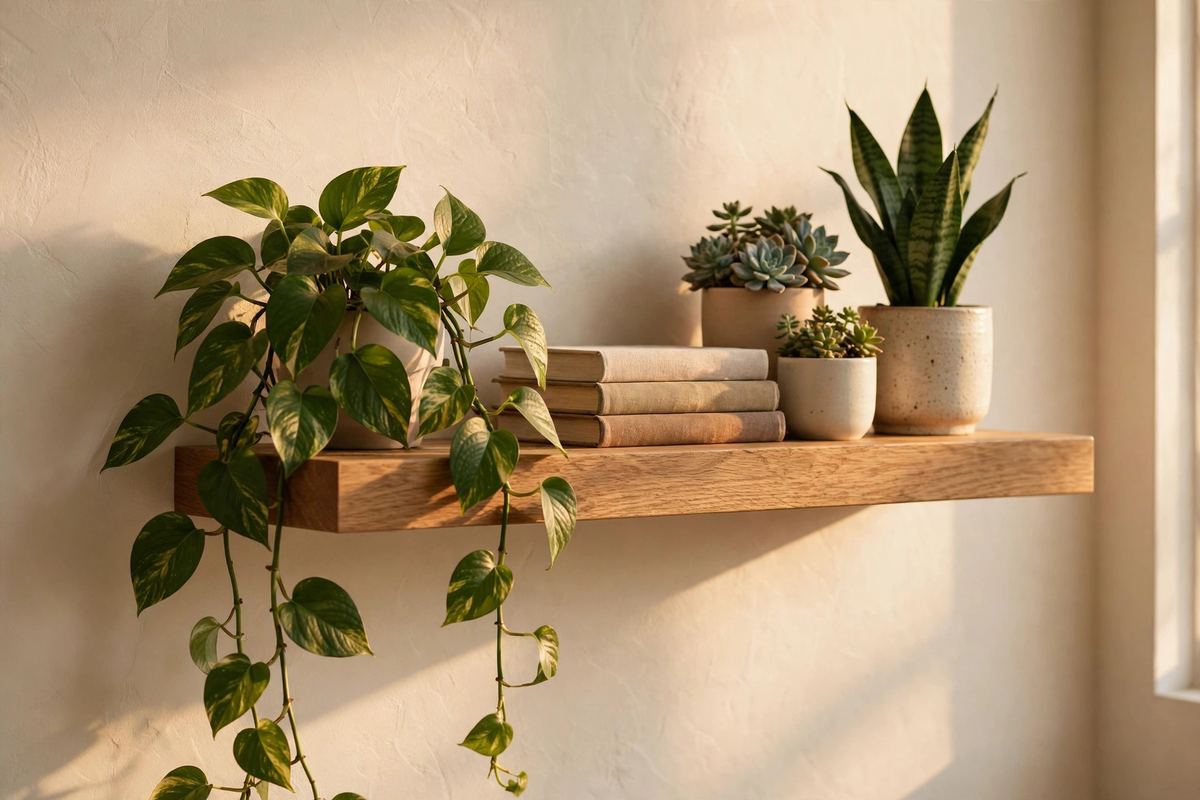
The secret most designers will not tell you: it is okay to include non-plant objects. A framed photo, a candle, or a tiny woven basket keeps the display from feeling like a greenhouse shelf and makes it feel like your home. Aim for roughly 70 percent plants and 30 percent objects.
Follow The Decor Diary on Pinterest
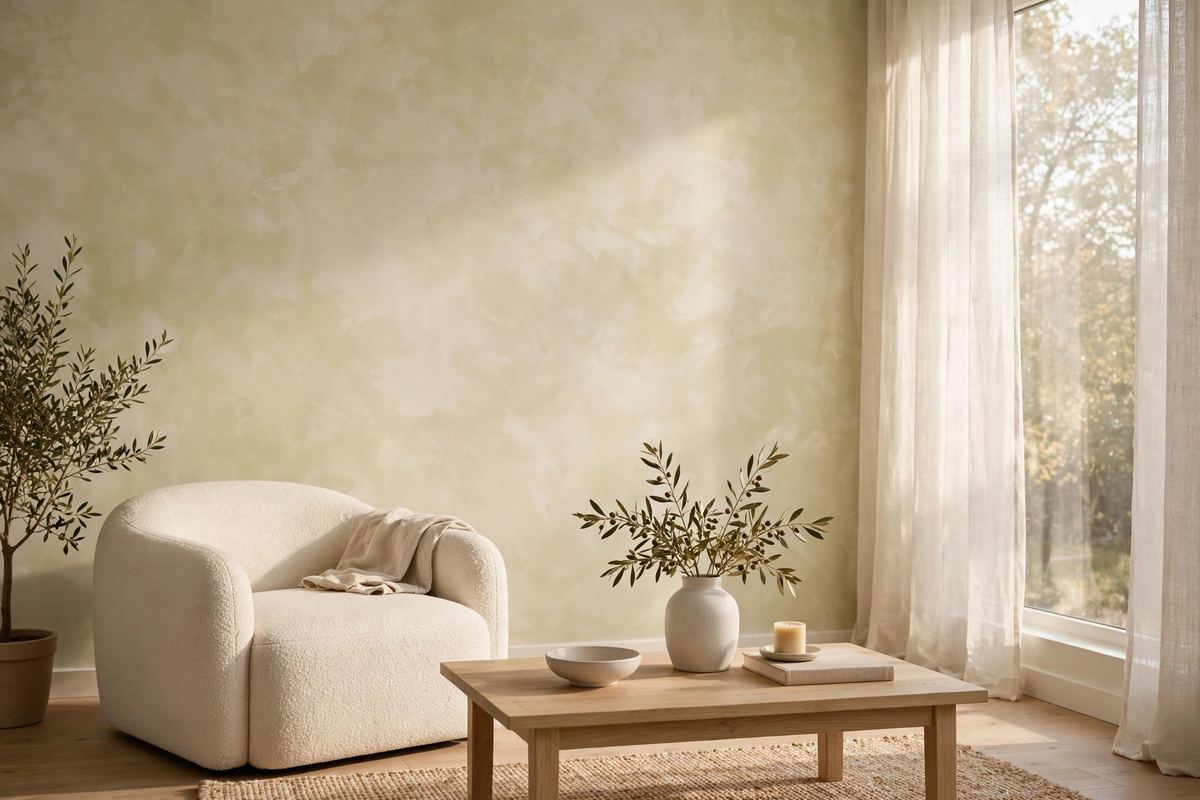
A soft plaster-look wall behind your greenery makes the whole corner glow — try this DIY limewash accent wall tutorial first.
Keeping Your Plants Happy on Shelves
Watering above wood floors and sealed shelves demands one rule: never let water touch the shelf. Pot every plant in a plastic nursery pot with drainage holes, then drop it inside a decorative cache pot without holes. Set each cache pot on a cork or silicone coaster — condensation still forms, and bare ceramic rings stain wood over time.
Water less than you think. Elevated shelves have more air circulation, so soil dries faster, but overwatering is still the number one plant killer. Check the top inch of soil with your finger every few days; if it is dry, water until a little drains into the nursery pot, wait ten minutes, then tip out the excess from the cache pot. Dust leaves monthly with a damp cloth — dust blocks the light your plants are already competing for up there. Rotate each pot a quarter turn every two weeks so growth stays even instead of leaning toward the window.