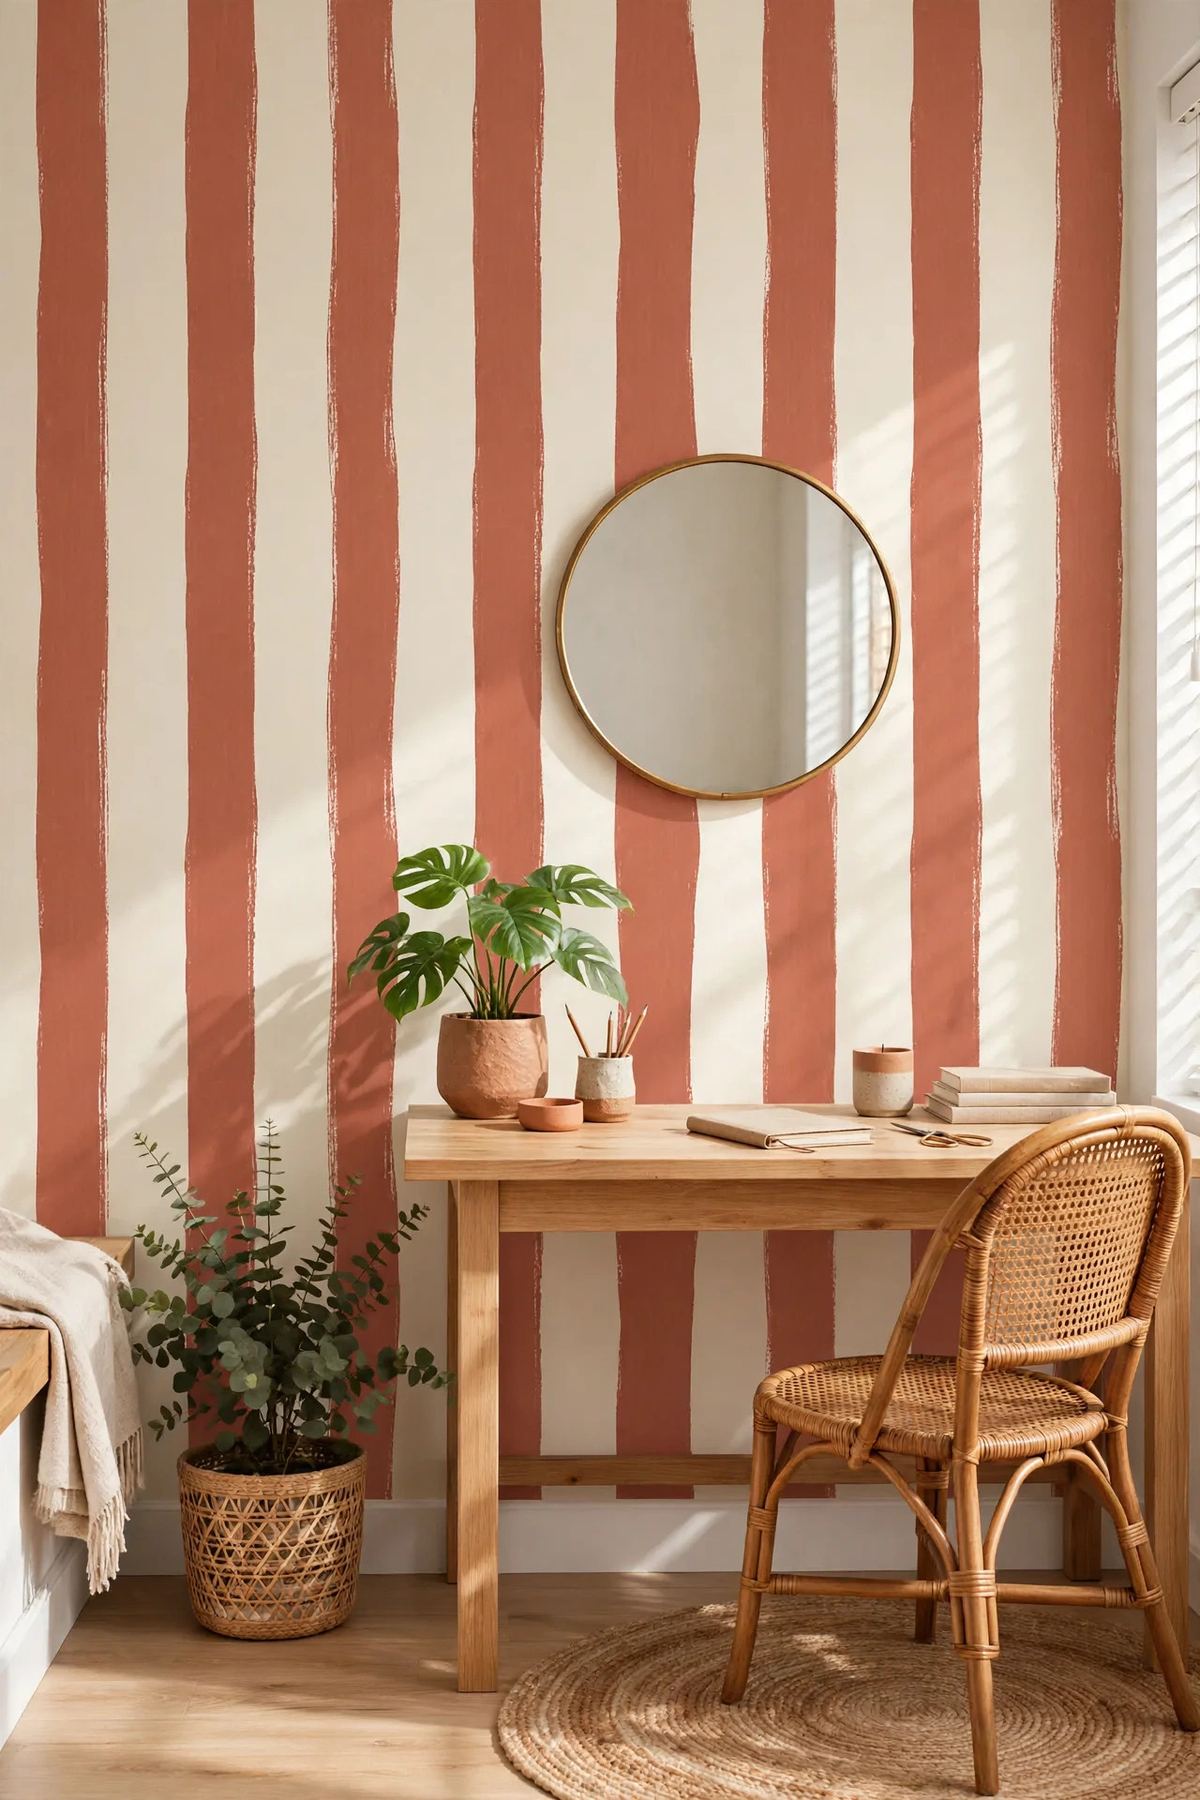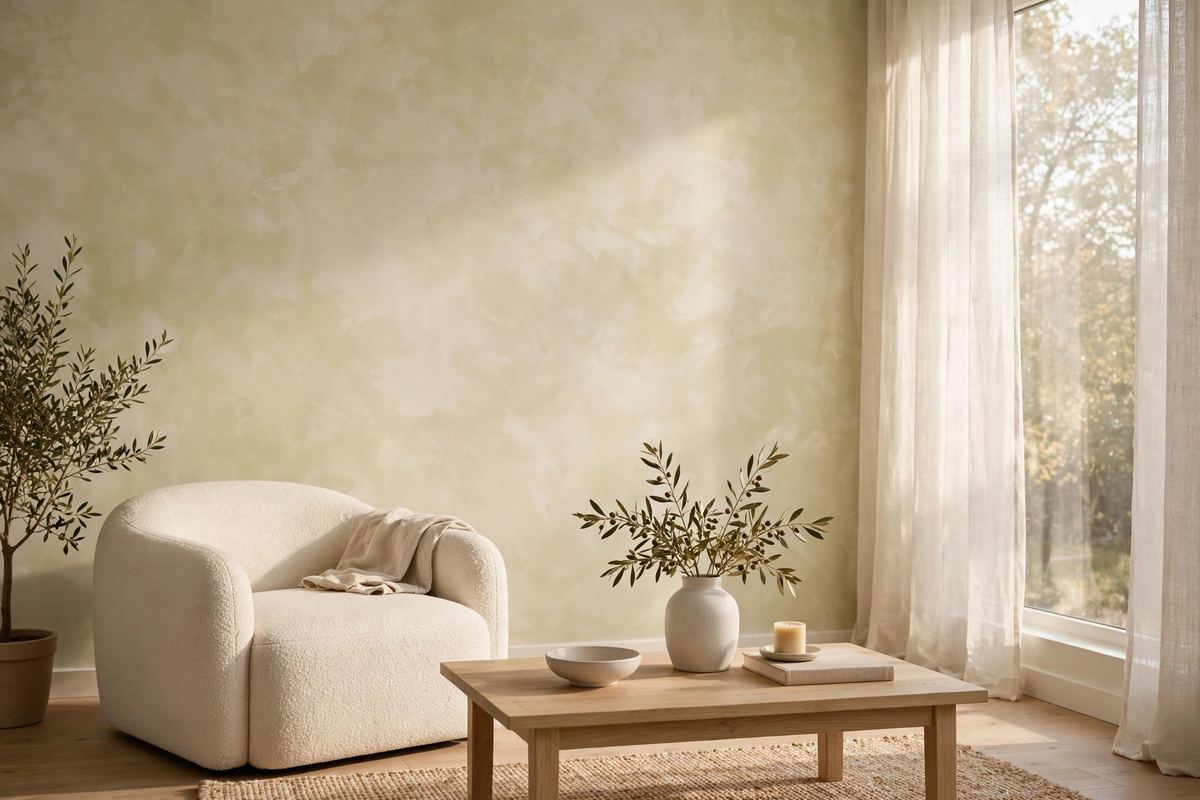
Flat paint is having an identity crisis. Every feed is full of walls that look like soft clouds, old European plaster, and hand-troweled stone — and almost all of them were made with a bucket of paint that costs less than dinner out. If you have been wondering how to limewash a wall, this is your sign: it is one of the most forgiving, beginner-friendly DIY paint techniques out there, and the whole project takes one weekend.
In this guide I will walk you through the exact crisscross technique the pros use, the tools that actually matter, which limewash paint colors are trending for 2026, and the mistakes that make first-timers panic (so you can skip the panic). No faux-finishing experience required.
What Is Limewash (and Why Everyone Is Painting With It)
Limewash is a mineral-based paint made from crushed limestone, water, and natural pigments. It has been used on walls for centuries — you have seen it on old Mediterranean villas and French farmhouses — but it blew up on Pinterest and TikTok in the last two years because it delivers that soft, mottled, plaster-like texture that flat latex paint simply cannot fake.
Here is what makes it different from regular paint: limewash is breathable and slightly translucent. Instead of sitting on the wall like a plastic film, it bonds with porous surfaces and calcifies as it dries, creating depth that shifts with the light. In the morning it glows softly; by evening it looks moody and rich. That movement is the reason designers love it — and the reason a limewash accent wall photographs so beautifully.
It is also genuinely easy. Unlike venetian plaster or lime-based tadelakt, limewash does not require special troweling skills or expensive training. You apply it with a big block brush in loose, overlapping strokes, and the finish is supposed to look imperfect. If you can paint a wall badly on purpose, you can limewash.
If you love texture-driven paint ideas, browse these accent wall paint ideas for living rooms — limewash pairs beautifully with several of the 2026 trends on that list.
Tools and Materials: What You Actually Need
You do not need much, which is part of the appeal. For one standard 10 by 8 foot accent wall, gather: a quart of limewash paint in your chosen color (45 to 65 dollars; covers about 100 square feet over two coats), one quart of mineral-based primer if your wall is currently painted with regular latex (about 20 dollars), a 4 to 6 inch block brush — the wide, chunky brush is non-negotiable for the texture — a 5-gallon bucket or large paint tray, a spray bottle filled with clean water, painter's tape, a drop cloth, and a stir stick.
On the paint itself, you have two good options: buy pre-mixed limewash from a specialty brand, or go the budget route with a two-tone faux method. Pre-mixed limewash (Romabio Classico and Portola Paints Lime Wash are the two most popular in the US) costs more but gives you the authentic mineral finish and is what I recommend for your first wall. The budget method uses two shades of matte latex paint — one darker, one lighter — thinned with water and applied in the same crisscross pattern. It looks surprisingly good in photos but lacks the real mineral depth.
Total realistic cost for the real thing: 60 to 120 dollars for one accent wall, including primer and the block brush. A quart is plenty — do not let anyone sell you a gallon for a single accent wall unless you plan to limewash the whole room.
How to Limewash a Wall: The Crisscross Technique
This is the heart of the project, so read it once before you pick up the brush. The signature cloudy look comes from loose, overlapping crisscross (X-shaped) strokes — never straight up-and-down roller lines.
Step 1: Prep the wall. Clean it with a damp cloth and let it dry. Tape off trim, ceiling, and adjacent walls. If your wall has regular latex paint on it, roll on one coat of mineral primer and let it cure overnight. Limewash needs a porous surface to bond; on a slick latex wall without primer it can peel or dry blotchy. Bare brick, stucco, and raw plaster can skip the primer.
Step 2: Thin the first coat. Stir the limewash well — stir again every 10 minutes while you work so the lime particles stay evenly mixed. For the first coat, thin the paint roughly 70 percent paint to 30 percent water. This coat is a primer wash: it should look patchy, with only about 60 to 70 percent coverage. That is correct. Do not panic and glob on extra paint.
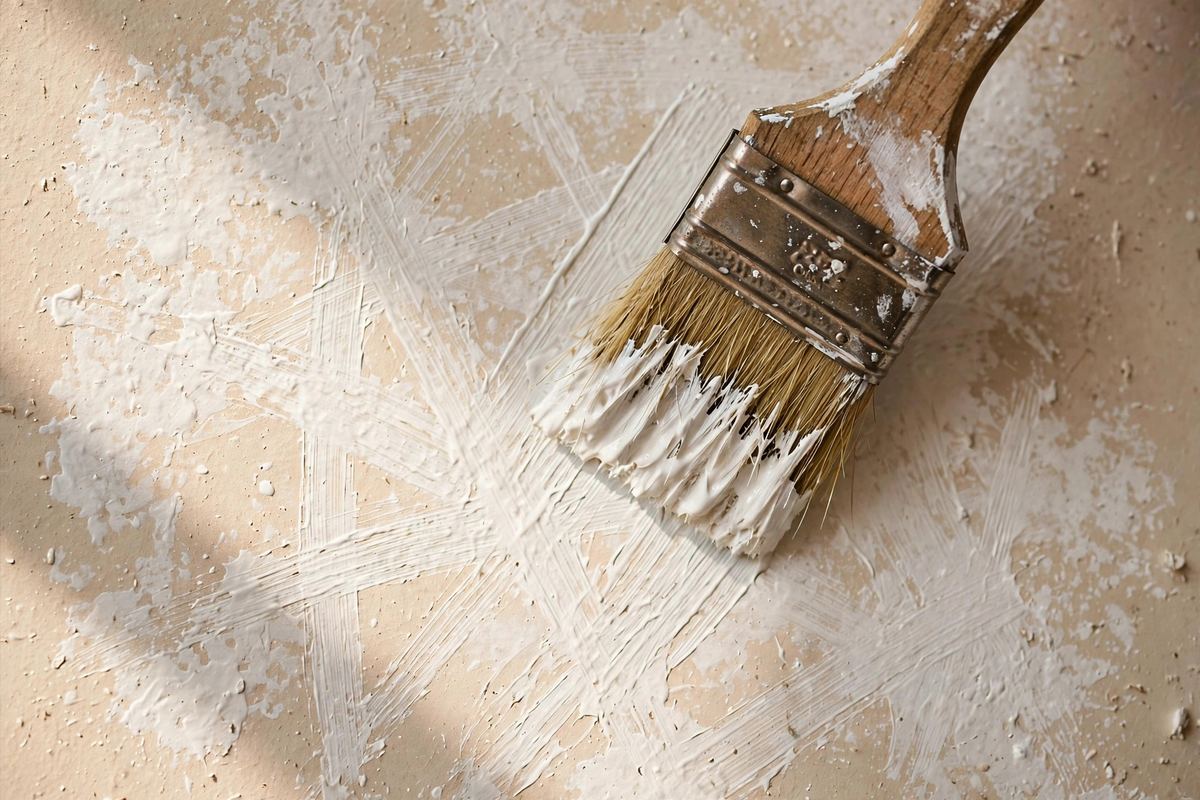
Step 3: Paint the first coat in crisscross strokes. Load the block brush lightly and work in loose X shapes, about 4 by 4 feet at a time. Fill each X with another overlapping X — think starbursts, not stripes. Keep a spray bottle handy: mist any edge that starts drying before you return to it, because limewash that dries in overlapping sections leaves visible darker lines. Let this coat dry 4 to 6 hours (overnight is safest).
Step 4: Apply the second coat at full strength. No more thinning. Load the brush a little more generously and repeat the same crisscross pattern, feathering over any thin spots with a drier brush. This coat brings the full cloudy texture and color depth. Here is the part that scares everyone: limewash dries significantly lighter than it looks wet. A wall that looks like muddy terracotta when wet will dry to a warm sand color. Trust the process and do not add a third coat based on the wet look.
Step 5: Let it cure. Give the wall a full 24 hours before you remove tape or hang anything. Limewash continues to cure and calcify over the next few days, and the mottling will soften slightly as it settles. Some painters lightly mist the finished wall with water over the first two days to slow the cure — optional, but it deepens the bond.
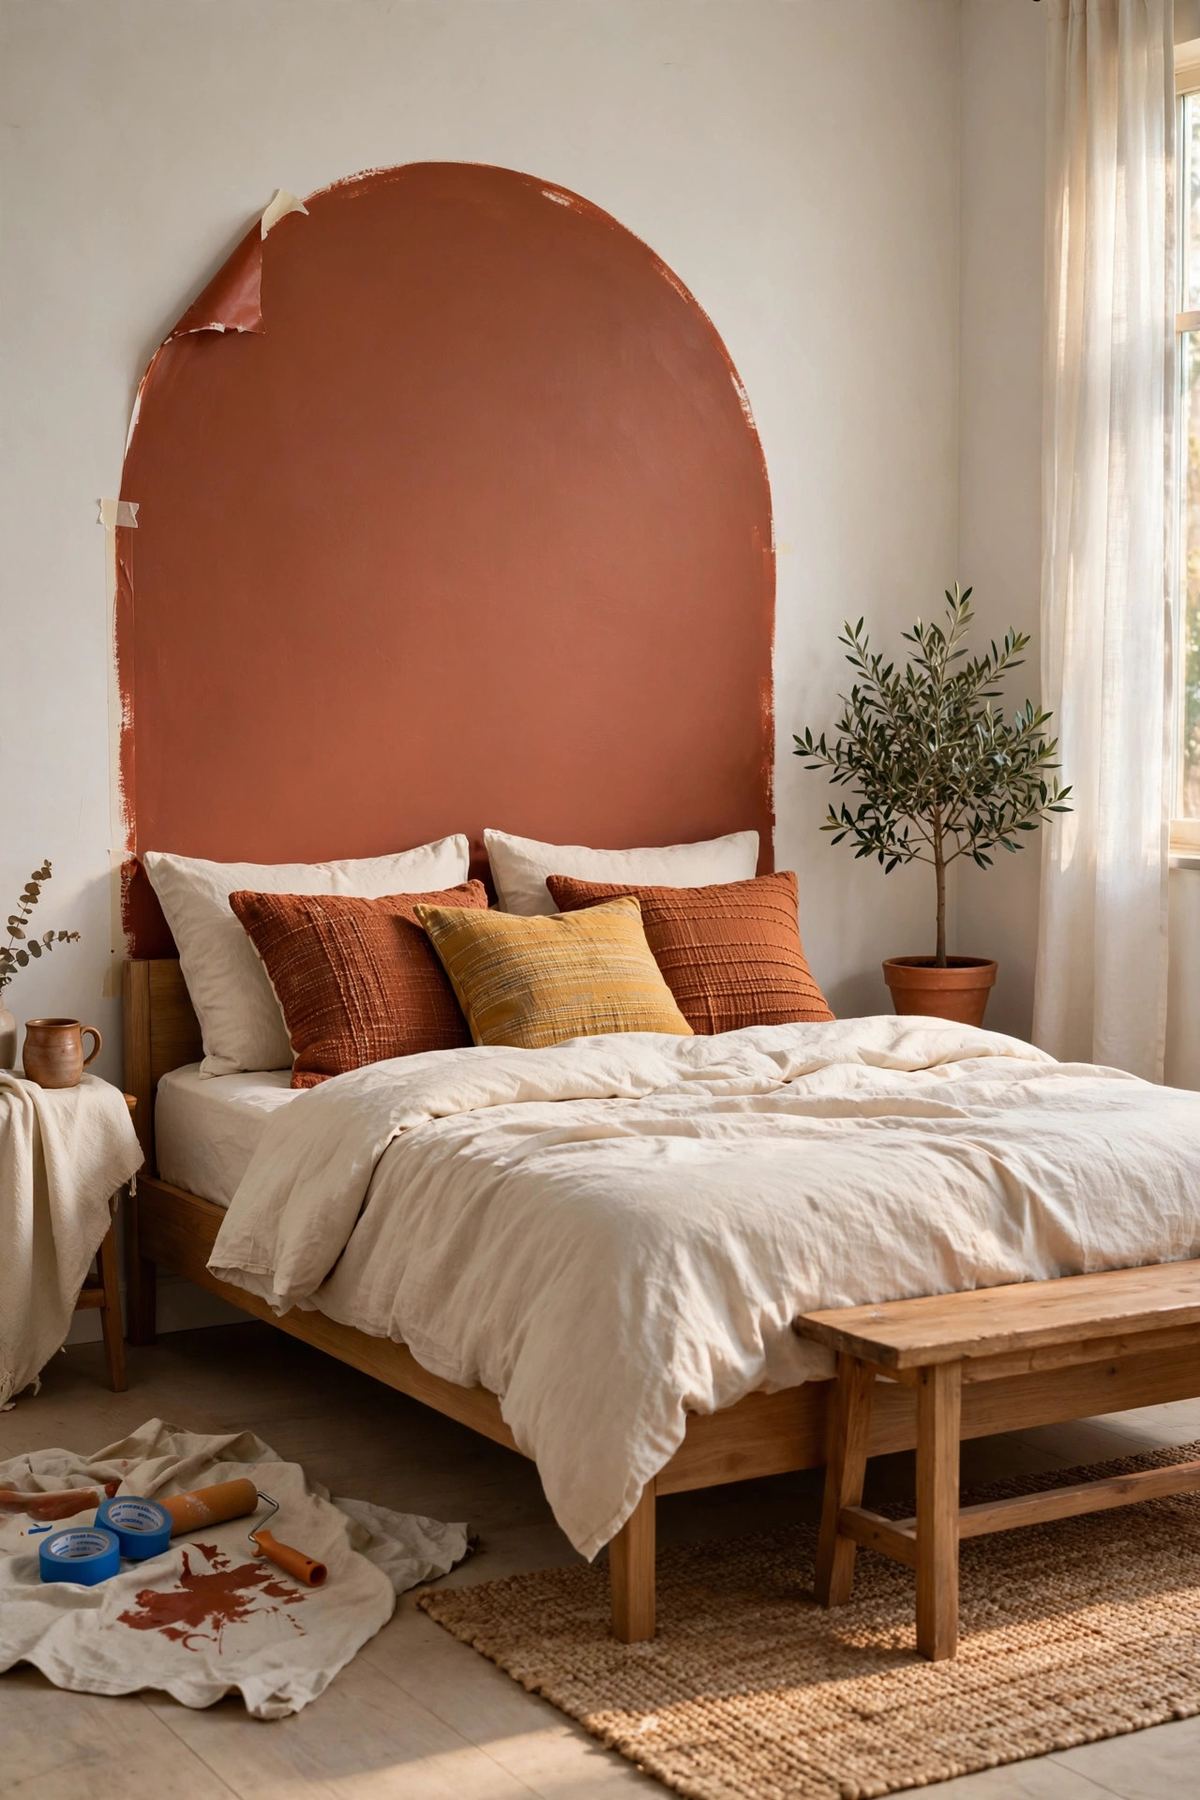
Prefer paint with clean lines instead of texture? This DIY painted arch wall takes one afternoon and costs under 30 dollars.
The Best Limewash Paint Colors for 2026
Limewash looks best in warm, earthy tones where the cloudiness reads as softness rather than dirt. The safest, most-loved colors are warm ivories and oat beiges — think Romabio's Avorio White style shades — which glow in natural light and work in literally every room. Terracotta and clay tones are the 2026 statement pick: they bring Mediterranean warmth and photograph like a boutique hotel.
Sage and olive greens look incredible limewashed because the texture mimics old plaster villa walls. Warm charcoal and mushroom gray are the grown-up neutrals for moody bedrooms and offices. My honest advice for your first wall: go one shade lighter than your instinct says. The texture adds visual weight, and limewash always looks richer in person than in the sample swatch — a color that looks perfect on the chip can feel heavy across 80 square feet.
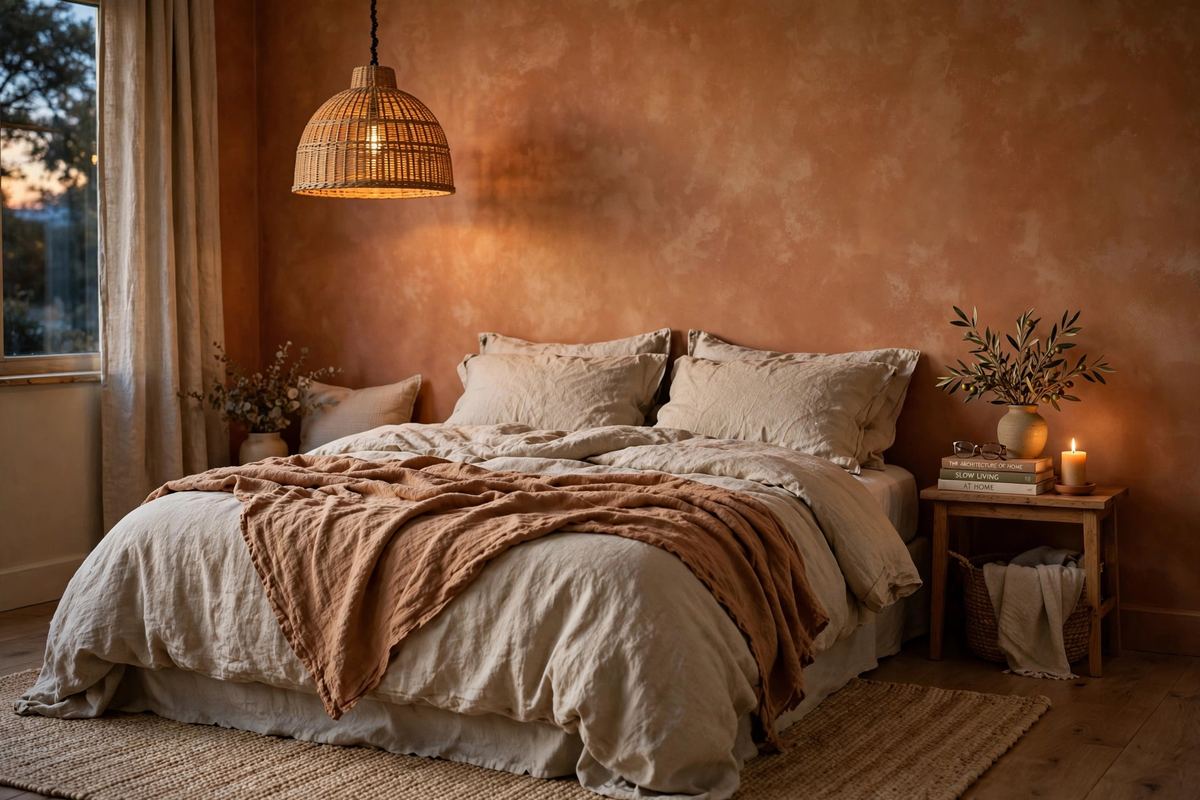
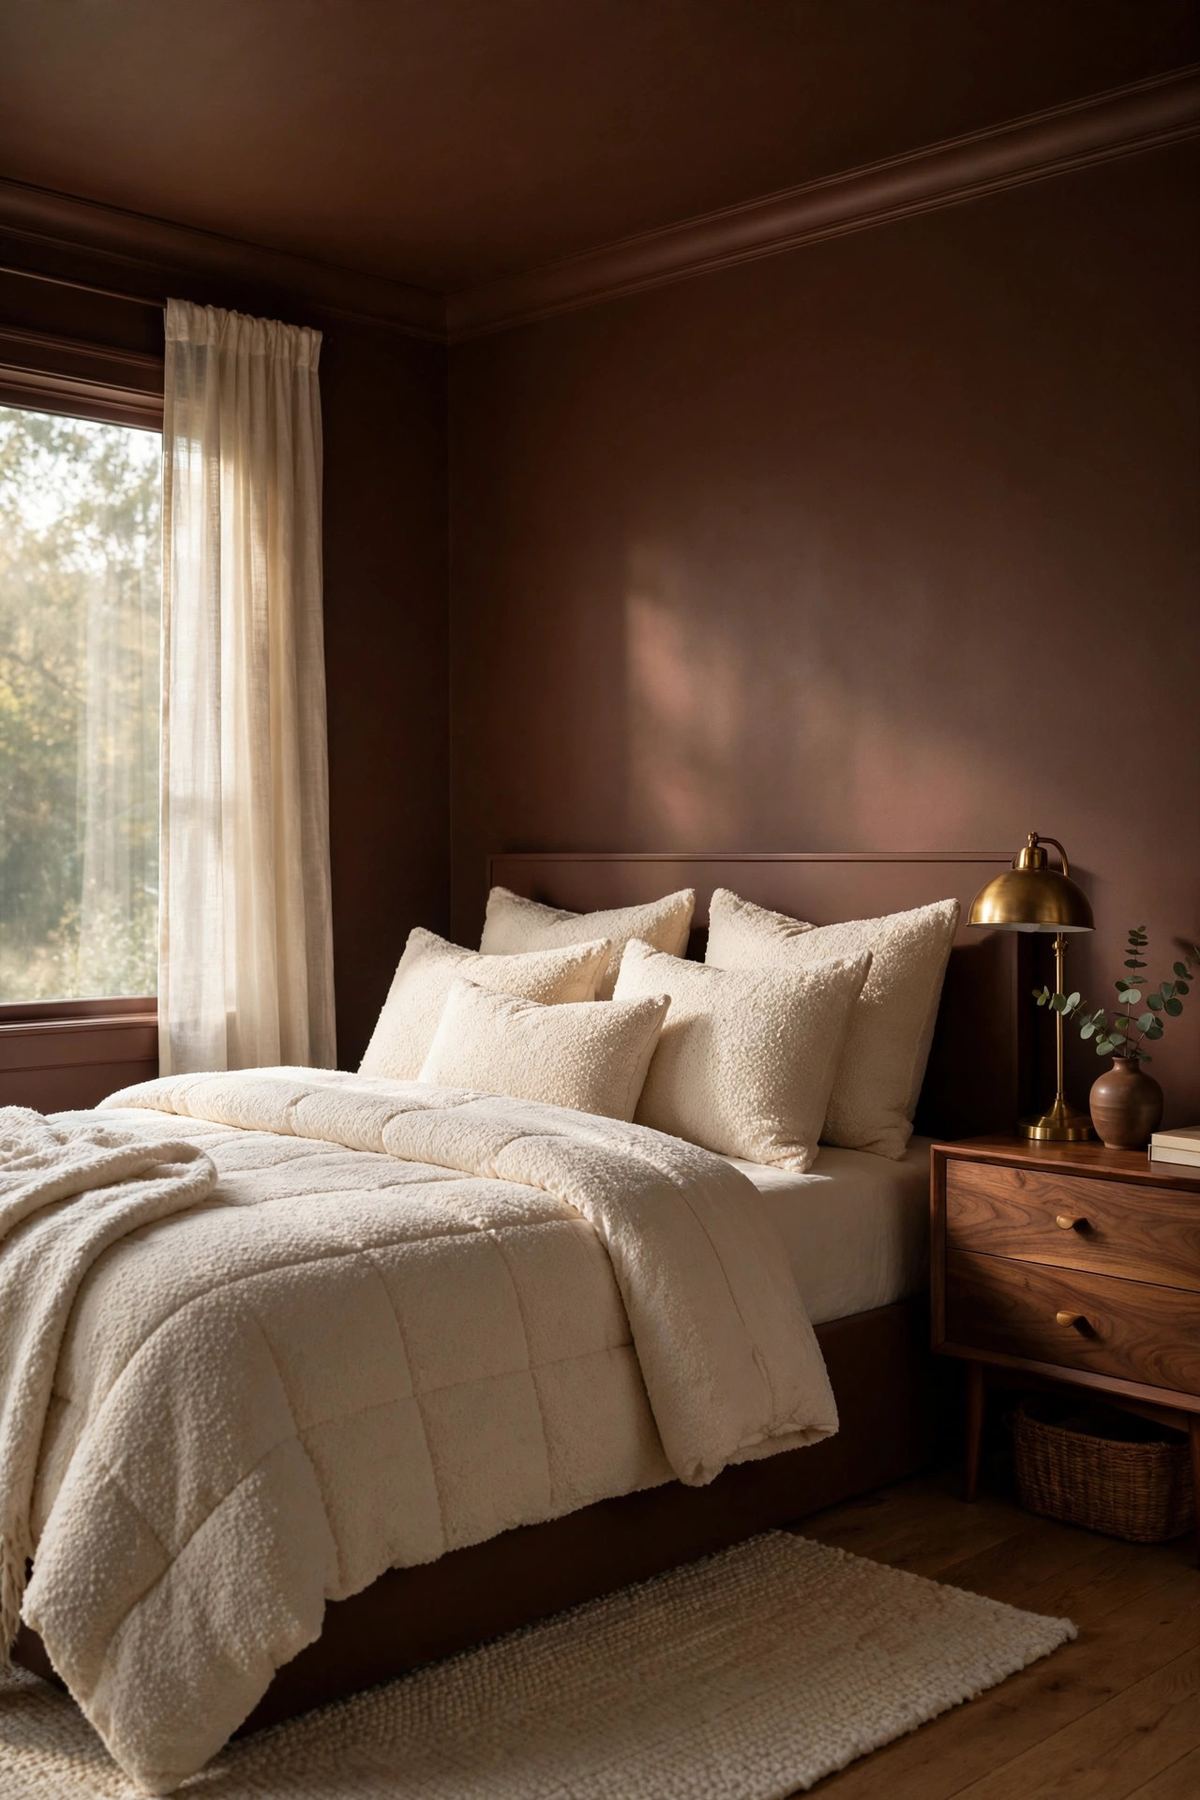
These warm brown bedroom paint colors are a great starting point if you are leaning toward a cozy, cocoa-toned limewash.
Common Limewash Mistakes (and How to Fix Them)
Mistake 1: Skipping the mineral primer. This is the number one reason limewash fails on drywall. Regular latex paint is non-porous, and limewash cannot grip it. The finish peels, bubbles, or dries in blotchy islands. The fix is prevention: one coat of mineral primer costs 20 dollars and takes an hour. If you already skipped it and the wall is peeling, sand it back, prime properly, and start over.
Mistake 2: Painting it on too thick. More paint does not mean more coverage with limewash — it means cracking and a muddy, heavy finish. The first coat should be thin enough to see through. If your first coat looks opaque and flat, you applied too much. Wipe some back with a damp cloth while it is still wet.
Mistake 3: Letting sections dry between strokes. Dried edges overlap as darker lines that never blend out. Work wet-on-wet: keep the spray bottle in your other hand and mist any edge you are about to return to. If you see a lap line after drying, a quick extra coat over just that section usually melts it back in.
Mistake 4: Judging the color while it is wet. Limewash can look two to three shades darker when wet. Beginners panic and start adding water to lighten it mid-wall, which ruins the consistency. Choose your color, commit, and evaluate only after the second coat has dried overnight.
Mistake 5: Putting it on a high-contact wall. Limewash is wipeable once cured, but it is not scrubbable like latex. Behind a kitchen sink, in a hallway with sticky toddler hands, or anywhere that gets wiped down weekly — use regular paint. Limewash belongs on feature walls, bedrooms, and ceilings where its texture can be admired without abuse.
How to Style a Limewash Accent Wall
Once the wall is done, style around it, not over it. The texture is already doing the decorating, so pull everything else back. Natural linen bedding or a simple boucle chair lets the cloudiness take center stage. Warm wood tones — oak, walnut, rattan — pair perfectly with the mineral feel; chrome and cold gray can fight it.
Lighting is everything with limewash. A warm-white bulb (2700K) makes the texture glow; cool daylight bulbs flatten it out. If you can, add a picture light or a warm floor lamp angled at the wall in the evening — the texture comes alive under raking light and looks almost three-dimensional.
Keep art minimal: one oversized piece or a single round mirror is plenty. A full gallery wall on top of a limewash wall is visual noise. And resist the urge to hang anything for the first week while the finish fully cures.
Follow The Decor Diary on Pinterest
Doing the whole room on a budget? These budget home makeovers under $100 pair perfectly with a weekend limewash project.