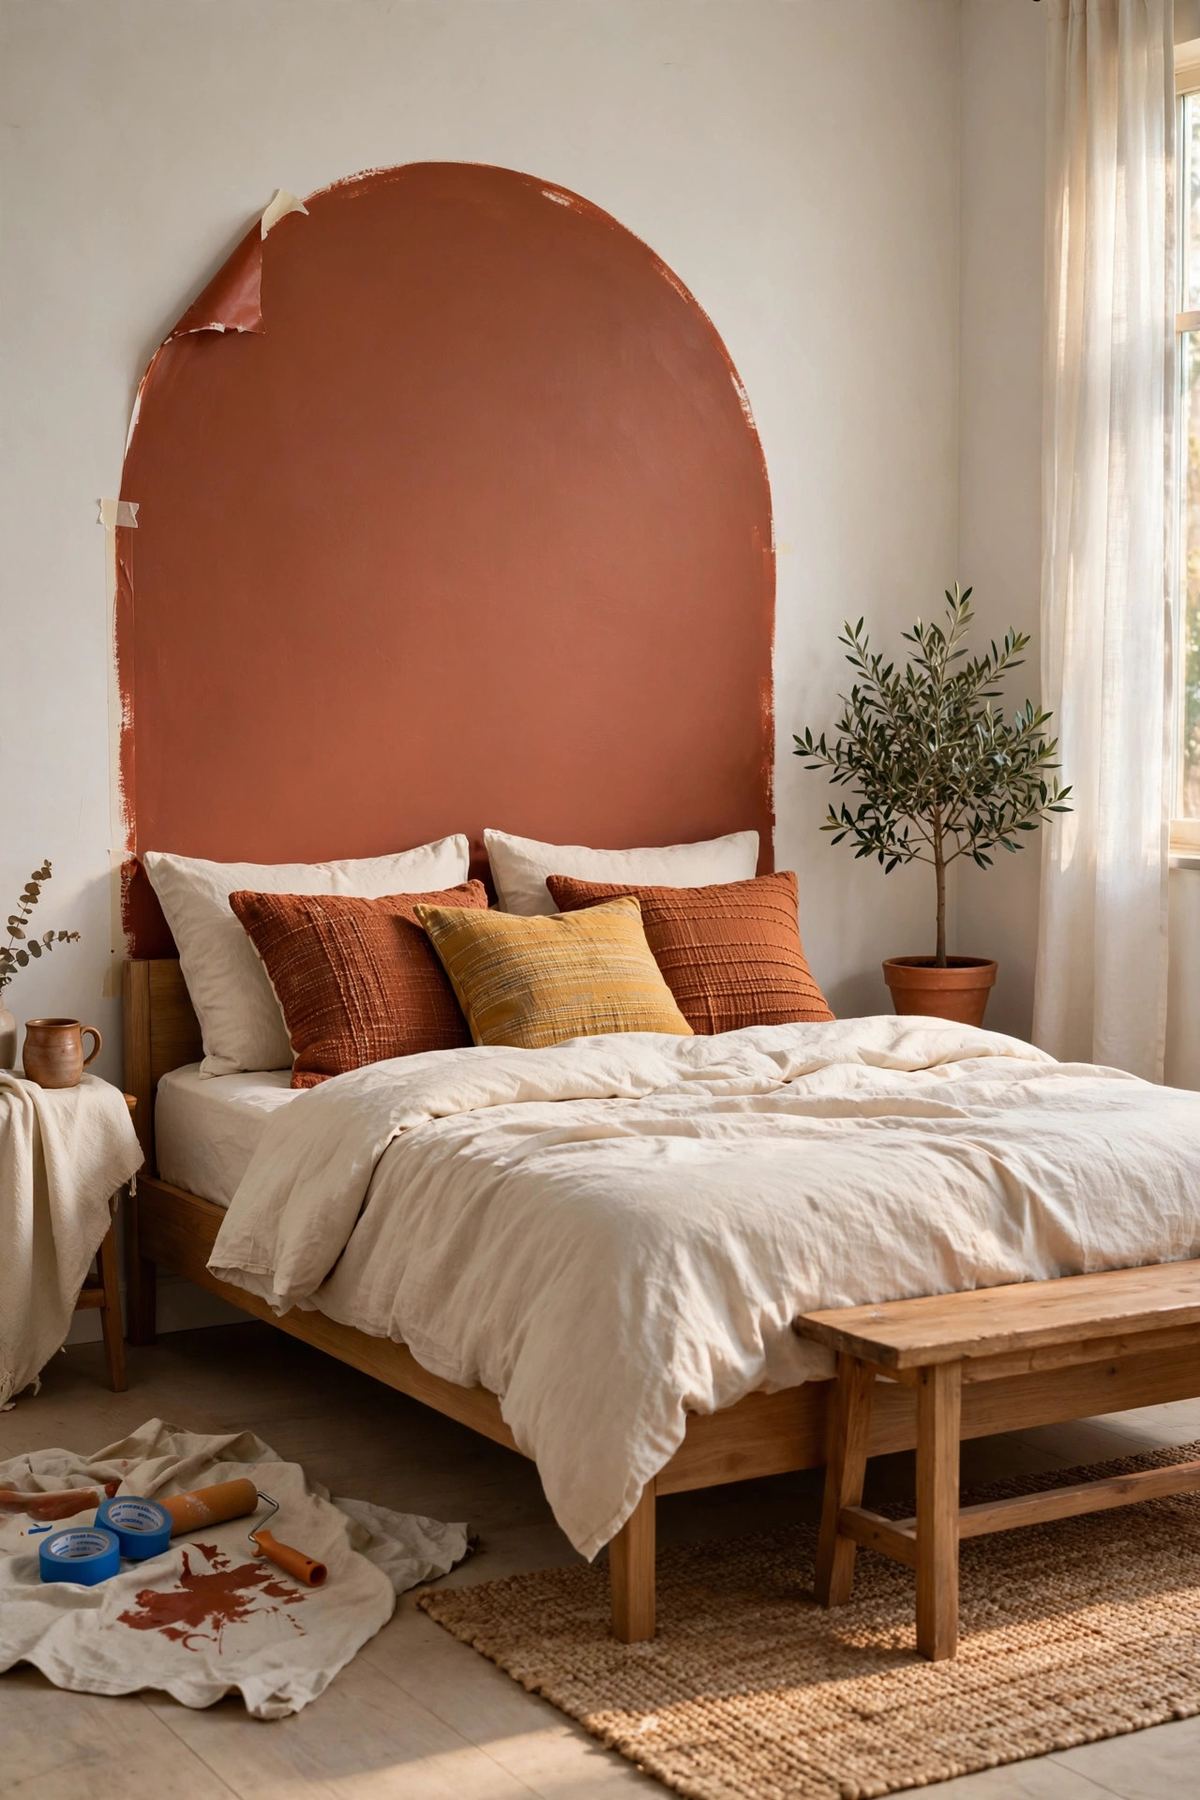
If you love the look of a statement headboard but not the price tag — or the commitment — a painted arch might be your perfect match. This simple shape, a soft curve rising behind your bed, creates the visual anchor of a headboard for the cost of a single quart of paint, and the whole project takes less than a day.
In this tutorial, I will show you exactly how to paint a crisp, professional-looking arch wall: how to measure and mark the perfect curve, which paint colors work best, the tools that make the difference between wobbly and wow, and how to style the finished look.
Why a Painted Arch Beats a Traditional Headboard
Let's talk numbers first: a quality upholstered headboard easily costs 300 dollars and up, while a painted arch costs about 30 dollars in paint and supplies. Beyond the savings, an arch is endlessly flexible — hate the color in a year? Paint over it in an afternoon. Moving? It stays with the wall, no hauling required.
Design-wise, an arch does something a headboard cannot: it adds architecture to a flat, boring wall. The curve draws the eye up, makes ceilings feel higher, and creates a built-in focal point that works with literally any bed frame — from a simple platform to a vintage iron frame. For renters, it is one of the highest-impact, lowest-risk projects you can do.
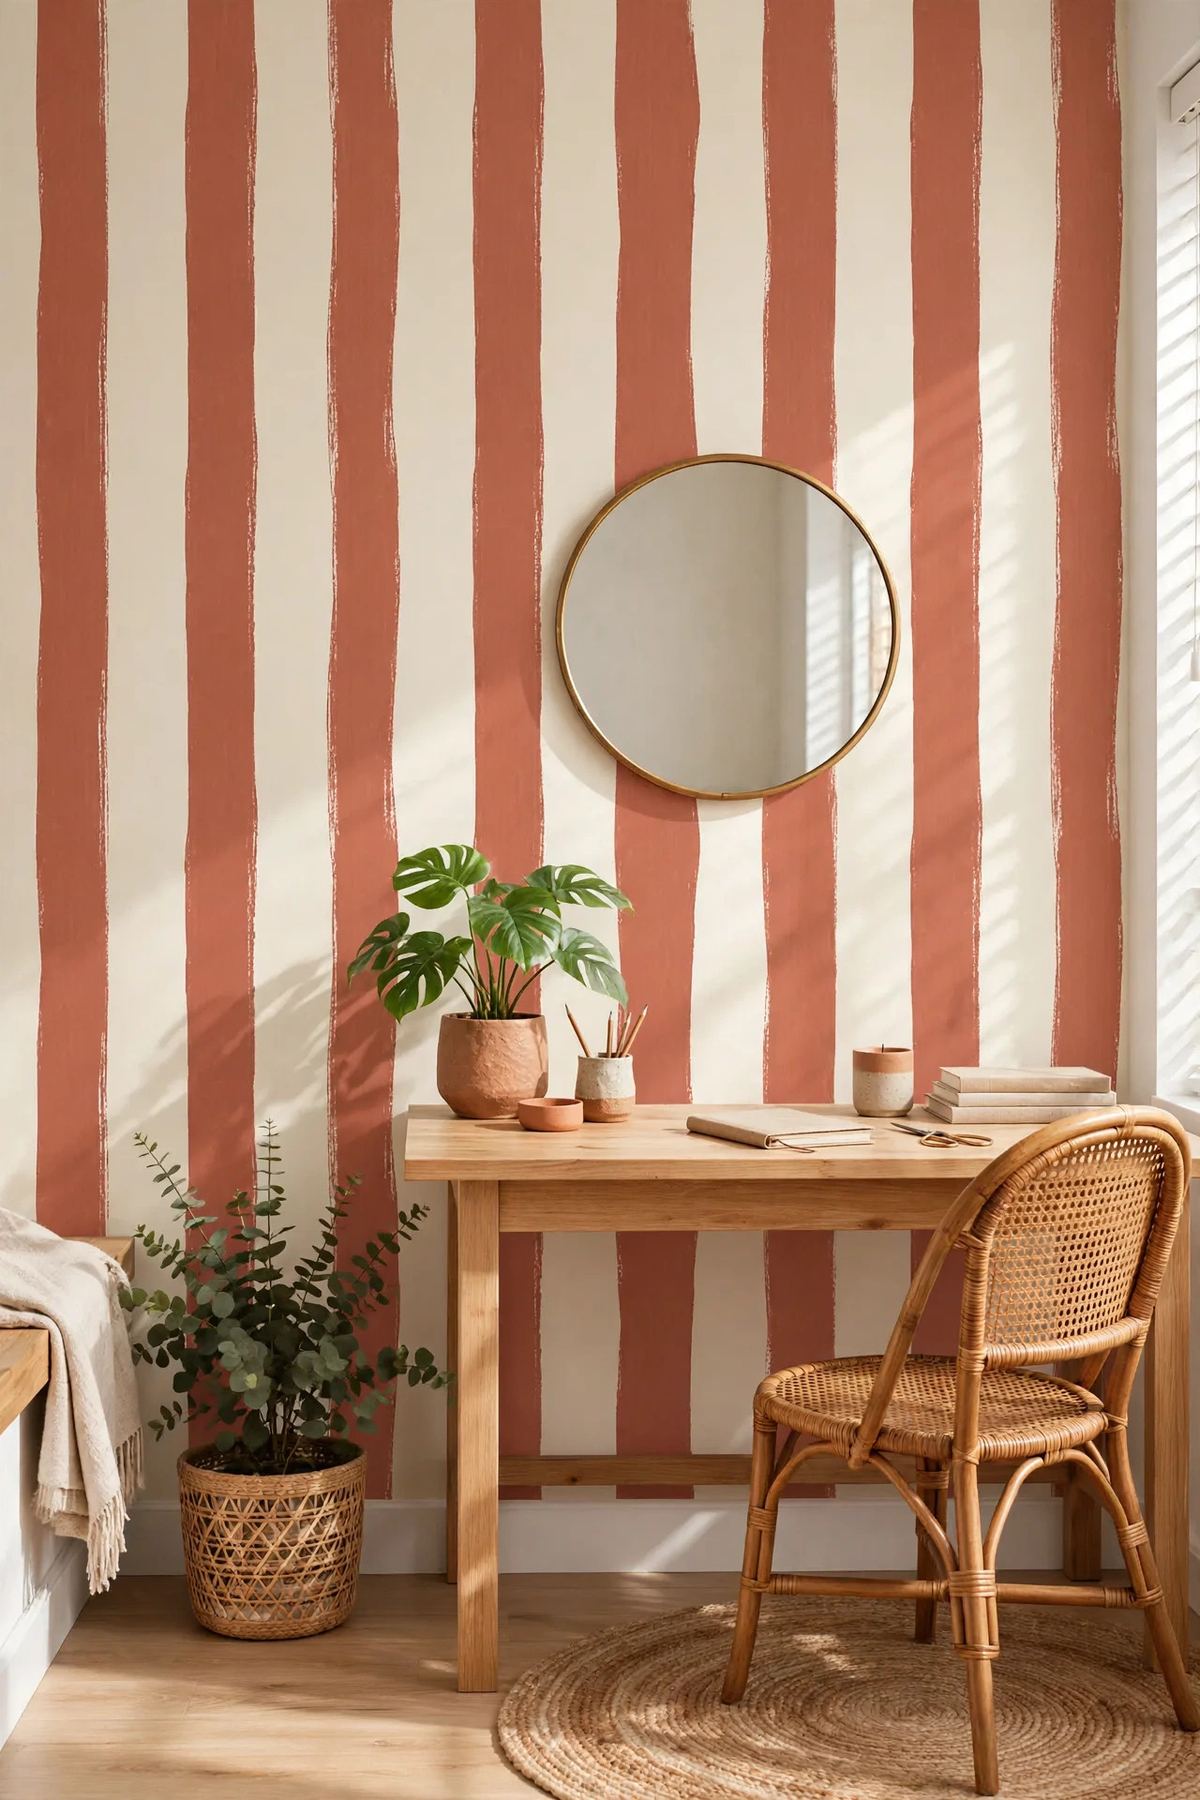
Looking for more wall inspiration? These accent wall paint ideas cover limewash, stripes, and color drenching.
Choosing the Perfect Paint Color
The arch color sets the entire mood of the room, so choose with your bedding in mind. Terracotta and warm clay are the most popular choices for good reason — they glow against white linens and suit everything from boho to modern bedrooms. Sage green brings calm, dusty rose feels romantic, and deep olive or warm charcoal creates drama in a larger room.
Always test a sample on the wall first and live with it for 48 hours, checking it in morning and evening light. For finish, eggshell or satin is ideal: flat shows every imperfection, while semi-gloss looks too harsh on a large shape. One quart is plenty for a standard arch — buy a sample pot only if your arch is very small.
Measuring and Marking Your Arch
Getting the proportions right is what makes an arch look custom instead of cartoonish. For a queen bed (60 inches wide), make your arch 72 to 84 inches wide — that is the bed width plus 6 to 12 inches on each side. Height-wise, 60 to 72 inches from the floor works beautifully, with the curve starting about two-thirds of the way up.
To mark the perfect curve, use the nail-and-string method: tap a small nail at the center point where the straight sides will start curving, tie a string cut to half your arch width, hold a pencil at the end, and sweep it across to draw a flawless semicircle. Mark the straight vertical sides with a level, then outline everything in painter's tape. For the curved section, apply short overlapping pieces of tape just outside your pencil line — or invest in flexible curve tape, which bends smoothly around the arc.
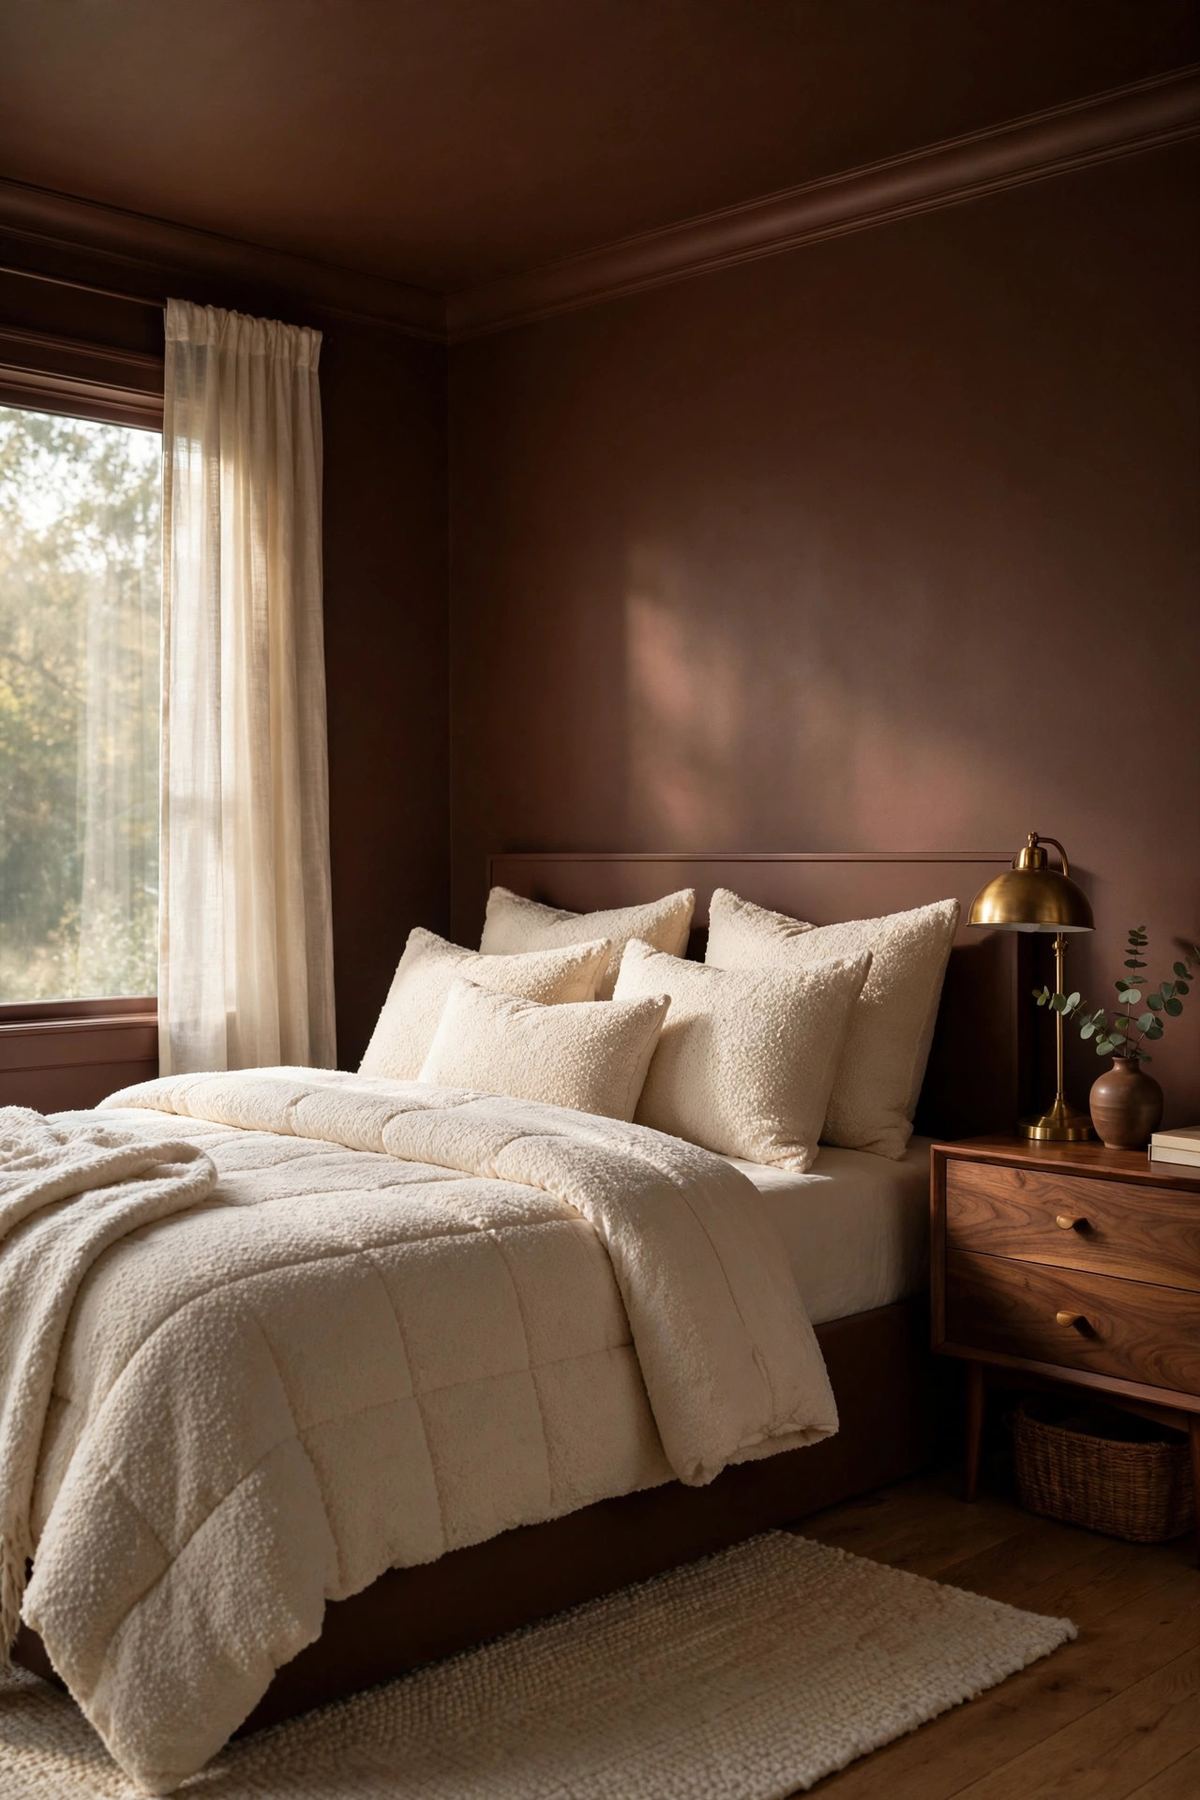
Warm browns are trending — see the best brown bedroom paint colors for 2026.
Step-by-Step: Painting a Crisp Arch
Prep the wall first: clean it, fill any holes, and lay a drop cloth. Press your painter's tape down firmly — run a credit card along every edge to seal it, since paint bleeding under tape is the number one cause of wobbly-looking arches. Cut in the curved edge first with a high-quality angled sash brush, using a steady hand and working in small sections.
Next, roll the interior of the arch with a small foam roller, applying two thin coats rather than one thick one. Thin coats dry faster, cover more evenly, and are far less likely to drip. Here is the pro move: remove the painter's tape while the second coat is still slightly tacky, pulling it away at a 45-degree angle. Waiting until paint fully dries is what causes peeling and ragged edges. Touch up any tiny bleeds with a small artist's brush and your wall's base color.
Styling Around Your Arch Wall
Here is the beautiful part: the arch is the art, so the rest of the styling can stay minimal. A low-profile bed frame lets the curve shine above it. Floating nightstands or slim-legged tables keep sightlines clean. If you want lighting, mount a pair of small plug-in sconces directly on the arch — the symmetry looks incredibly intentional.
Keep wall decor off the arch itself; hanging art over your painted curve defeats the purpose. Instead, let bedding do the talking: rumpled linen in white or cream, one textured throw, and pillows that pick up the arch color in a lighter or darker shade. The result is a bedroom that looks designed by a professional, for the price of a pizza night.
Follow The Decor Diary on Pinterest
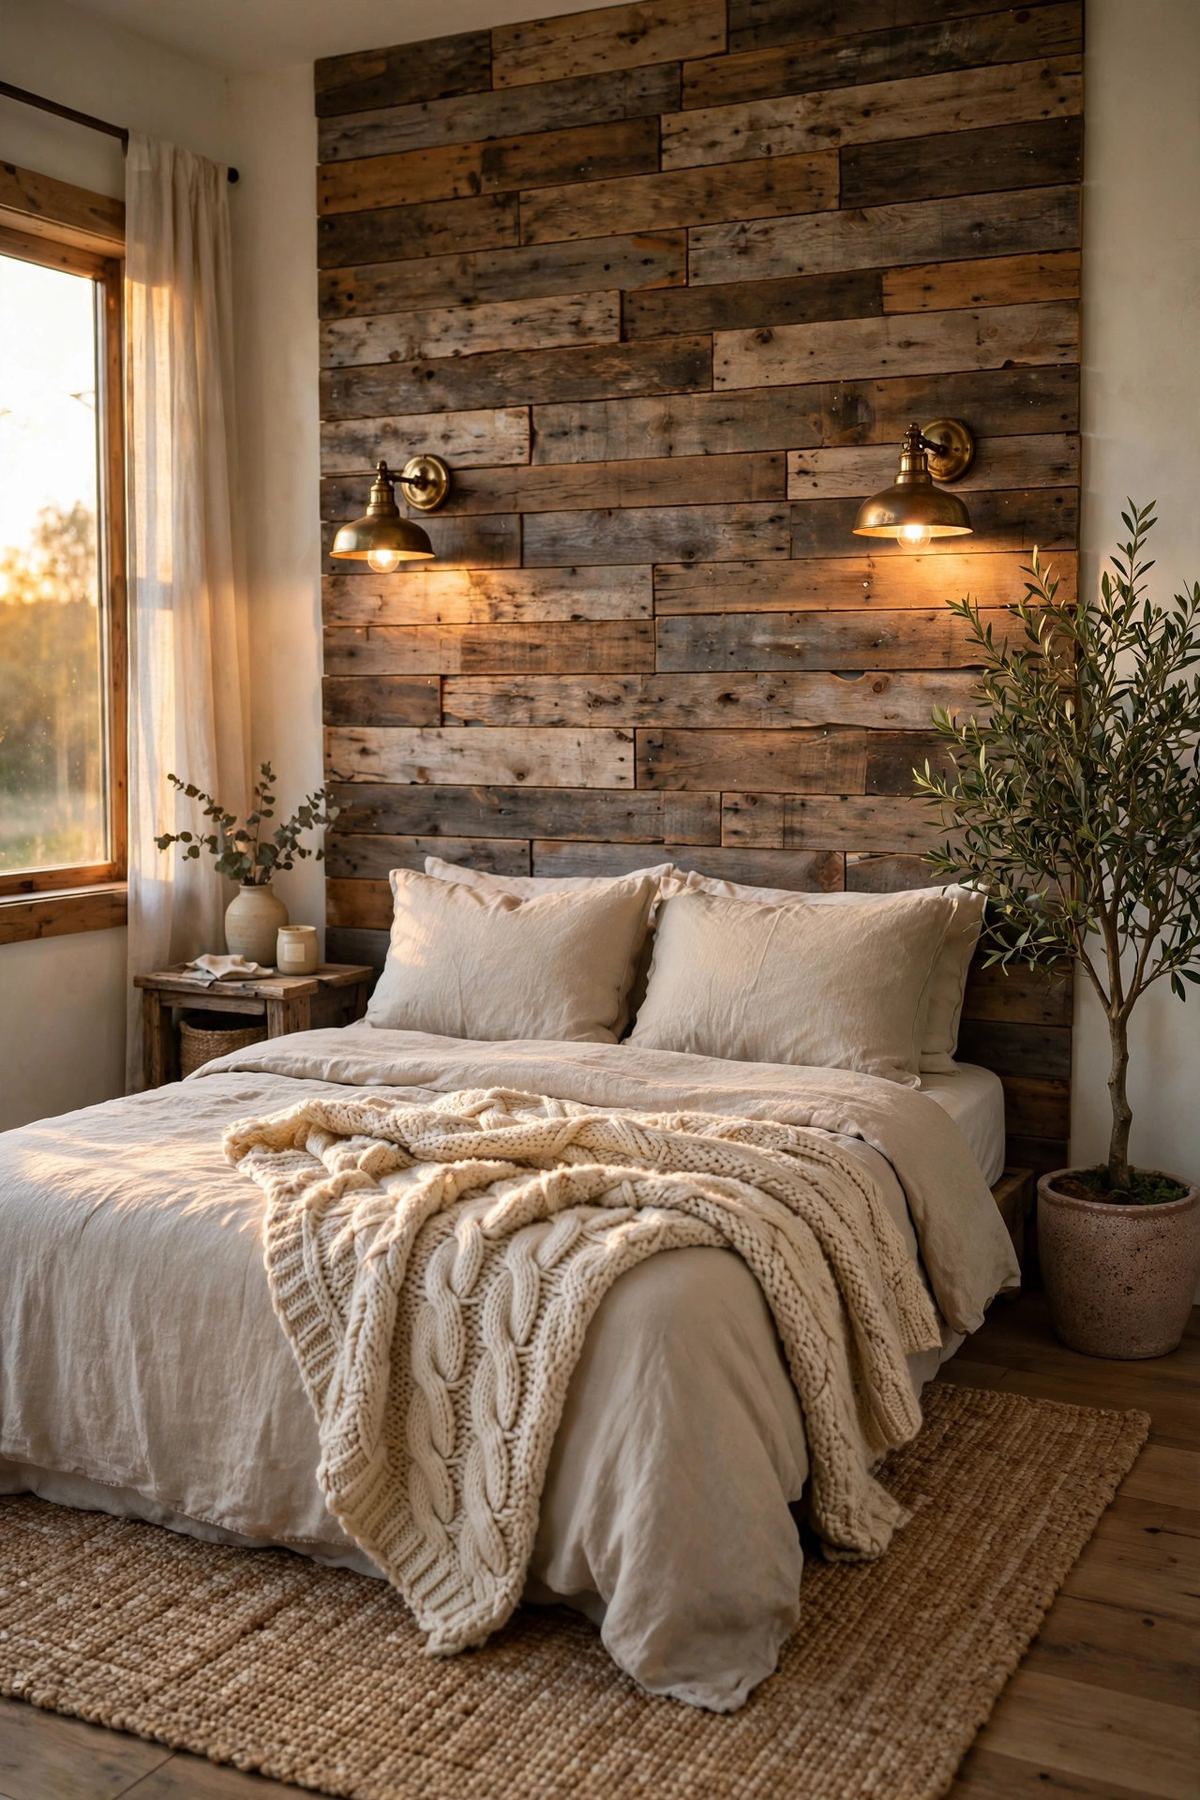
Prefer texture over paint? Build a DIY reclaimed wood accent wall instead.