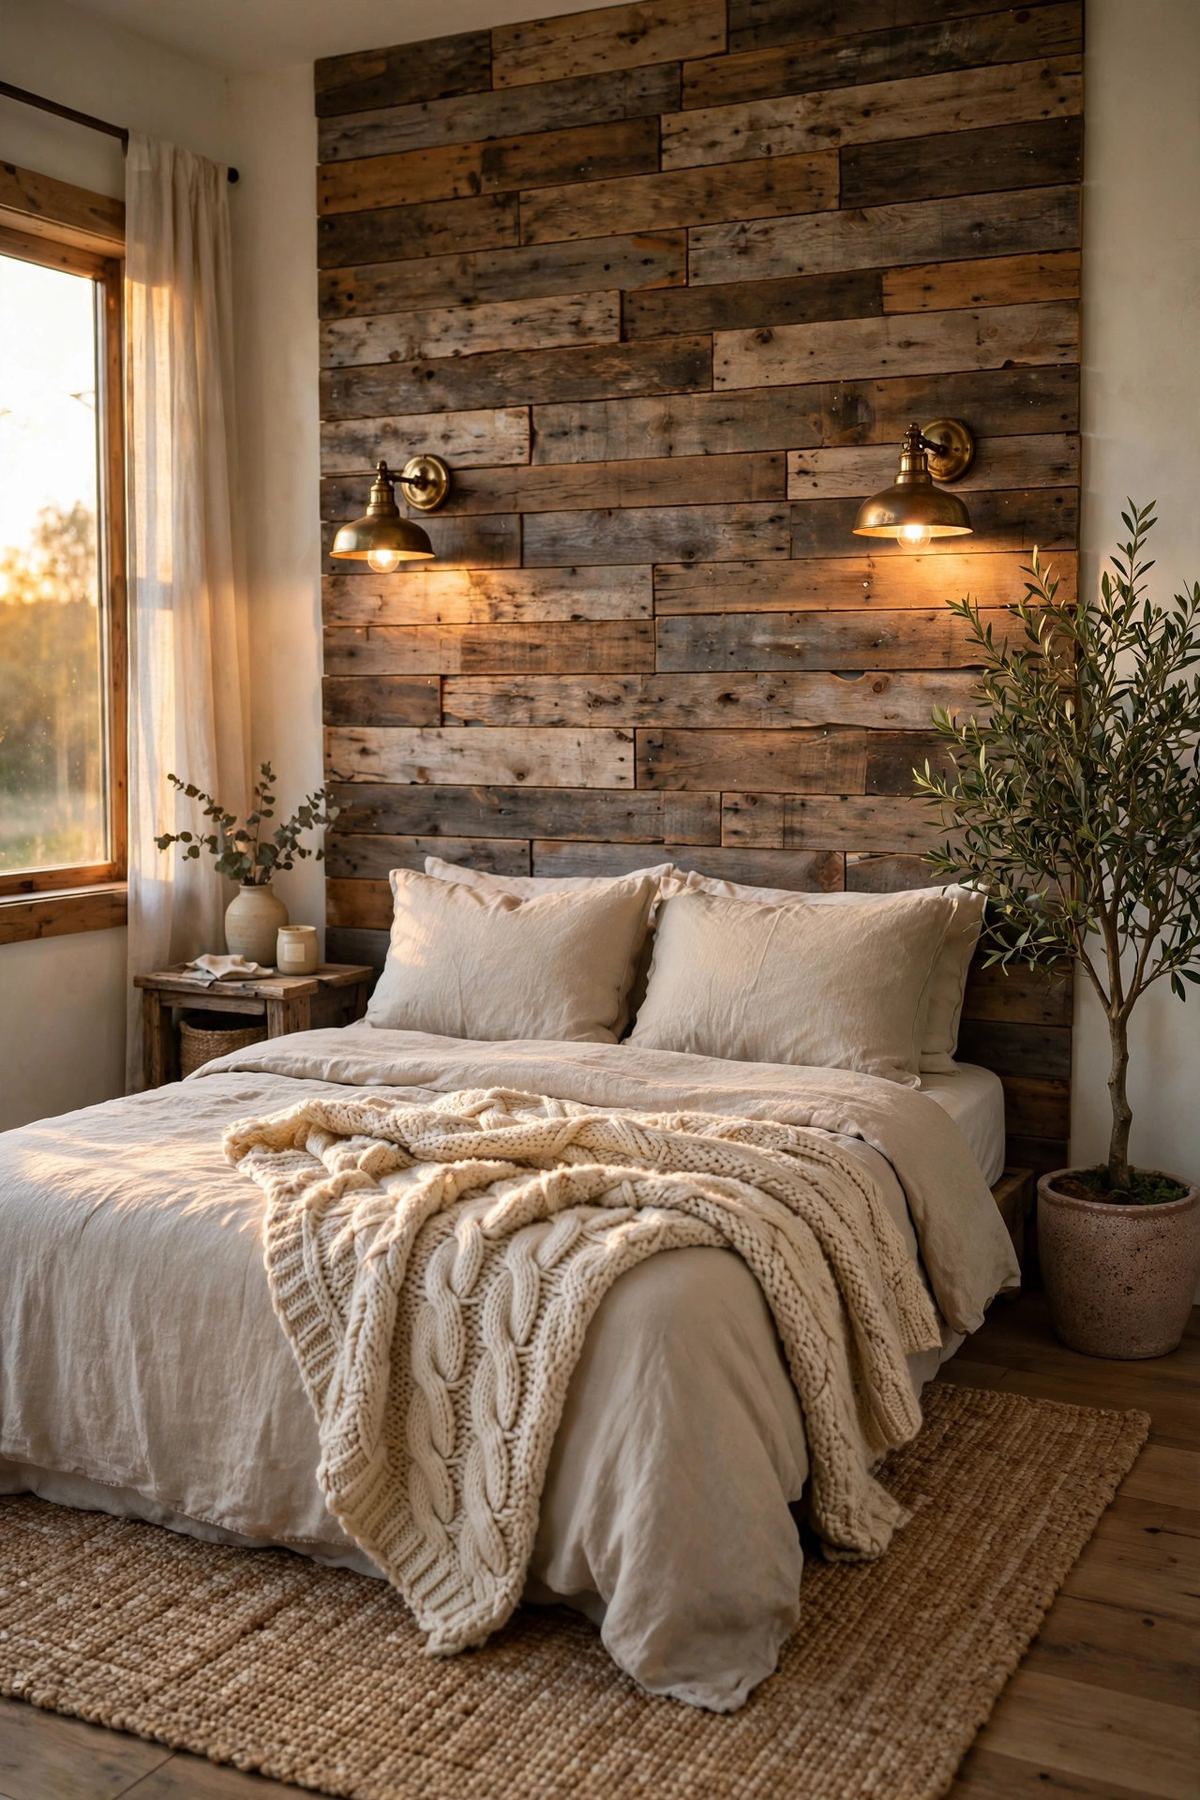
There is something about a reclaimed wood accent wall that instantly makes a bedroom feel warmer, richer, and more collected. Barn boards with their weathered grain, old nail holes, and sun-faded patina bring a sense of history that new lumber simply cannot fake — and the good news is that this is one of the most beginner-friendly DIY projects you can finish in a single weekend.
In this guide, I will walk you through every step of building your own DIY reclaimed wood accent wall, from sourcing affordable barn boards to the final styling touches. Expect honest budget numbers, the tools that actually matter, and the mistakes to avoid so your wall looks intentional and beautiful — not like a pile of fence posts stuck to drywall.
What You Will Need: Tools and Materials
Start by measuring your wall and calculating square footage, then add ten percent for cuts and waste. For a standard 10 by 8 foot bedroom wall, you will need roughly 88 square feet of boards. The essential tool list is short: a stud finder, a 4-foot level, a miter saw or circular saw, an 18-gauge brad nailer with a compressor (a hammer and finish nails work too, just slower), construction adhesive, paintable caulk, 120-grit sandpaper, and safety glasses and a dust mask. If you want a subtle sheen and extra protection, pick up a quart of matte water-based polyurethane as well.
For materials, look for boards between 4 and 8 inches wide and at least half an inch thick. True barn boards are ideal, but reclaimed fence pickets, pallet boards, and salvaged shiplap all work. Avoid anything with visible rot, heavy mold, or flaking old paint that could contain lead — boards from pre-1978 structures should be tested before you bring them indoors.
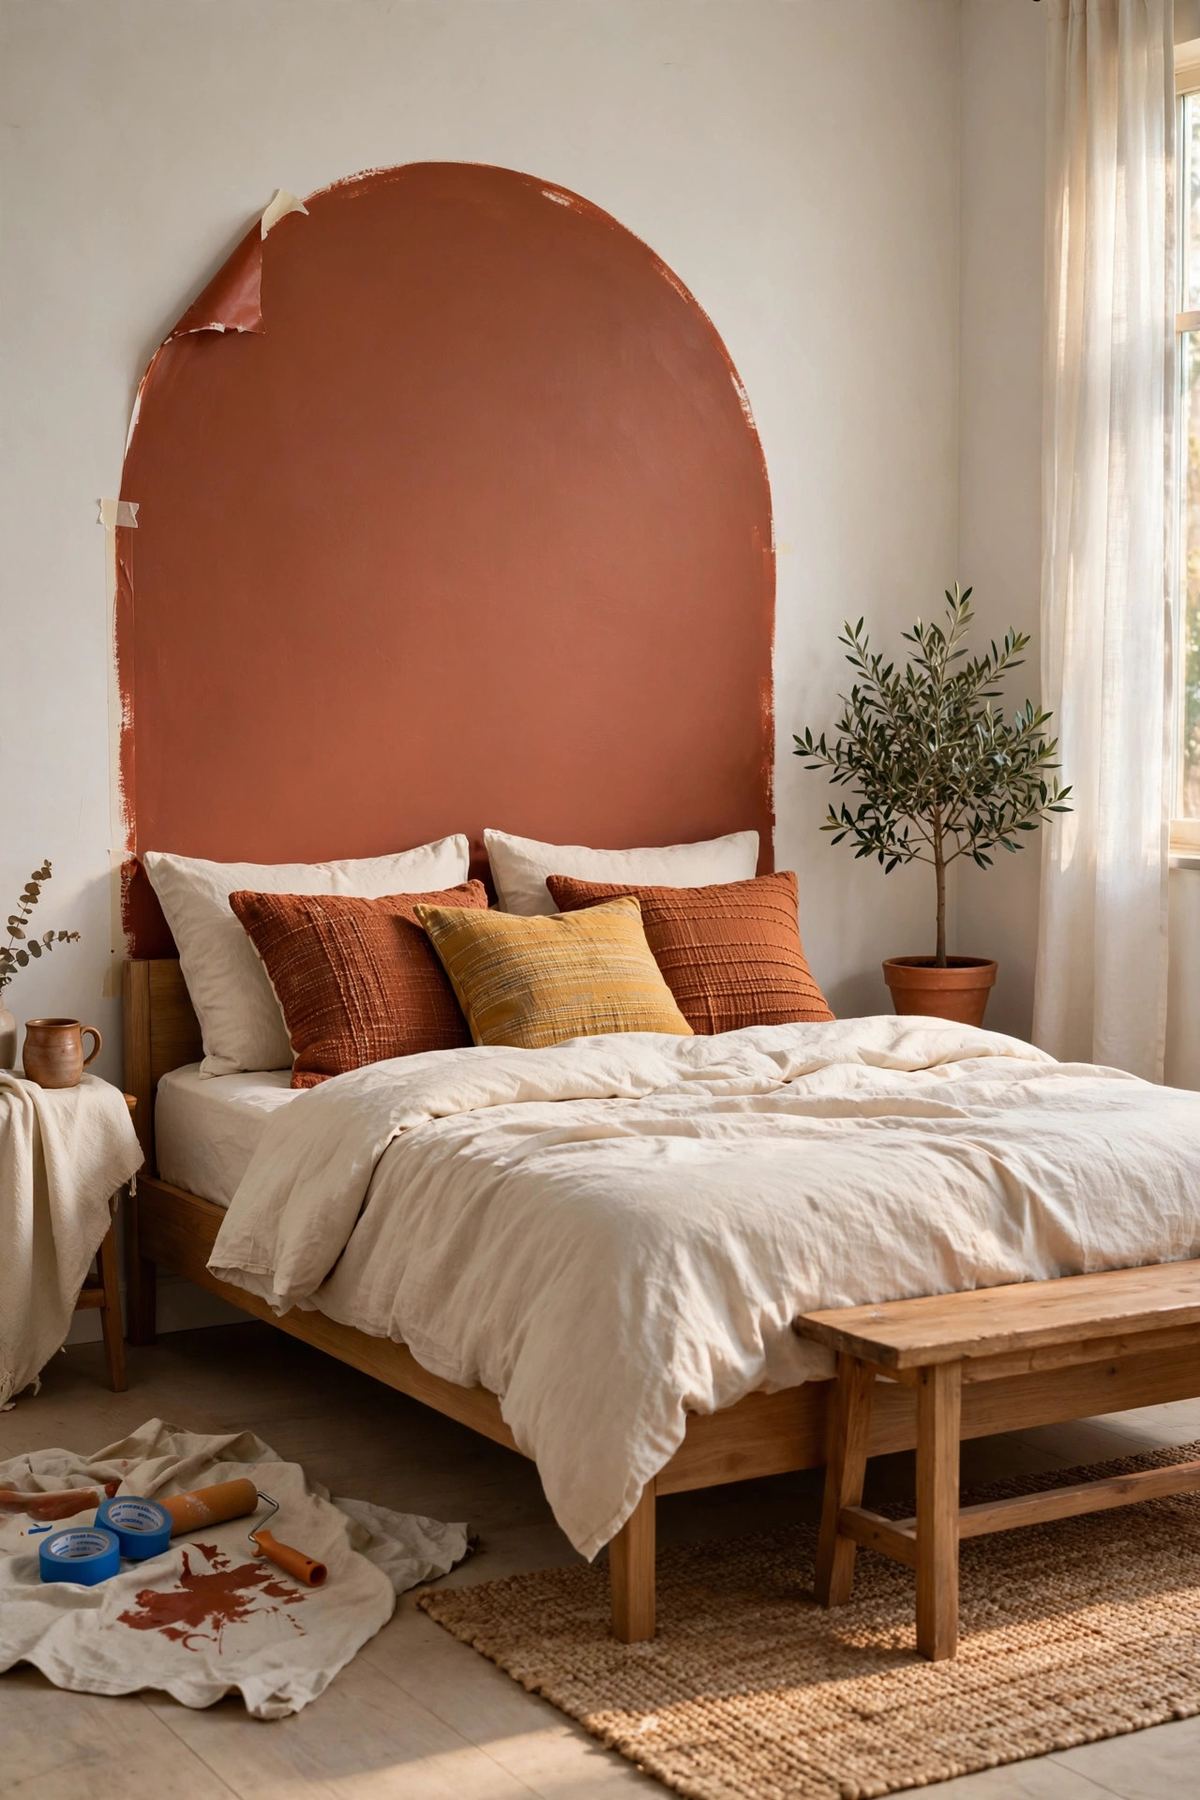
If you love a statement wall but prefer paint over wood, this DIY painted arch wall costs under $30 and takes a single afternoon.
How to Prepare Your Barn Boards
Preparation is the step most beginners skip, and it is the step that separates a great accent wall from a disappointing one. First, clean every board with a stiff brush and a mild soap solution, then let them dry completely. Stack the boards in the room where you will install them for 48 to 72 hours so the wood acclimates to your home's humidity — this prevents gaps from opening up later.
Next, pull any old nails with a cat's paw tool and give each board a light once-over with 120-grit sandpaper. The goal is to knock down splinters, not to sand away the patina — that weathered character is the whole point. Finally, sort your boards by tone, mixing light and dark pieces so the finished wall has even variation instead of one dark blob in the corner.
See more budget home makeovers under $100 for high-impact, low-cost upgrades.
Step-by-Step: Installing Your Reclaimed Wood Accent Wall
Begin by finding and marking every stud with painter's tape, then snap a level baseline where your first row will sit. Plan your layout before you nail anything: horizontal boards are classic and make ceilings feel higher, while vertical boards add drama and height. Stagger the end joints like brickwork so no two seams line up — this is what makes the wall look professionally installed.
Working from the bottom up, run a zigzag of construction adhesive on the back of each board and pin it with brad nails into the studs wherever possible. Use a jigsaw to cut neat openings around outlets and switches, and check your level every few rows since old boards are rarely perfectly straight. When you reach the top, fill the nail holes with color-matched wood filler only if you want a cleaner look — many people leave them for character. Caulk the perimeter edges, and if you like, roll on one thin coat of matte polyurethane to lock in the finish without adding shine.
For more color inspiration, browse these accent wall paint ideas for living rooms.
Budget Tips: Where to Find Cheap Reclaimed Wood
Reclaimed wood typically costs between one and four dollars per square foot, compared to six to ten dollars for new decorative lumber — so a 10 by 8 foot wall usually lands between 80 and 320 dollars total. Architectural salvage yards are the most reliable source, but do not overlook Facebook Marketplace, Craigslist's free section, and local demolition sites (always ask permission first). Old privacy fences being torn down are a goldmine, and many contractors will let you haul boards away for free.
Pallet wood is the cheapest option of all, but it takes far more labor to disassemble and plane, and you must check the heat-treatment stamp to make sure it is safe for indoor use. Whatever source you choose, inspect every board in daylight before you load it into your car — it is much easier to reject a warped or rotten board at the salvage yard than in your bedroom.
Styling Your New Bedroom Accent Wall
Once the wall is up, let it be the star. Keep bedding simple — white or natural linen lets the wood tones take center stage — and choose a bed frame with clean lines, like black metal or a simple upholstered headboard, so it does not compete with the texture behind it. Warm bedside lighting is essential: brass or black table lamps with warm-white bulbs will make the grain glow in the evening.
Resist the urge to hang a gallery wall on top of your new accent wall. One oversized piece of art or a single round mirror is plenty. A good rule of thumb: the wood wall is already doing the decorating work, so everything else in the room can pull back a little. That restraint is what makes the finished bedroom feel designed rather than busy.
Follow The Decor Diary on Pinterest
Warm shades like these brown bedroom paint colors pair beautifully with natural wood tones.