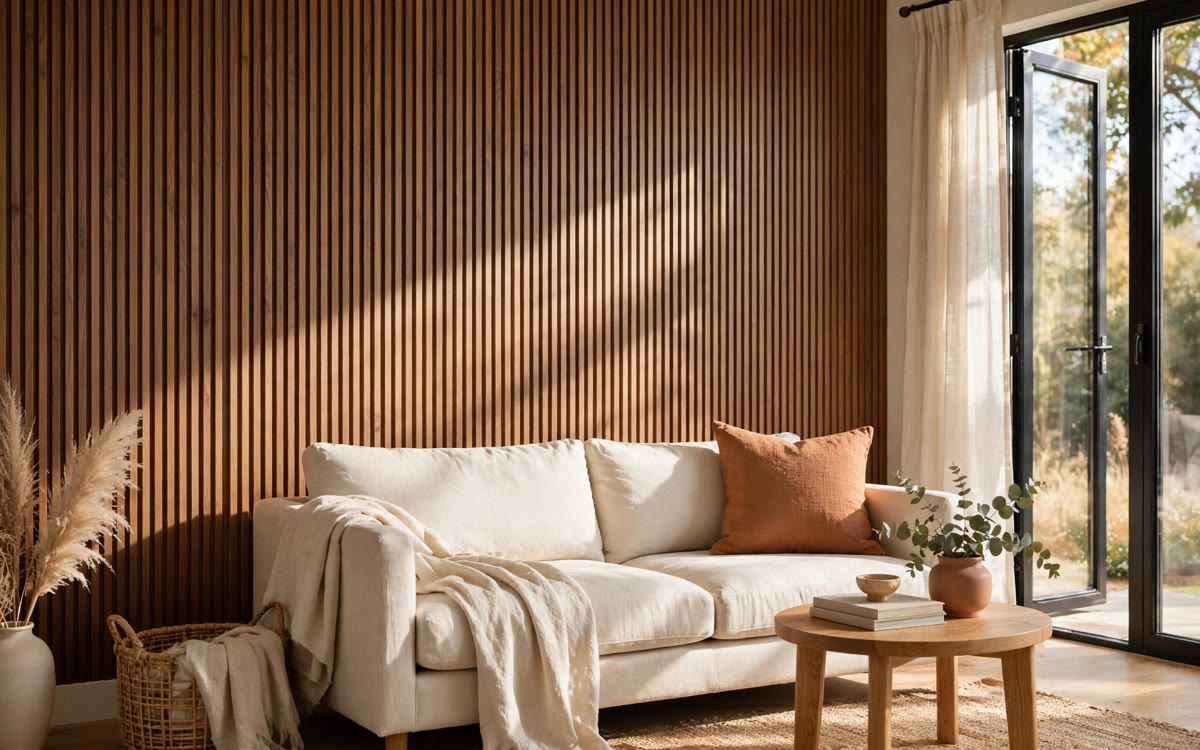
Here is how to install fluted wood panelling and turn the flattest, dullest wall in your home into the one everyone photographs. Fluted panelling — those slim vertical grooves you keep spotting in designer living rooms — catches light, adds depth, and makes even a rental-grade drywall wall look custom-built. The best part? The panels arrive pre-grooved, so this is a measure, cut, glue, and nail job you can finish in a single weekend with basic tools.
If you have ever hung a picture level and caulked a bathtub, you already have most of the skills this project needs. Below you will find exactly what to buy, what it costs, the step-by-step method, and the small mistakes that separate a pro-looking install from one that screams DIY.
What Is Fluted Wood Panelling (and Why Everyone Wants It)
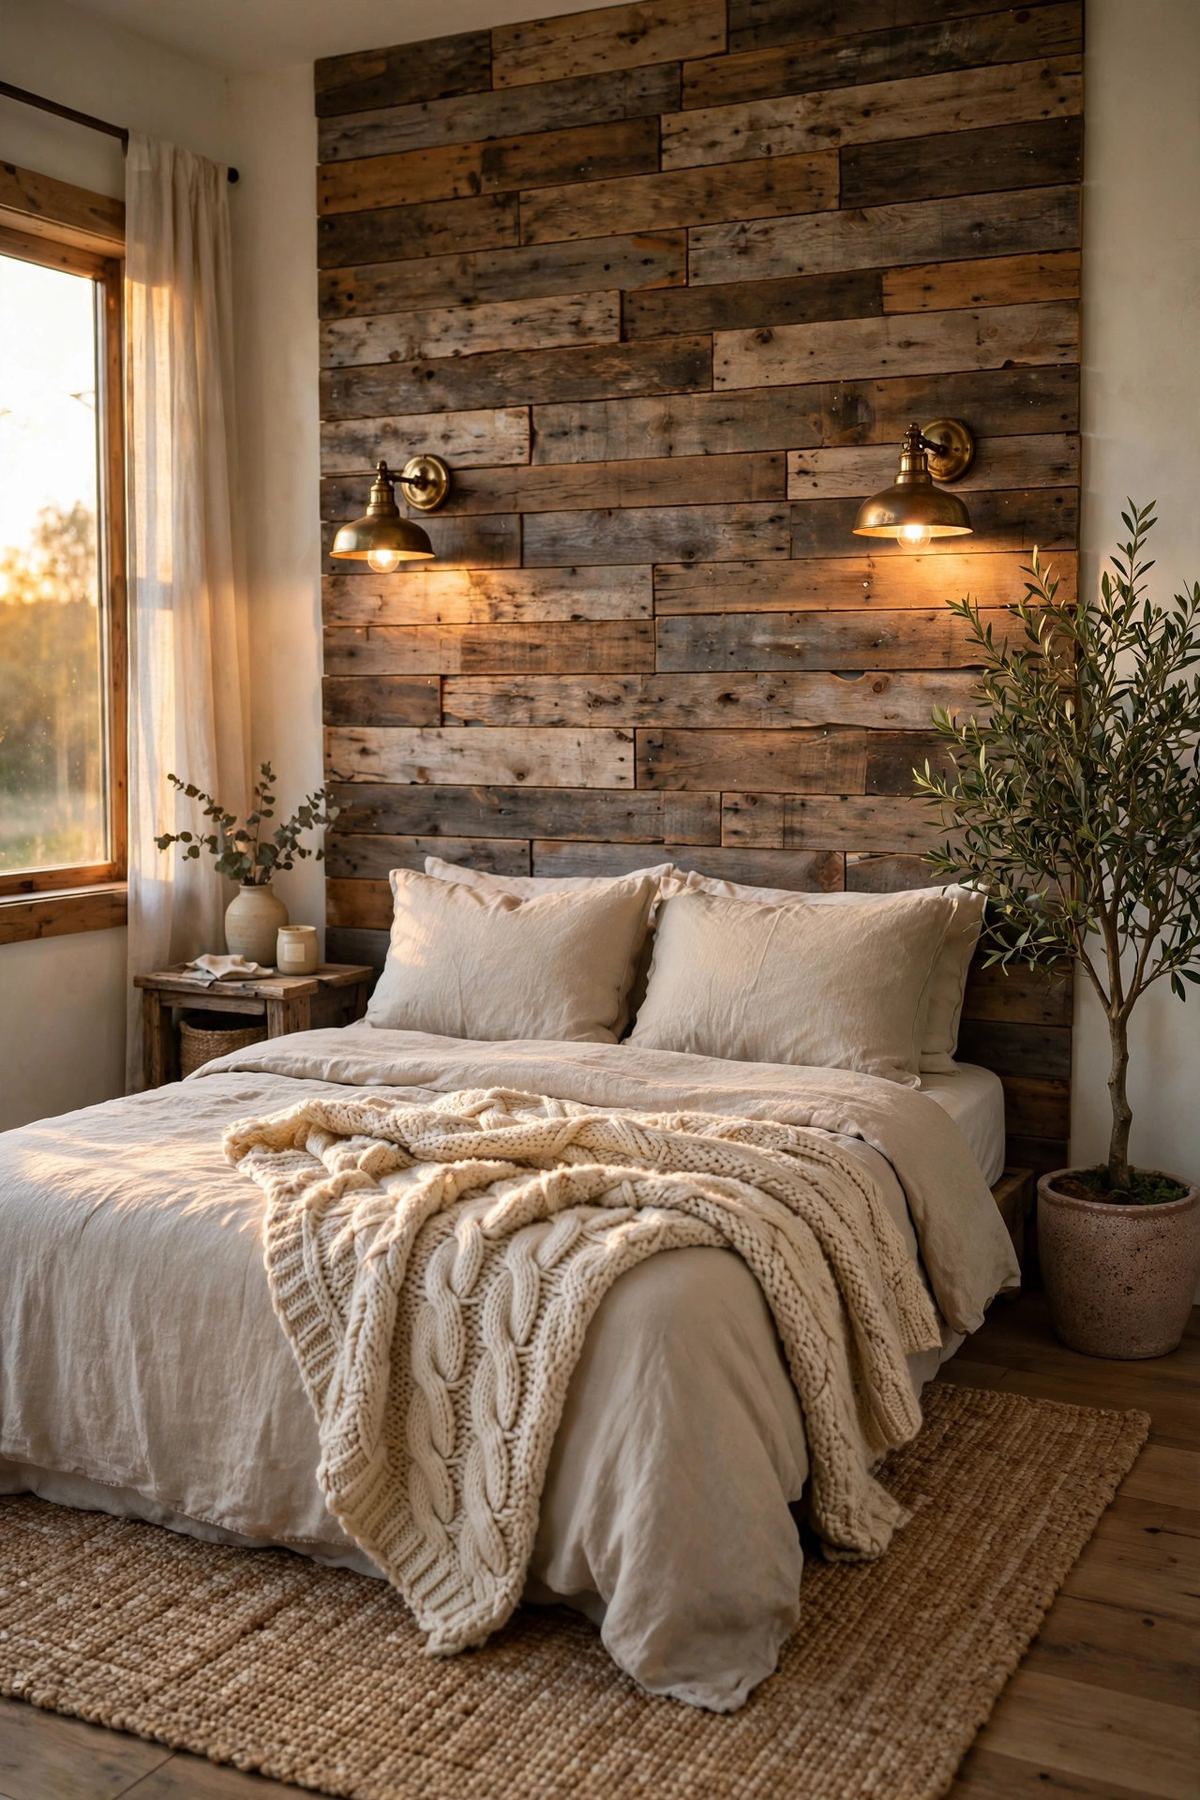
Fluted panelling is a series of narrow, vertical wood slats with concave grooves between them. Unlike a reclaimed wood plank wall, which reads rustic, fluting reads refined — the repeating grooves create a rhythm of light and shadow that shifts through the day, which is why designers call it "architectural texture."
In 2026 it is everywhere: walnut fluting behind beds, oak slats framing TVs, paintable MDF versions in dining rooms. The look works with almost any style because the texture does the decorating for you. A room with fluted panelling barely needs art on that wall, which is part of why it is so popular in minimalist and warm-modern homes.
Panels typically come in two forms. Full panels are wide sheets (often 96 x 5 inches) with grooves milled in — fast to install, fewest seams. Slat kits are individual strips you space by hand — more work, but you can customize the groove spacing. For a first-timer, full panels are the easy win.
Materials, Tools, and Real Costs
Start by measuring your wall: height times width gives your square footage, then add 10 percent for offcuts. A standard 8-foot-tall, 10-foot-wide wall is 80 square feet; order 88 to be safe. Panels come 8 feet tall, so for 9-foot ceilings you will either need 9-foot panels (ask your supplier) or a baseboard-height rail to cover the gap.
What to buy: fluted panels ($3-$8 per square foot depending on material), construction adhesive in tubes (one tube covers roughly 20-25 square feet), 18-gauge brad nails (1.25 inch), paintable caulk, and wood filler in a matching tone. Tools: tape measure, 4-foot level, circular saw or jigsaw with a fine-tooth blade, brad nailer (a rental is fine), caulk gun, stud finder, and painter's tape.
Real cost for an 8x10 wall: paintable MDF panels at $4 per square foot come to about $350 in panels, plus $40-$50 in adhesive, nails, and caulk — roughly $400 all in. Real walnut or oak veneer panels at $7-$8 per square foot push the same wall to $600-$700. Compare that with custom millwork, which starts around $2,000, and the DIY value is obvious. If the wall only needs paint instead, these accent wall paint ideas are the cheapest refresh there is.
Step-by-Step: Installing Your Fluted Panels
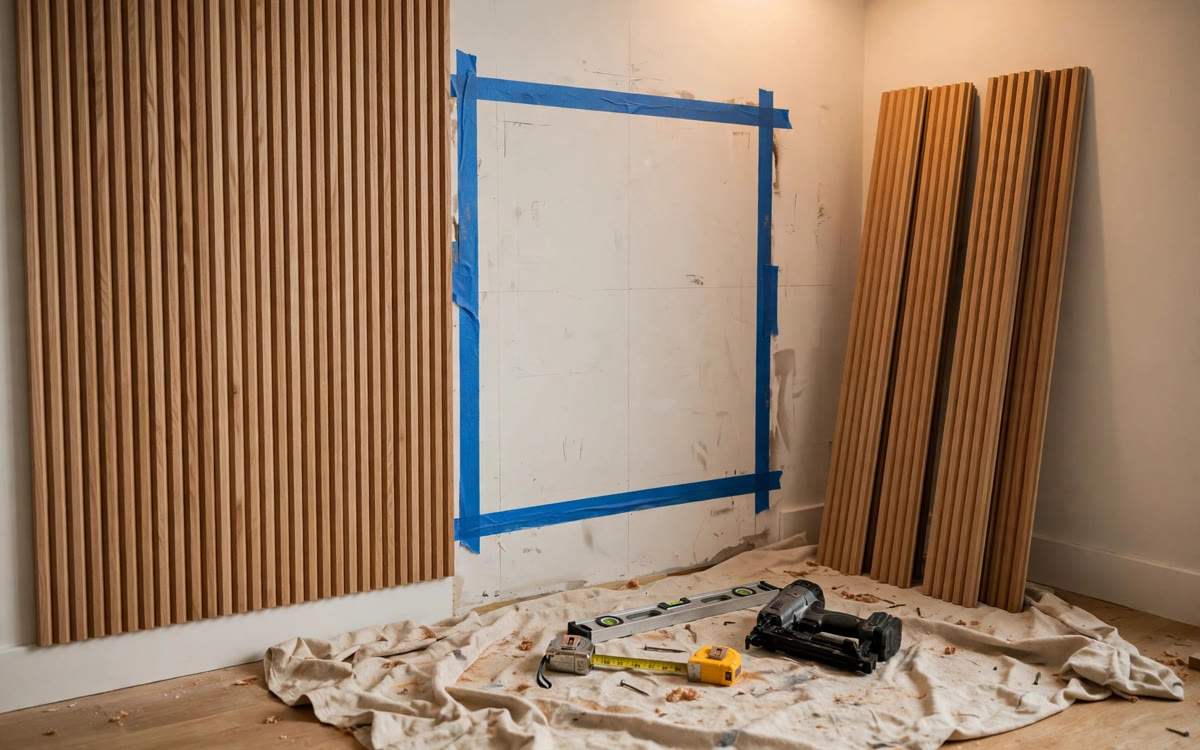
1. Prep the wall. Remove outlet covers, patch big holes, and wipe the wall clean. Mark your studs with painter's tape running vertically — you will aim your brad nails there. If your wall color shows between grooves, paint the wall a close match to the panels first; a dark wall behind walnut panels makes gaps invisible.
2. Dry-fit from the center out. Start at the visual center of the wall and work toward both corners, so any cut panels land at the edges where they are least visible. Hold each panel up, check it is plumb with your level, and mark your cuts. Pro move: number the back of each panel with painter's tape so they go back in the right order.
3. Cut carefully. Cut with the finished face up on a circular saw (or face down with a jigsaw) to avoid chipping the veneer. For outlets, make a paper template first, trace it on the panel, and cut with a jigsaw. Always wear a mask with MDF — the dust is nasty.
4. Glue and nail. Apply construction adhesive in a zigzag on the back of the panel, press it firmly onto the wall, then pin it with brad nails into the studs — one nail per stud, driven into the groove valleys so the heads disappear. Check plumb on every panel; walls are never perfectly straight, and a 2-degree lean compounds fast across a wide wall.
5. Finish the details. Caulk the outside edges where panels meet the wall, fill any visible nail heads with color-matched filler, and touch up. Step back from 10 feet: the seams between panels should nearly vanish into the groove pattern.
5 Styling Ideas for Fluted Panelling
1. The walnut sofa wall. Floor-to-ceiling walnut fluting behind a light linen sofa is the signature 2026 look — dark wood, pale upholstery, one warm floor lamp. The contrast is what makes it sing.
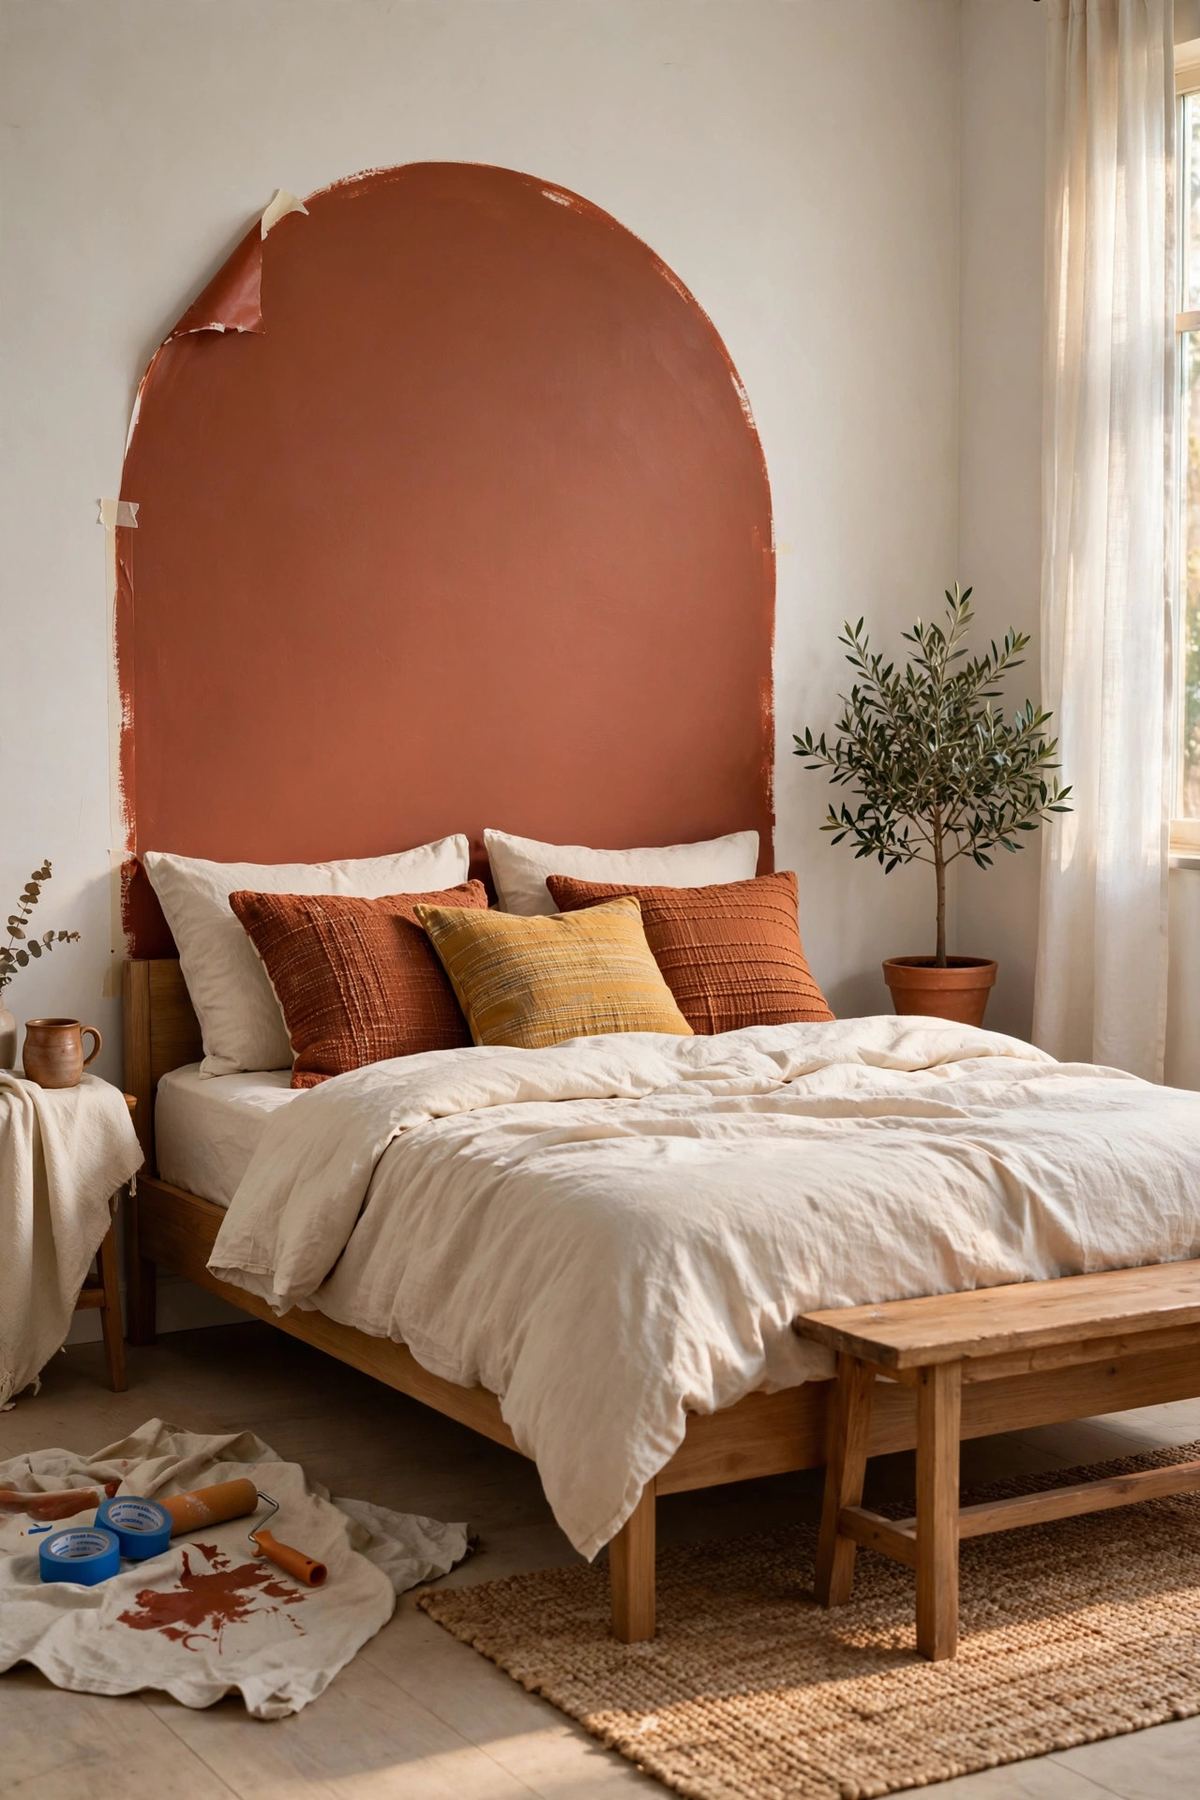
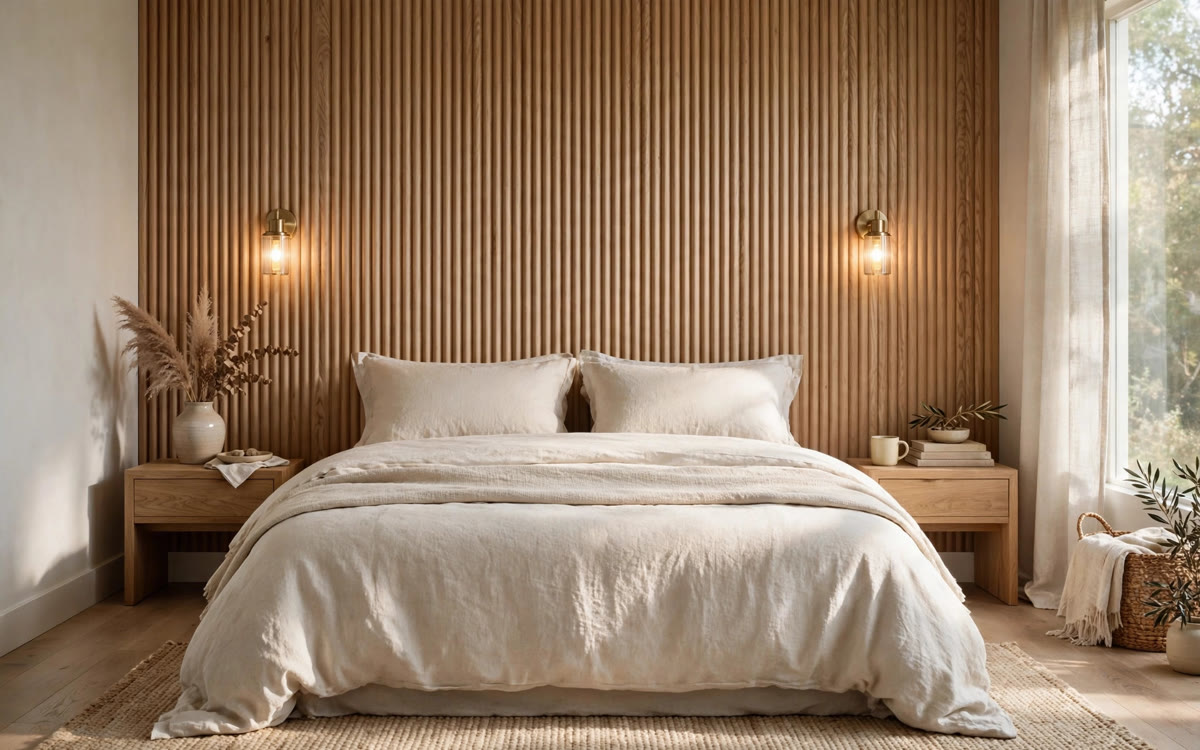
2. The headboard wall. Run light oak fluting behind the bed from floor to ceiling and mount two small sconces directly on it — you get a built-in headboard, nightstand lighting, and zero need for wall art. It is the wood-toned cousin of this painted arch headboard idea.
3. The TV wall. Fluting hides a TV wall's flatness beautifully. Mount the TV on the panels with long lag screws into the studs behind — never trust the adhesive alone with a heavy screen.
4. Painted, not wood. MDF fluted panels take paint gorgeously. A deep forest green or inky blue painted fluting reads luxe and costs half of real wood — the texture is what you are paying for, not the species.
5. Small moments. A single fluted column between rooms, the back of a bookshelf, or a kitchen island face all give you the look for under $100. If you like texture-on-walls ideas, this DIY limewash wall is another weekend-friendly option.
5 Mistakes That Make Panelling Look Cheap
Skipping the wall paint behind the panels. A white wall peeking through the grooves ruins the effect. Paint the wall within one shade of your panels first — always.
Starting from a corner. Corners are rarely square, so a panel set plumb in the corner drifts visibly by the time you reach the other end. Always start from center and let cut pieces absorb the wonky corners.
Nailing only into drywall. Adhesive plus nails into studs is the combo that lasts. Panels held by drywall anchors alone will bow outward within a year as humidity cycles.
Ignoring outlets and switches. Plan for them in your layout, not after the fact. A switch plate landing mid-groove looks intentional; one landing half-on a slat looks like a mistake.
Choosing a busy wall. Fluting needs a clean run to read as architecture. Skip walls broken up by many doors, windows, or vents — the interruptions chop the rhythm and waste expensive panels.