Here is the decorating secret behind half the Christmas photos stopping you mid-scroll: they are not expensive rooms. They are cheap rooms with one rich-looking detail. Velvet bow Christmas decor is that detail this year — oversized velvet bows on trees, mantels, chairs, and wreaths are the defining 2026 Christmas look, and the whole thing costs less than a box of ornaments.
In this guide, you will learn how to tie a big, full velvet bow in about two minutes, then 9 step-by-step velvet bow Christmas decor ideas for every corner of your home — with the real costs, the exact ribbon sizes that work, and the mistakes that make bows look cheap instead of designer.
How to Tie a Big Velvet Bow (Step by Step)
Forget everything you learned making bows in school. The big, full bows on designer trees are not tied by hand — they are built. Here is the method, and it takes about two minutes once you have done it once.
What you need: wired velvet ribbon, 2.5 to 4 inches wide (the wire in the edges is what holds the loops open — unwired ribbon goes flat within days), scissors, and a 12-inch piece of floral wire or a pipe cleaner.
- Cut your ribbon. For a statement bow 8 to 10 inches across, cut about 3 yards. Bigger bows need more, not wider ribbon.
- Make the center loop. Pinch the ribbon about 8 inches from one end and make your first loop, folding the ribbon back on itself. The loops should each be about 6 to 8 inches long — this is the bow's real size.
- Stack 3 to 4 loops each side. Keep folding back and forth, alternating sides, pinching every fold between your thumb and forefinger. Four loops per side makes a full, plush bow; two per side makes a sleeker one.
- Wire the center. Twist the floral wire tightly around the pinched center. Pull it hard — a loose center is why homemade bows fall apart.
- Fluff and shape. Pull the loops apart gently, spread them like a flower, and shape the wired edges with your fingers. Cut the two tails on an angle or in a dovetail notch for a finished look.
The finished bow should be 8 to 12 inches across. One ten-yard roll of wired velvet ribbon (6 to 12 dollars at craft stores) makes 8 to 10 large bows, which means two rolls can bow-style a tree, a mantel, and a staircase for under 25 dollars. Once you can make one bow, all 9 ideas below are variations on the same two minutes of work.
9 Velvet Bow Christmas Decor Ideas
1. Statement bows scattered through the tree
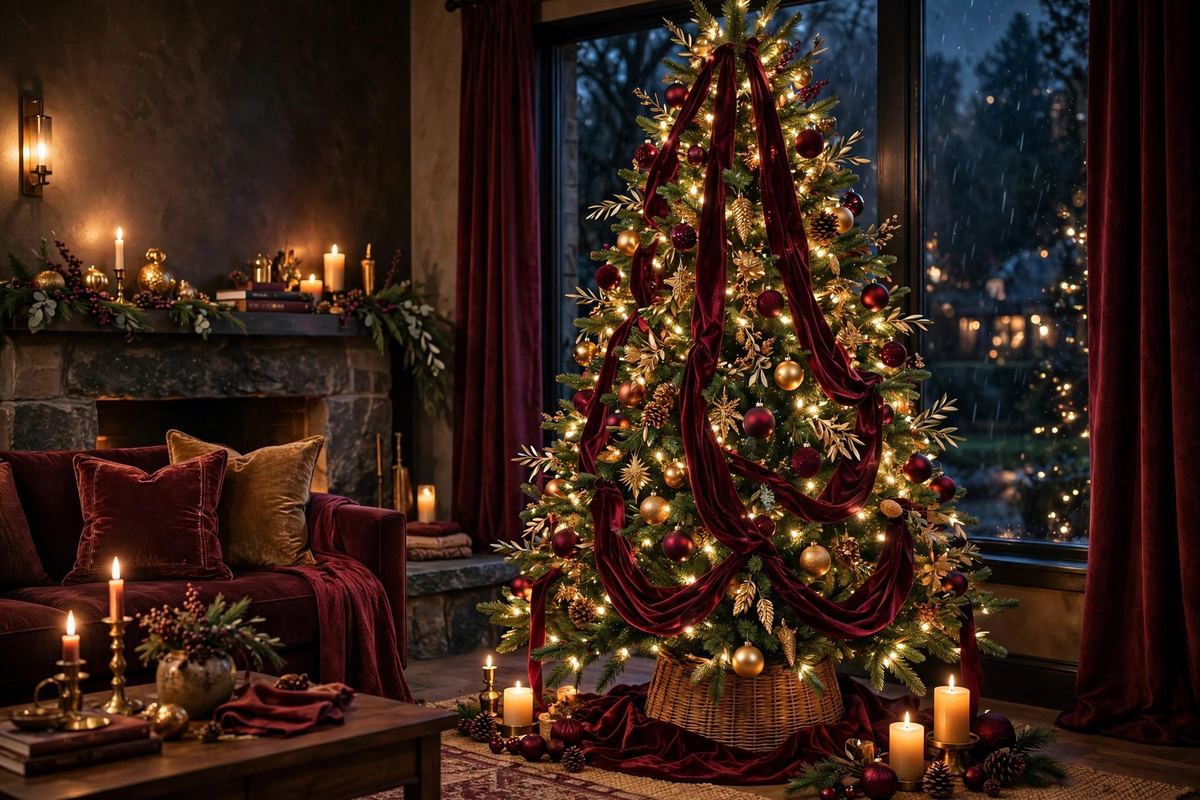
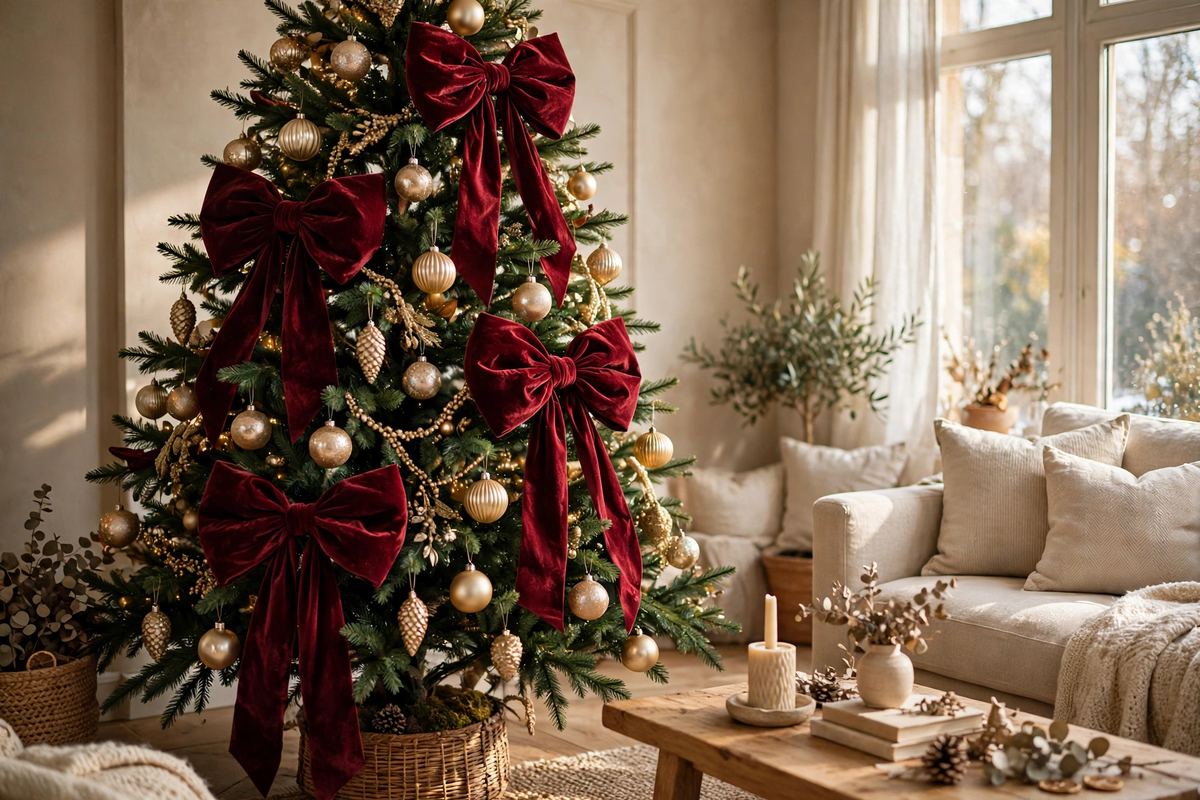
This is the look from every 2026 Christmas trend report: instead of one lonely bow on top, wire 10 to 14 statement bows directly into the branches, spaced evenly around the upper two-thirds of the tree. Twist the floral wire around a branch behind the bow so the bow sits on the branch, not floating in front of it. Stagger them like bricks rather than lining them up in rows — the slight irregularity is what reads designer. A 7-foot tree takes about 10 to 14 bows, which is roughly 8 to 12 yards of 3-inch wired velvet ribbon.
2. One oversized bow as the tree topper
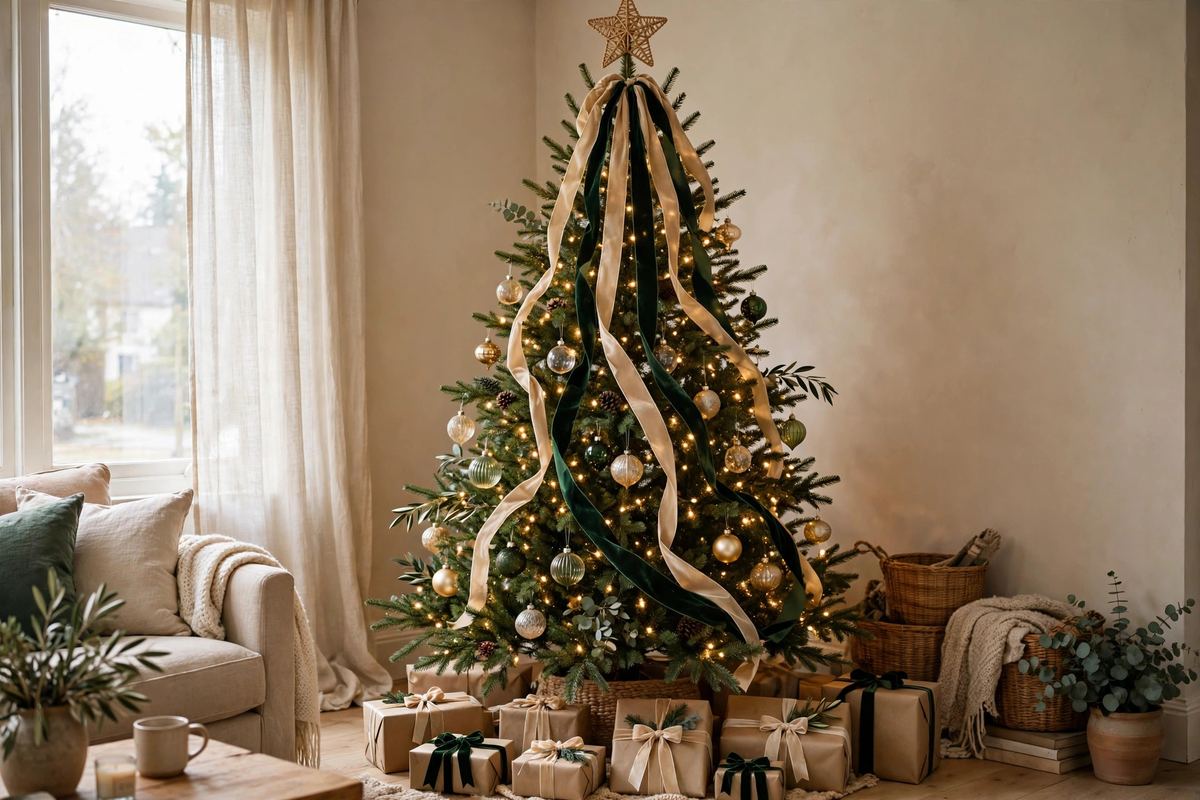
Skip the star and build one dramatic bow, 12 to 14 inches across, for the very top of the tree. Use the stiffest wired ribbon you can find (double-sided velvet holds best), wire it directly to the top leader branch, and let two long tails — 24 to 30 inches — cascade down the front of the tree. The tails matter as much as the bow; they carry the eye downward and make the whole tree feel finished. One big bow plus the scattered-tree technique above is the single most photographed Christmas tree formula on Pinterest this season. On a skinny tree, one medium bow as the topper is already a whole look — see how toppers and ribbon scale down in our pencil Christmas tree ideas for small spaces.
3. Bows wired into the mantel garland
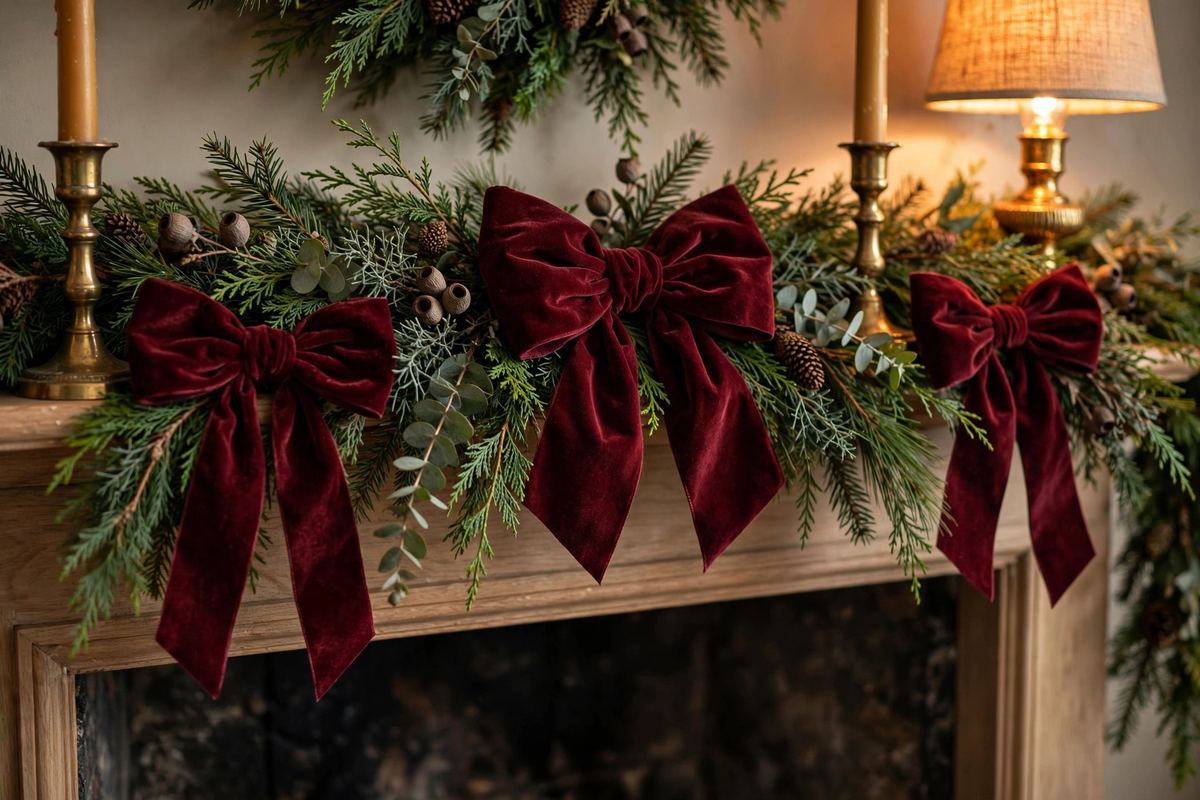
Wire three to five bows into your mantel's evergreen garland, spacing them between candles and stockings. Anchor each bow's wire around a thick section of garland (not the thin tips) so the weight sits securely. Alternate bow sizes — two large, one medium — for a collected, unstudied look. The whole mantel takes under 20 minutes and about 4 yards of ribbon.
4. Bows tied on dining chair backs
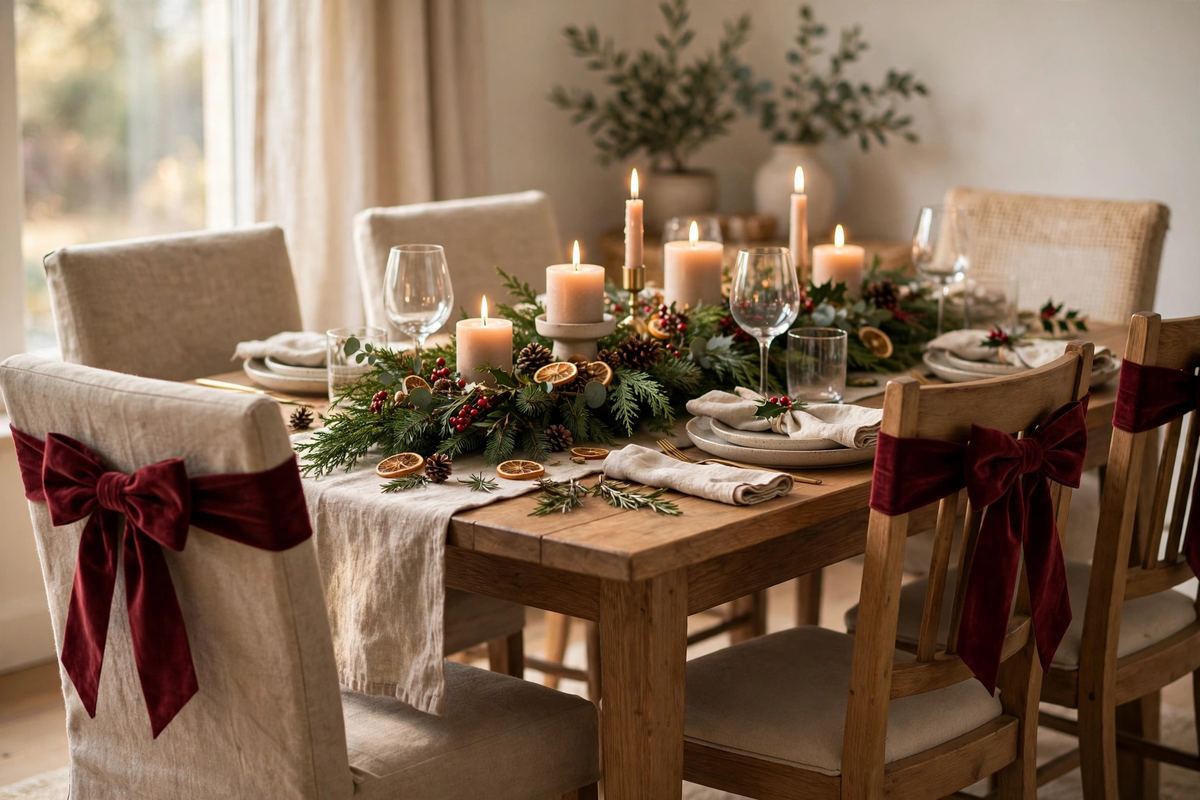
This is the detail guests always ask about. Tie a medium bow (5 to 6 inches across, made with 1.5-inch ribbon) onto the back of every dining chair with a simple knot around the chair back. It turns an ordinary table into a styled set without touching the table itself. For six chairs you need about 6 yards of narrower ribbon and 15 minutes — this is the highest compliment-per-dollar move on this entire list.
5. A bow as the wreath centerpiece
A plain evergreen wreath becomes a designer piece with one change: replace the small bow it came with for a big 8-to-10-inch handmade velvet bow pinned at the top or bottom center. Pull the loops slightly asymmetrical — one tail longer than the other — so it looks hand-styled rather than store-bought. If your wreath hangs on the front door, choose ribbon rated for outdoor use or bring the bow inside during rain; wet velvet stains.
6. Staircase garland with bow accents
Drape evergreen garland along the banister and wire a bow every 18 to 24 inches, tucking each bow into the garland so it peeks out rather than sitting on top. This spacing matters: bows closer than 18 inches look cluttered; wider than 24 looks sparse. A standard staircase needs 4 to 6 bows. If you are already planning ribbon on the tree, pairing it with the same ribbon woven through the banister garland ties the whole entryway together — the same layering logic as these Christmas tree ribbon ideas, just carried through the whole house.
7. Velvet bows on every gift
Wrap gifts in plain kraft paper or solid-color paper, then tie one small velvet bow around each instead of using curling ribbon. The contrast of matte kraft paper with rich velvet looks expensive and takes seconds per gift. This is also how you use up ribbon ends too short for big bows — nothing goes to waste.
8. Napkin bows at the table
Fold cloth napkins simply, then tie a 1-inch-wide velvet ribbon bow around each napkin like a ring. It replaces napkin rings entirely and costs pennies per setting. Match the napkin bows to your tree bows and the whole table feels coordinated with the room — a trick stylists use in every holiday shoot. Going all-in on the moody palette? The red velvet Christmas palette pairs burgundy velvet with gold and candlelight room by room.
9. Bows on mirrors, candlesticks, and framed art
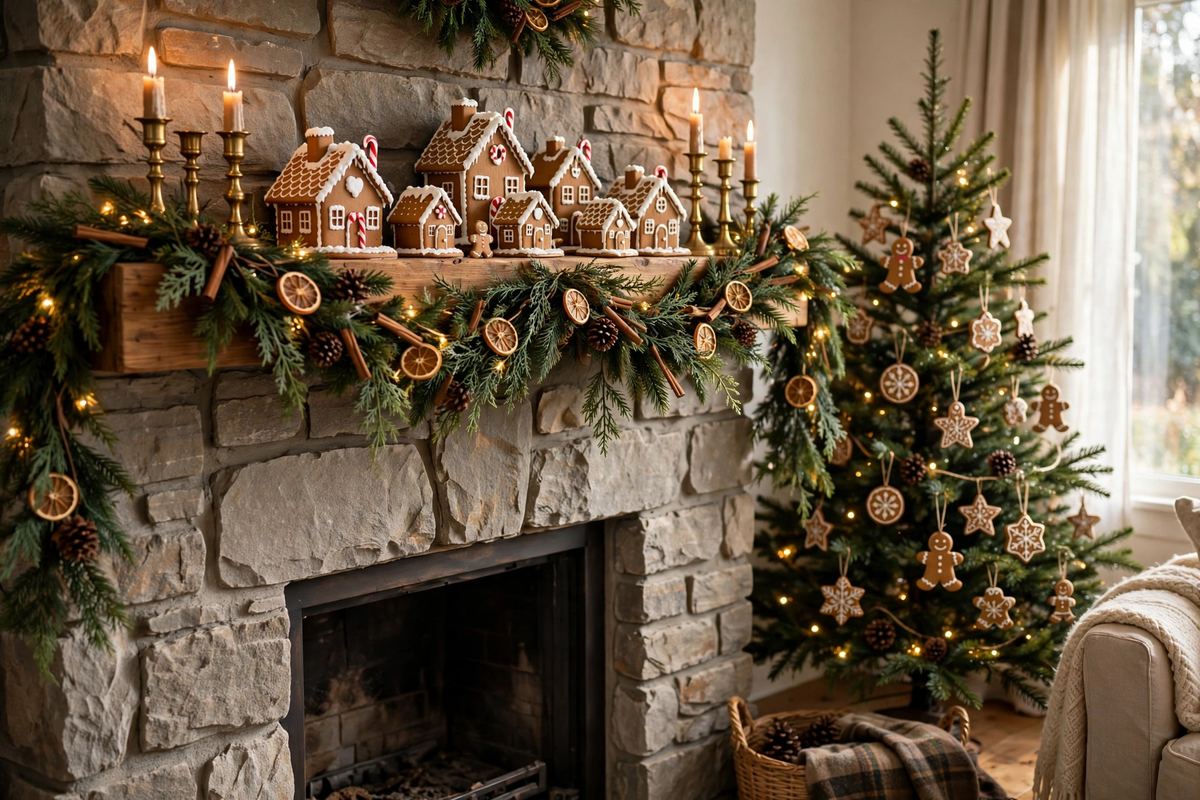
Designers call this the finishing move: tie small velvet bows (3 to 4 inches) onto anything that needs a holiday nod — the corner of a mirror frame, around a candleholder, on the top of a picture frame, on cabinet pulls in the kitchen. Two or three in a room is the limit; more than that and the effect dilutes. This is the same restraint principle behind the gingerbread Christmas mantel — a few confident accents beat a surface full of small stuff every time.
The Best Velvet Bow Colors for 2026
Velvet bows work because of contrast, not matchiness. The colors dominating 2026:
- Burgundy and wine: the season's defining color — deep, rich, photographs beautifully. Pairs with gold, champagne, and forest green.
- Forest green: the classic that looks new again on 2026 trees. Pairs with champagne, cream, and brass.
- Champagne and gold: softer than metallic gold ribbon; reads warm and expensive in lamplight.
- Cream and ivory: the quiet-luxury choice — beautiful on flocked or white trees where a dark bow would look heavy.
- Dusty rose and cinnamon: the fashion-forward picks for 2026, especially with pink-Christmas or spice-toned trees.
The rule: pick one jewel tone plus one metallic or neutral, and carry both through the tree, the mantel, and the table. If your living room already leans burgundy, these burgundy velvet sofa living room ideas show how to let the whole room echo the bows instead of competing with them.
5 Velvet Bow Mistakes to Avoid
1. Using unwired ribbon. The single biggest bow mistake. Without wire in the edges, loops collapse within days and the whole thing looks deflated. Check the label — if it does not say wired-edge or wired, put it back.
2. Making all the bows the same size. One size repeated everywhere reads store-bought. Mix statement bows on the tree with medium bows on the mantel and small bows on napkins and art — the variety is what reads custom.
3. Matching the bow to the tree exactly. A red bow on a red-ornament tree disappears; a burgundy bow on a green tree glows. Contrast or complement — never vanish.
4. Wiring bows onto thin branch tips. Anchor bows to thick branches or garland bodies, not the fragile tips. Tips droop under the weight and the bow ends up pointing at the floor by Christmas Eve.
5. Bow-ing everything. The trend is generous but not total. Three zones done well (tree + mantel + table, for example) beats ten zones with one tired bow each. Restraint is what separates the designer look from the craft-store look.