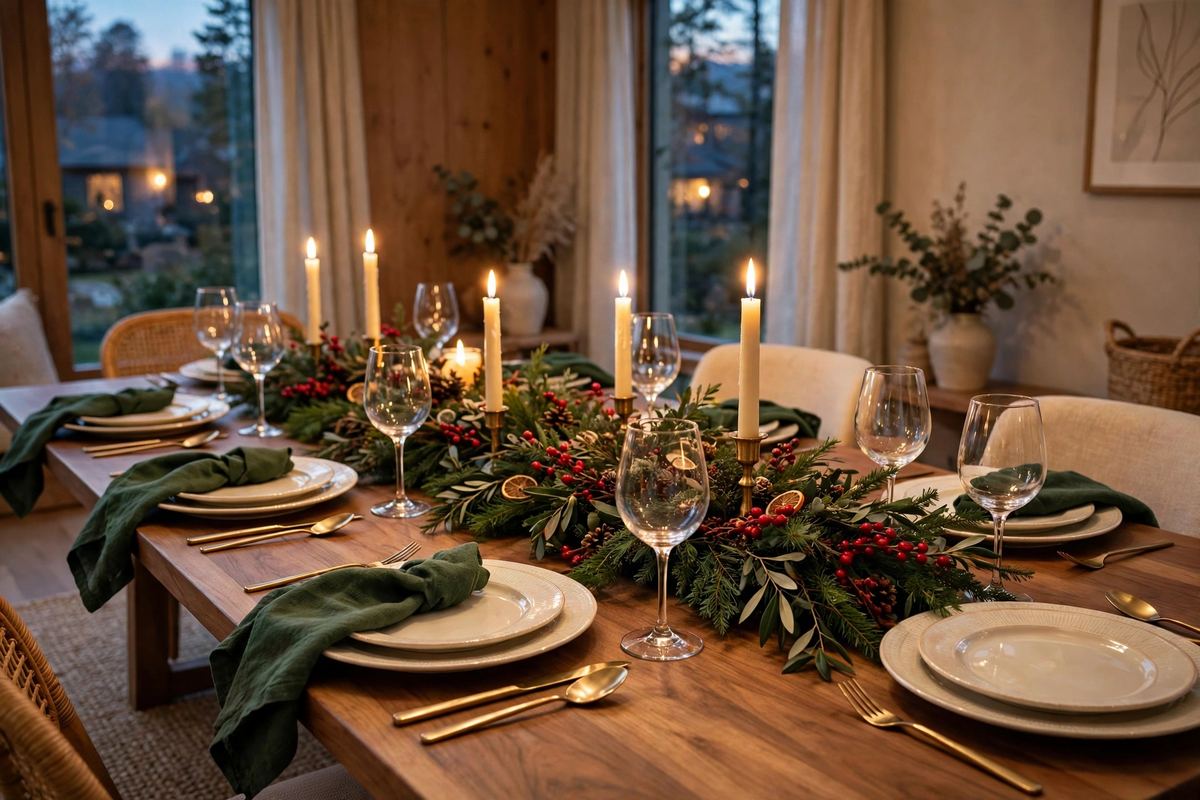
Here is the truth about DIY Christmas centerpieces: the table is where the whole evening happens, and it is the one spot in the house where a decoration gets stared at for two hours straight — so a sad little candle in an empty jar reads instantly, while a full, glowing centerpiece makes even a simple meal feel like an occasion. The good news is that a centerpiece takes less than an hour and less than $30 to make properly, because candlelight and greenery do most of the work for you, and everything in this guide is built from things you can buy in one trip or gather from the garden.
This guide gives you 12 DIY Christmas centerpiece ideas, in four groups: three you can make in ten minutes, three candlelit looks, three garland runners, and three statement pieces for a big occasion. Every idea carries a real cost, a real time, and the mistake to avoid. It ties into the rest of the Christmas cluster — the full table story from our Christmas tablescape ideas, the garland know-how from our Christmas garland ideas, and the handmade ornaments from our DIY Christmas ornament ideas — so the centerpiece, the table, and the tree all speak the same language.
Start With the 5 Centerpiece Rules
Rule one: keep it low. The bulk of the centerpiece stays below 12 inches tall, so guests can see each other across the table — tall tapers are the exception, because they are thin and the eye looks straight past them, but a tall branch arrangement blocks conversation, and a centerpiece that blocks conversation is a failed centerpiece no matter how pretty it looks in a photo. Rule two: one palette, the whole table. Pick three colors — ours is evergreen, cream, and gold — and repeat them in the greenery, the candles, and the ornaments, so the table reads as one display instead of a collection of leftovers.
Rule three: odd numbers read better. Three candles, five ornaments, one bowl with a cluster of pinecones — odd groupings look arranged, even groupings look lined up. Rule four: leave room for the food. Measure the table, plan the serving dishes first, and let the centerpiece take the middle third at most — a centerpiece that forces the potatoes onto a side table has failed at its job. Rule five: light it warm, 2700K on every string and every candle, because the table is seen mostly in the evening, and one cool-white light among warm ones makes the whole table look cold. These five rules carry every idea below.
10-Minute Centerpieces: Ideas 1 to 3
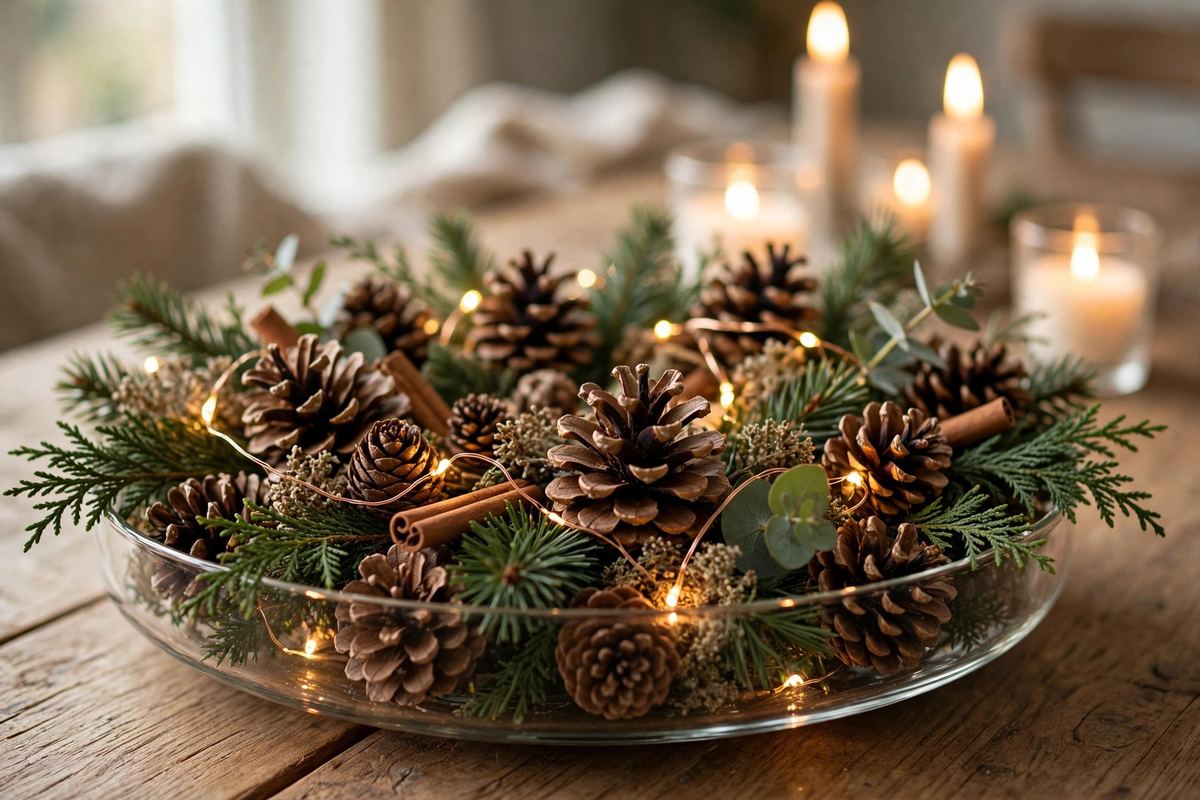
1. The pinecone and fairy-light bowl — $8 to $15, 10 minutes. Take a wide, shallow glass bowl you already own, fill it with pinecones and a few evergreen sprigs, and weave one battery-operated fairy-light string through it before you add the top layer of pinecones, so the lights glow from inside instead of sitting on top. Pinecones cost nothing if you gather them, or $5 to $8 a bag from a craft store, and a fairy-light string costs $3 to $7. The trick is the bowl: shallow and wide, not deep and narrow, because a deep bowl hides the lights and reads as a pile, while a shallow bowl reads as a display. This is the centerpiece for the night you forgot you were hosting — ten minutes, one bowl, and the table looks done.
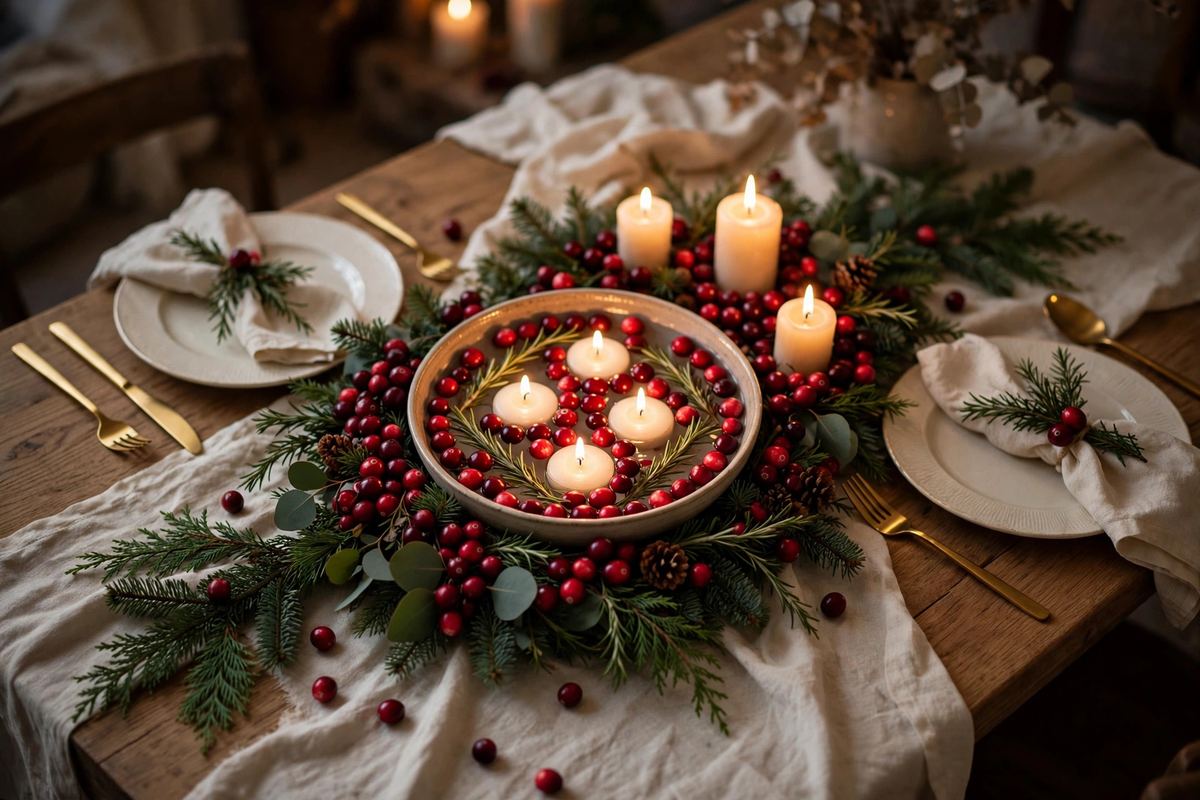
2. The cranberry floating-candle bowl — $10 to $18, 15 minutes. Fill a shallow bowl with water, scatter in two cups of fresh cranberries, tuck in a few rosemary sprigs, and float three white votive candles on top. Cranberries cost $3 to $5 a bag, floating candles $5 to $8 for a pack, and the whole thing looks far more expensive than it is, because the red berries against the water read as intentional and festive. Build it the day of the meal, not the day before — cranberries start to soften after 24 hours in water — and keep it away from the table edge, because a bumped water bowl is the one centerpiece disaster you cannot fix mid-dinner.
3. The ornament tray — $12 to $20, 10 minutes. Take a wooden tray or a cake stand, fill it with a handful of ornaments in your palette — gold balls, a few pinecones, two or three dried orange slices — and set one short pillar candle in the middle. The tray is the whole trick: it turns a pile of ornaments into a display, it protects the table from candle wax, and it lifts off the table in one move when the food arrives. Use shatterproof ornaments if children will be at the table, and keep the tray to one-third of the table length so the serving dishes still fit.
Candlelit Centerpieces: Ideas 4 to 6
4. The taper trio in brass holders — $18 to $30, 15 minutes. Three cream taper candles in brass holders, at three heights — 10, 8, and 6 inches — set on a small wooden board with a few evergreen sprigs tucked around the bases. Brass holders cost $4 to $8 each, tapers $1 to $2 each, and the board $5 to $10, and the look is quietly elegant rather than crafty, which makes it the right centerpiece for a formal dinner. Keep every flame at least 3 inches from any greenery, and use a drip guard or a small plate under each holder if the tapers are real wax — wax on a wooden board is a January regret.
5. The lantern centerpiece — $20 to $35, 10 minutes. One open lantern with a flameless pillar candle inside, set on a round wooden slice, with evergreen sprigs and two pinecones around the base. A lantern costs $15 to $25, a flameless candle $5 to $10, and the whole thing takes ten minutes because the lantern does the styling for you. This is the safest candlelit centerpiece on the list, because the glass contains the flame — or, with a flameless candle, there is no flame at all — which makes it the right choice for a table with children, pets, or anyone who will reach across it for the bread.
6. The candle ring — $15 to $25, 20 minutes. Make a small wreath ring from fresh or faux greenery — a 10-inch ring form costs $3 to $5 — and set one large pillar candle in the middle, on a heat-safe plate. Wire the greenery to the ring form, tuck in three dried orange slices and a few cinnamon sticks, and the ring reads as a miniature wreath that happens to hold a candle. This is the centerpiece that doubles as a gift: guests who admire it can take it home, and a candle ring made in an evening is a better host gift than a bottle of wine nobody remembers.
Garland Runners: Ideas 7 to 9
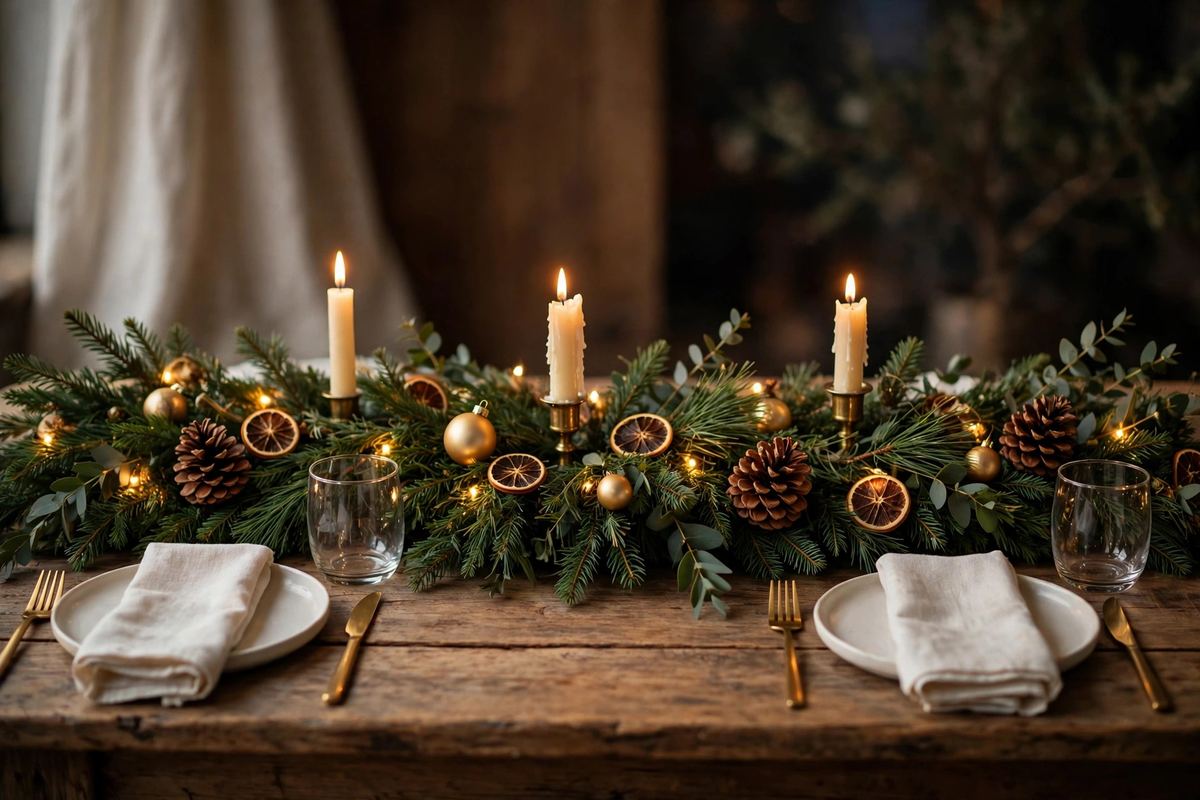
7. The fresh garland runner — $25 to $45, 30 minutes. Lay one 6-foot fresh cedar garland down the middle of the table, weave in one warm-white fairy-light string, and set three cream pillar candles in glass holders along it at uneven intervals. Fresh cedar costs $20 to $35 a garland from a florist or garden center, and it smells like Christmas in a way no faux garland ever will. Mist it every two days, keep it away from heating vents, and it lasts two to three weeks — build it the weekend before the meal, not three weeks early, or the needles become part of the table setting. Our Christmas garland ideas cover fresh versus faux in detail, and for a table runner, fresh wins on scent and softness if the timing works.
8. The faux garland runner with ornaments — $30 to $50, 20 minutes. The same layout as idea 7, but with a faux garland, so you can build it in November and leave it up all season — and so you can hang ornaments from it without worrying about weight or needles. Weave gold and burgundy ornaments into the garland at odd intervals, add the fairy lights, and finish with dried orange slices wired in, not glued, so they come off cleanly in January. A 6-foot faux cedar garland costs $25 to $40, and because it never wilts, this is the runner for a table that gets used every night in December, not just on the big day.
9. The dried-orange and eucalyptus runner — $15 to $25, 25 minutes. Skip the full garland and lay a loose runner of eucalyptus sprigs down the table instead, with dried orange slices and pinecones scattered along it and two or three short candles tucked in. Eucalyptus costs $8 to $12 a bunch, dried oranges almost nothing if you make them yourself — slice, low oven, one afternoon — and the look is lighter and more modern than a full garland, which makes it the right runner for a small table or a bright room. Eucalyptus dries gracefully instead of dropping, so this runner looks good for weeks, and it smells wonderful for the first few days.
Statement Centerpieces: Ideas 10 to 12
10. The mini tree forest — $20 to $35, 25 minutes. Three small potted evergreens — 12 to 18 inches tall, $6 to $10 each — in terracotta pots, set down the middle of the table with a string of fairy lights woven between them and a few tiny ornaments on each tree. The trees are the centerpiece and the favor in one: guests take one home, or you plant them after the season. Keep the trees short, or they block conversation — 18 inches is the ceiling, and on a round table, one tree in the middle is enough, because three small trees on a round table read as a crowd.
11. The tiered tray display — $15 to $30, 20 minutes. A two- or three-tier serving stand, filled with ornaments on the bottom tier, pinecones and greenery on the middle, and one small candle on top — a centerpiece that uses height without blocking sightlines, because each tier is small and the eye looks between them. A tiered stand costs $12 to $20, and the fillings come from the ornament box and the garden, which makes this the cheapest statement centerpiece on the list. It works best on a round table, where guests see it from every side, and it doubles as dessert service after the meal if you clear the ornaments off the top tier.
12. The wood slice and lantern scene — $20 to $30, 20 minutes. One large wood slice as a base, a lantern with a flameless candle on one side, a small cluster of pinecones and evergreen on the other, and a velvet ribbon tied around the lantern handle in your palette. The wood slice costs $8 to $12, the lantern $12 to $18 if you do not already own one, and the whole scene reads as a little landscape in the middle of the table. Tie the ribbon the way our velvet bow Christmas decor shows, and the same ribbon then ties the napkins, which is how a table starts to look designed instead of decorated piece by piece.
Sizing It to Your Table
A centerpiece that fits a farmhouse table will swallow a small round table, so size by the table, not by the idea. On a rectangular table, the centerpiece runs one-third to one-half the table length, never more, and leaves at least 24 inches of clear space at each end for serving dishes and elbows. On a round table seating six, one compact centerpiece — a bowl, a lantern, a candle ring — is the whole look, because a runner has nowhere to run and two pieces read as clutter. On a long table seating ten or more, repeat the same centerpiece two or three times down the table instead of building one giant one: three identical pinecone bowls read as a designed tablescape, while one enormous arrangement reads as a obstacle.
Height follows the same rule. Below 12 inches for the bulk of the arrangement, always, with tapers as the only exception — and even tapers should sit in a line down the middle, not in a cluster at one end, so no guest stares through a forest of candles. If you are unsure, sit down at the table before the meal, look across at the opposite chair, and check whether you can see a face. That one test catches every sizing mistake before the guests do.
Candle Safety Rules That Matter
A candlelit centerpiece is beautiful and it is also an open flame next to dried greenery, so the safety rules are not optional extras. Every flame sits in a proper holder, on a heat-safe surface, at least 3 inches from any greenery, ribbon, or dried material — and that distance is measured from the flame, not from the candle, because a tall flame leans. Never leave a candlelit centerpiece burning when you leave the room, and never let one burn while you sleep — battery candles with timers exist for exactly this reason, and from across the table they look identical to real ones.
Use flameless candles inside any arrangement where greenery touches the candle, and keep real candles for open holders with clear space around them. Keep a small plate or tray under every candle, because wax travels, and check the arrangement once during the evening — greenery dries out under a flame faster than you expect, and a dried sprig that has crept toward a candle is a problem you fix in two seconds if you look. A centerpiece that is safe to leave burning through dinner, with someone in the room, is a centerpiece that is made properly — everything else is just how it looks in a photo.
The One-Weekend Plan and Real Costs
Saturday morning, buy or gather your pieces: a bowl or tray, greenery, candles, pinecones, and one string of fairy lights. Saturday afternoon, work in order: build the base first — bowl, tray, or runner — then add the greenery, then the candles, then the ornaments and dried oranges last, because they are the finishing layer that sits on top of everything else. Saturday at dusk, set the table, light the candles, sit down in a guest chair, and check the sightlines — if you can see the face across the table, the centerpiece is done. Sunday, put the fairy lights on timers, and the centerpiece runs itself for the rest of the season.
On cost, a full centerpiece plan — a bowl arrangement, a garland runner, and a candle trio — runs about $60 to $110 if you buy everything new: greenery $20 to $35, candles and holders $20 to $35, fairy lights $5 to $10, pinecones and dried oranges $8 to $15, and a bowl or tray $8 to $15. A single ten-minute centerpiece — one bowl, pinecones, and a fairy-light string, reusing a bowl you own — costs $8 to $15, which is why the centerpiece is one of the best values in Christmas decorating: it is the decoration everyone at the table looks at for two hours, and every dollar spent there is seen all evening. When the season ends, pack the ornaments back in their box, compost the fresh greenery, and store the faux garland and the fairy lights together, so next December the centerpiece takes twenty minutes, not a weekend.
Mistakes to Avoid
- Building too tall. A centerpiece above 12 inches blocks conversation. Keep the bulk low; tapers are the only exception, and only because they are thin.
- Forgetting the food. Plan the serving dishes first, then size the centerpiece to the space that is left. A centerpiece that evicts the potatoes has failed.
- Mixing light colors. One cool-white string among warm-white lights ruins the evening glow. Check every box for 2700K before you buy.
- Putting a flame next to greenery. Keep 3 inches between any flame and any dried or fresh material, measured from the flame. Flameless candles inside greenery-heavy arrangements.
- Building a water centerpiece too early. Cranberries soften after 24 hours in water. Build the cranberry bowl the day of the meal, not the day before.
- Using a deep bowl for a light-up arrangement. A deep bowl hides the lights and reads as a pile. Shallow and wide is the bowl that shows the glow.
- Even numbers everywhere. Two candles, four ornaments, six pinecones in a row read as lined up. Odd groupings — three, five — read as arranged.