Here is the dirty little secret of kitchen design: your guests will not notice your cabinets — but they will notice your cabinet hardware. A brass kitchen hardware refresh is the single fastest way to make a tired kitchen look expensive, and you do not need to paint a single cabinet door. Swapping dated knobs and pulls for warm brass bar pulls takes one weekend, basic tools, and about the cost of a grocery run.
In this guide, I will show you how to pick the right brass finish, exactly what to measure (so you do not buy the wrong size twice), a real cost breakdown, and a step-by-step installation process that avoids the two mistakes that make DIY hardware swaps look crooked. Let us turn your kitchen from dated to designer with nothing but a screwdriver.
Why Brass Hardware Is the Highest-Impact Kitchen Upgrade
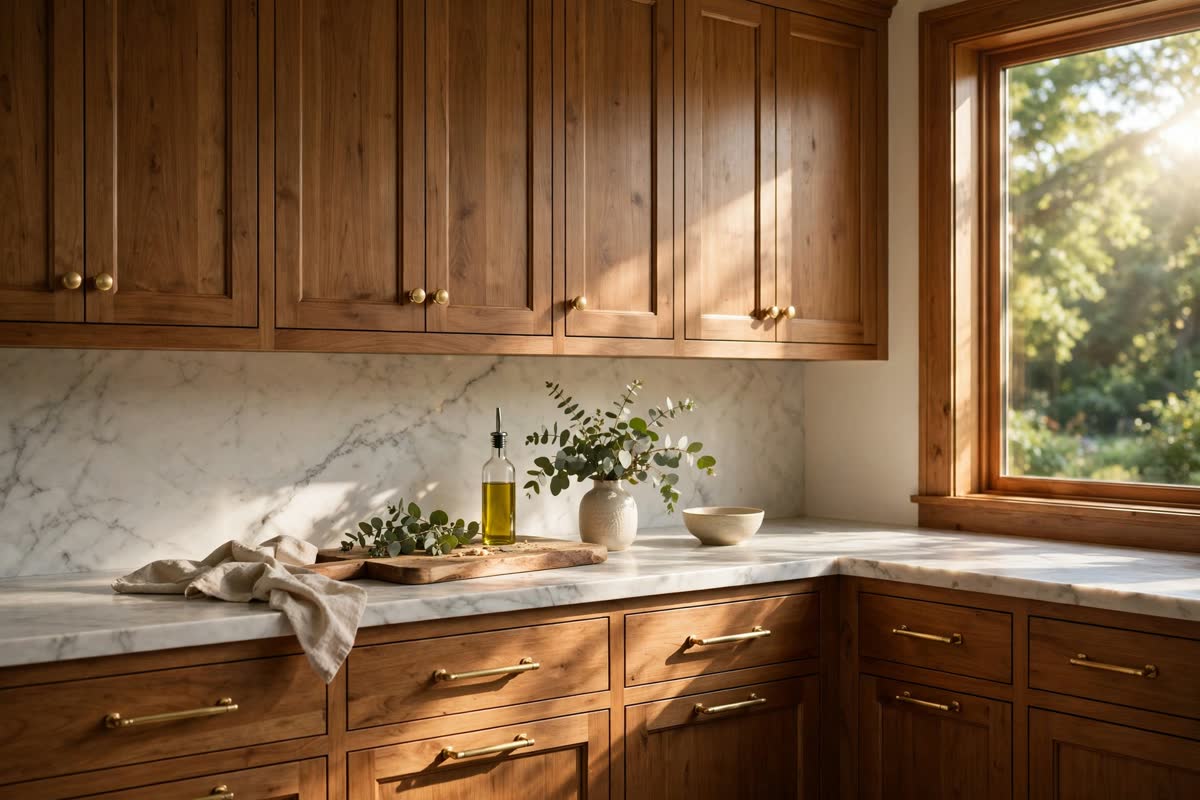
Think of cabinet hardware the way you would think of jewelry on an outfit. The dress stays the same, but the right necklace changes everything. Your cabinet boxes are the biggest visual mass in the kitchen, and hardware sits at the center of your sight line every time you reach for a drawer. That is why a brass kitchen hardware refresh changes the feel of the room so dramatically: warm brass tones play off wood cabinets the way gold warms up a neutral outfit.
Brass also happens to be having a serious moment. Warm metals are the defining kitchen trend of 2026, showing up in designer kitchens, rental refreshes, and Pinterest saves alike. Unlike the short-lived rose-gold wave, brass has been a classic cabinet finish for over a century — it reads traditional in an old farmhouse and modern in a flat-front kitchen, depending on the shape you choose. That staying power matters, because unlike a painted wall you will want to redo next year, good brass hardware stays beautiful for a decade or more.
How to Choose the Right Brass Finish
Not all brass is the same, and the finish you pick sets the mood of the whole kitchen. Polished brass is bright and reflective — glamorous, but it shows every fingerprint. Satin or brushed brass is the crowd-pleaser: warm, softly reflective, and far more forgiving in a real kitchen that actually gets used. Antique brass has a darker, browned-down patina that suits farmhouse, traditional, and vintage-style kitchens. Aged or unlacquered brass develops its own living patina over time, which some people love and others find patchy — only choose it if you are committed to the look.
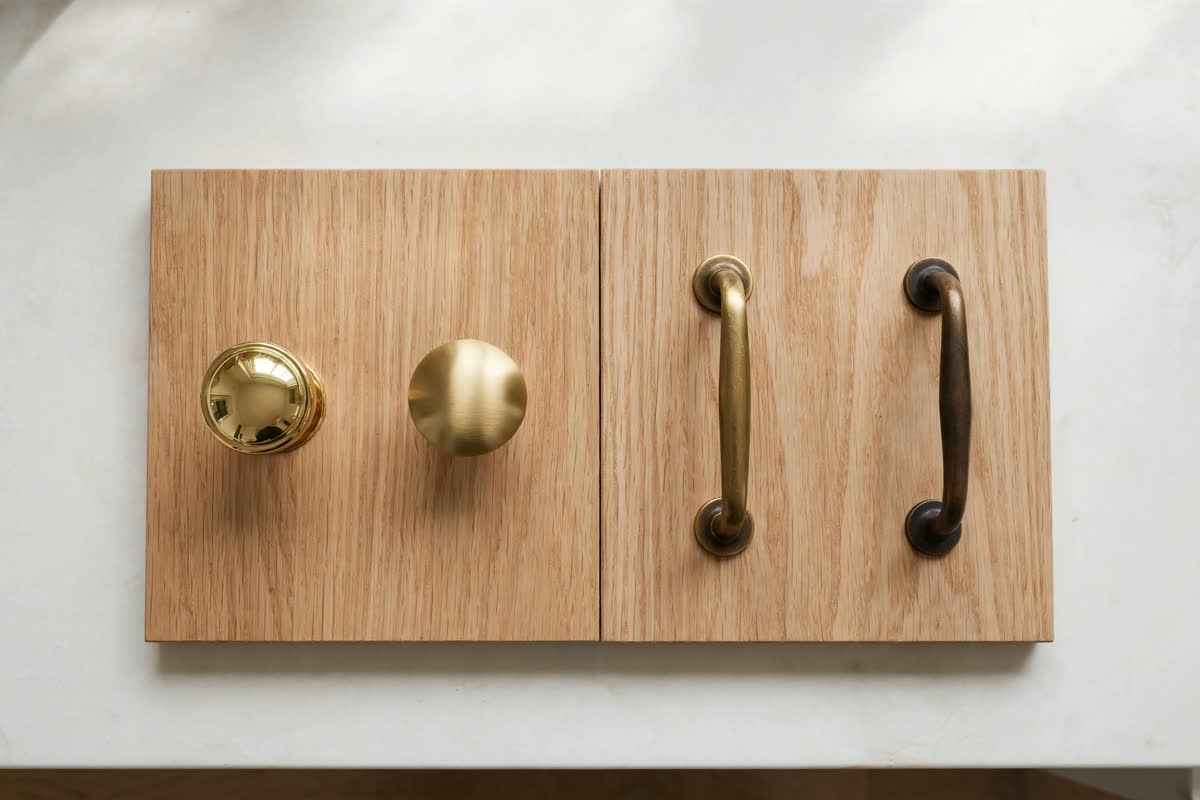
The rule that never fails: buy one knob and one pull in your top two finishes and live with them on your cabinets for a few days before ordering everything. Morning light, evening lamplight, and the undertones of your cabinets will shift how each finish looks, and a five-dollar test sample saves you from a two-hundred-dollar regret. And keep this rule hard — pick ONE brass finish for all your cabinet hardware. A mixed-finish hardware job is the fastest way to make a refresh look accidental instead of intentional.
What to Measure Before You Buy
This is the step that trips up first-timers, so let us make it simple. Pulls (the bar handles) are sold by center-to-center measurement — the distance between the two screw holes. Measure your existing holes before you shop, because matching that spacing means you can reuse the holes and skip drilling entirely. The most common center-to-center sizes are 3 inches, 3-3/4 inches, 5-1/16 inches, and 6-5/16 inches.
For sizing, follow the one-third rule: a pull should be roughly one-third the width of the drawer or door front. A 12-inch-wide drawer wants a pull around 3 to 4 inches; an 18-inch drawer looks best with a 5 to 6 inch pull; wide 24-inch drawers can carry two small pulls or one long 8-inch bar. Knobs work best on doors — place them 2 to 3 inches from the corner, opposite the hinge side. Write down every door and drawer count before you order, then add two extra pulls to the cart. Future-you will be grateful when a screw strips or a pull arrives scratched.
If your cabinets have no hardware holes at all, consider it a blank canvas — but do not freehand it. A cabinet hardware jig (about 15 dollars) is the difference between perfectly aligned holes and a cabinet that looks like it was attacked by a woodpecker. This is the one tool worth buying for the project.
How Much a Brass Hardware Refresh Really Costs
Let us talk real numbers. Decent brass-finish knobs and pulls run 2 to 8 dollars apiece on Amazon, at Home Depot, or from cabinet-hardware brands like Amerock and Hickory Hardware. A typical kitchen has 20 to 30 doors and drawers, so the hardware itself lands between 80 and 250 dollars. Add a 15-dollar drilling jig if you need one, plus a screwdriver you probably already own, and that is the whole project.
Put that in perspective: refacing cabinets runs 4,000 to 9,000 dollars, and even painting them costs 150 to 400 dollars plus a full weekend of prep, sanding, and drying time. For under 250 dollars and a few hours of work, a brass kitchen hardware refresh delivers a visible transformation that photographs beautifully and impresses house guests. It is one of the best dollar-for-dollar upgrades in home decorating — it belongs right alongside these budget home makeovers under $100 for high-impact, low-cost projects.
Step-by-Step: Swapping Cabinet Hardware in a Weekend
Start by removing all your old hardware with a screwdriver and setting the screws aside (old screws often work fine for the new hardware if the lengths match). Clean each cabinet door and drawer front with a degreaser like Krud Kutter or warm soapy water — years of cooking grease live right where your fingers grip, and new hardware over old grease is a mistake you can taste. Let everything dry completely.
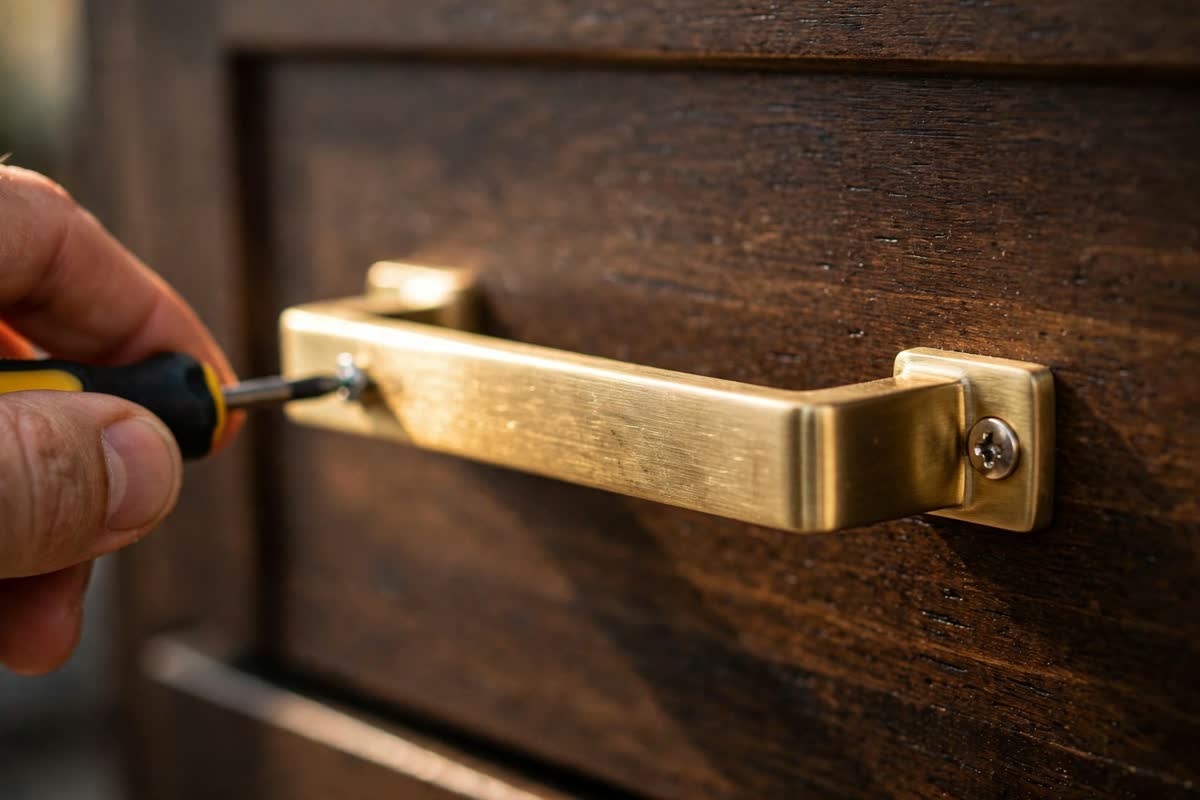
If your new pulls match the old hole spacing, installation is almost comically easy: push the screws through from inside the cabinet, thread on the pull, and tighten. If you are drilling new holes, set up your jig on the first door, drill once, and use that door as your template — consistency matters more than perfection on any single door. The two mistakes to avoid: overtightening screws until the brass finish dents (snug is enough), and attaching pulls without checking they are level — hold the pull in place and eyeball it before every final tightening.
Work cabinet by cabinet rather than removing every piece of hardware at once. It keeps doors identifiable (they are rarely perfectly identical) and lets you see progress as you go, which is motivating when you are on door twenty-three. Most people finish a standard kitchen in three to five hours.
Where Brass Hardware Works (and Where It Does Not)
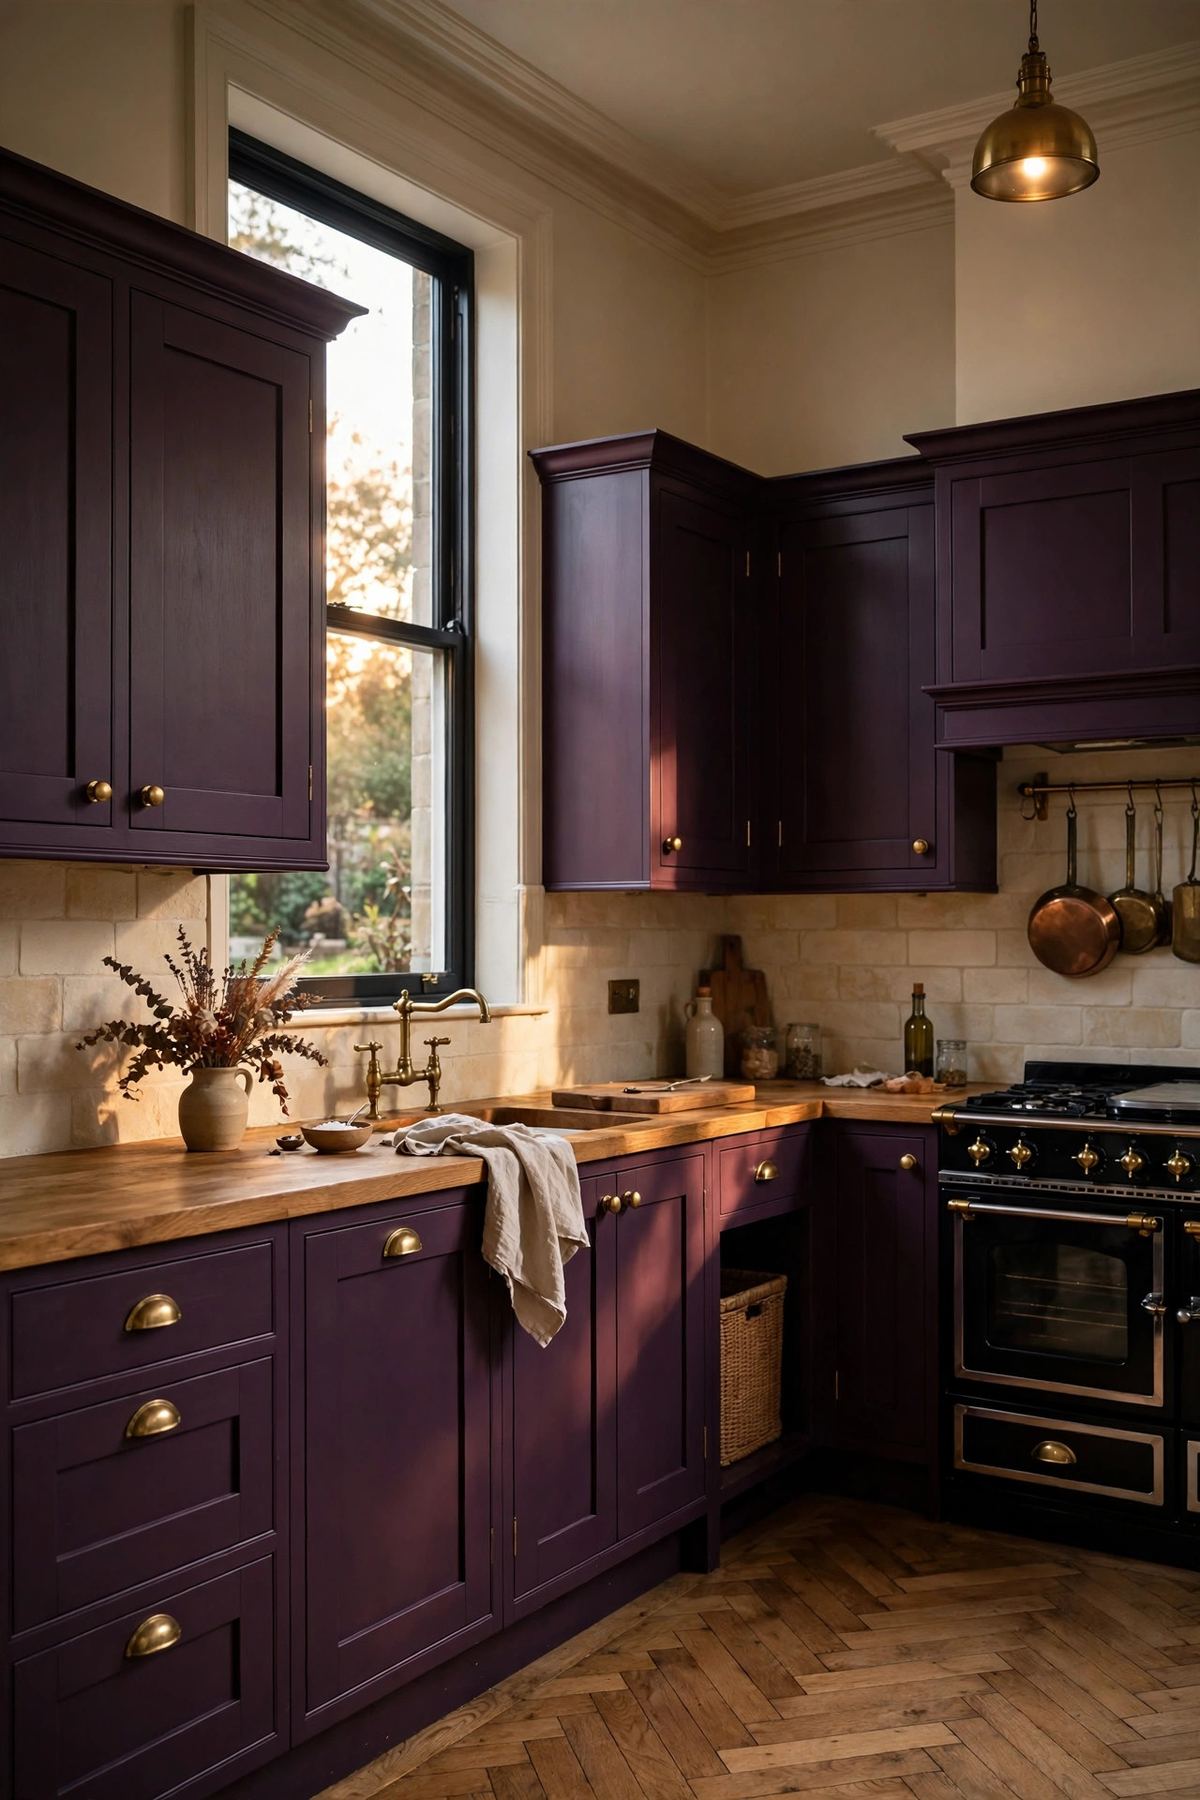
Brass is the ideal partner for medium and dark wood cabinets — oak, walnut, cherry, and espresso finishes all glow against warm gold tones. It is equally beautiful on painted cabinets in navy, deep green, black, and warm white. If you are thinking of going bolder, brass hardware is the finishing touch that makes painting your kitchen cabinets navy look custom instead of crafty.
Where should you pause? Brass can fight with very cool gray cabinetry and stark white kitchens that lean modern-minimalist — in those rooms, matte black or brushed nickel usually sits more naturally. Also be honest about your other metals: if your faucet, lighting, and appliances are all polished chrome, adding brass pulls creates a clash that reads as indecision. Metals do not have to match perfectly, but they should look like they were chosen on purpose. One warm metal and one cool metal is the comfortable maximum for a single kitchen.
Styling Tips to Make Your New Hardware Shine
Once the hardware is up, let it be the star for a minute. Clear one section of countertop clutter so the eye travels to the cabinets instead of the mail pile. If your lighting has cool-white bulbs, consider swapping the two or three nearest your cabinets to warm white (2700K) — warm light flatters brass the way golden hour flatters everything.
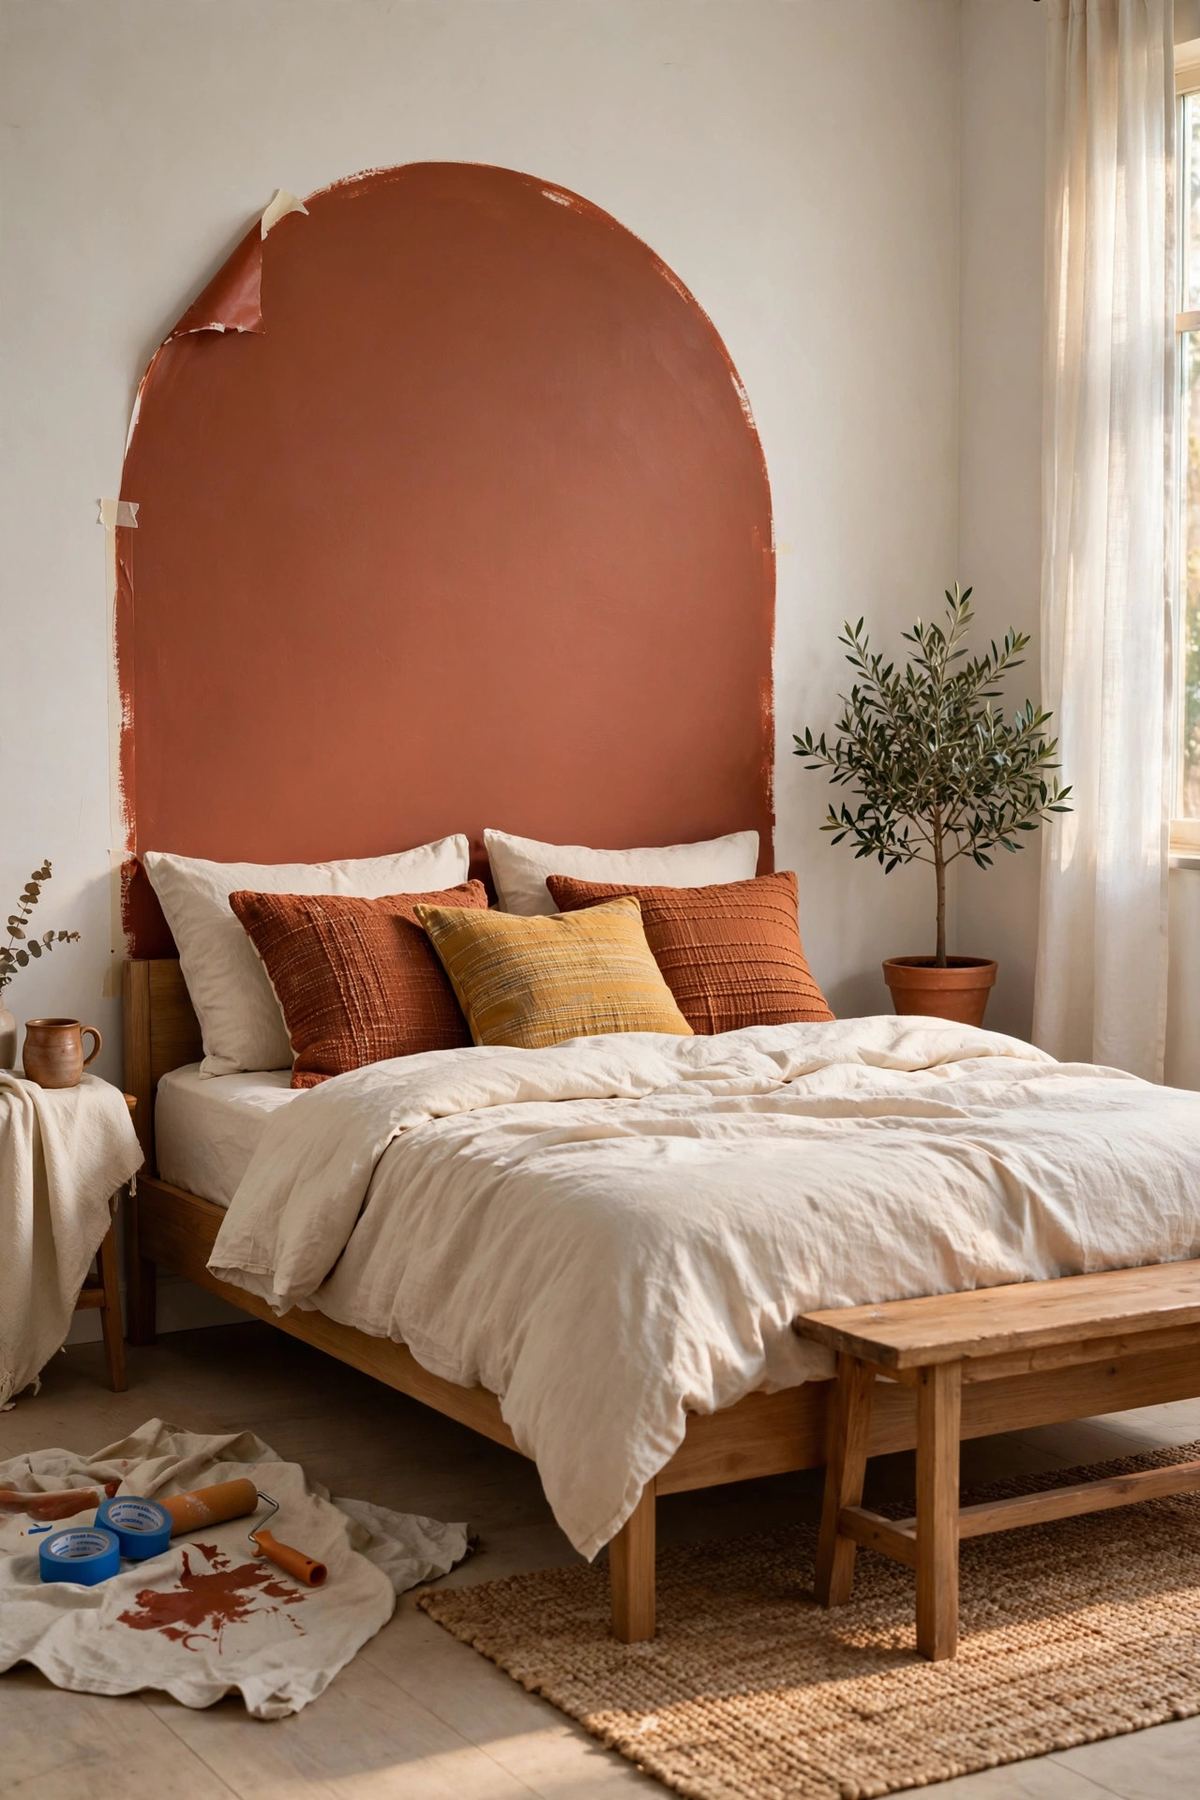
For a full coordinated look, echo the brass in one or two small places: a brass-frame picture light, a pair of brass candlesticks, or even a brass faucet spray head cover if you are feeling ambitious. Keep the rest of the palette quiet so the metal reads as intentional. And if this hardware refresh has you hungry for more weekend projects, a DIY painted arch wall takes a single afternoon and costs under 30 dollars — another high-impact update with almost no risk.