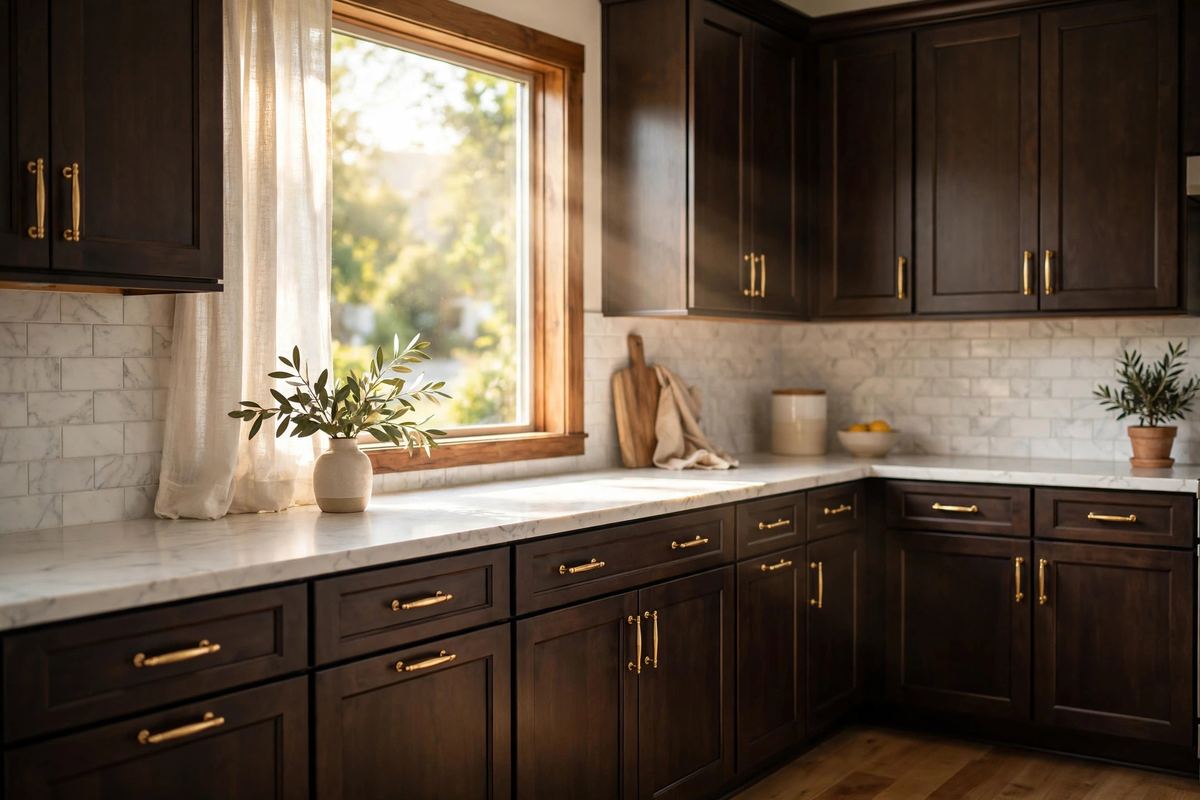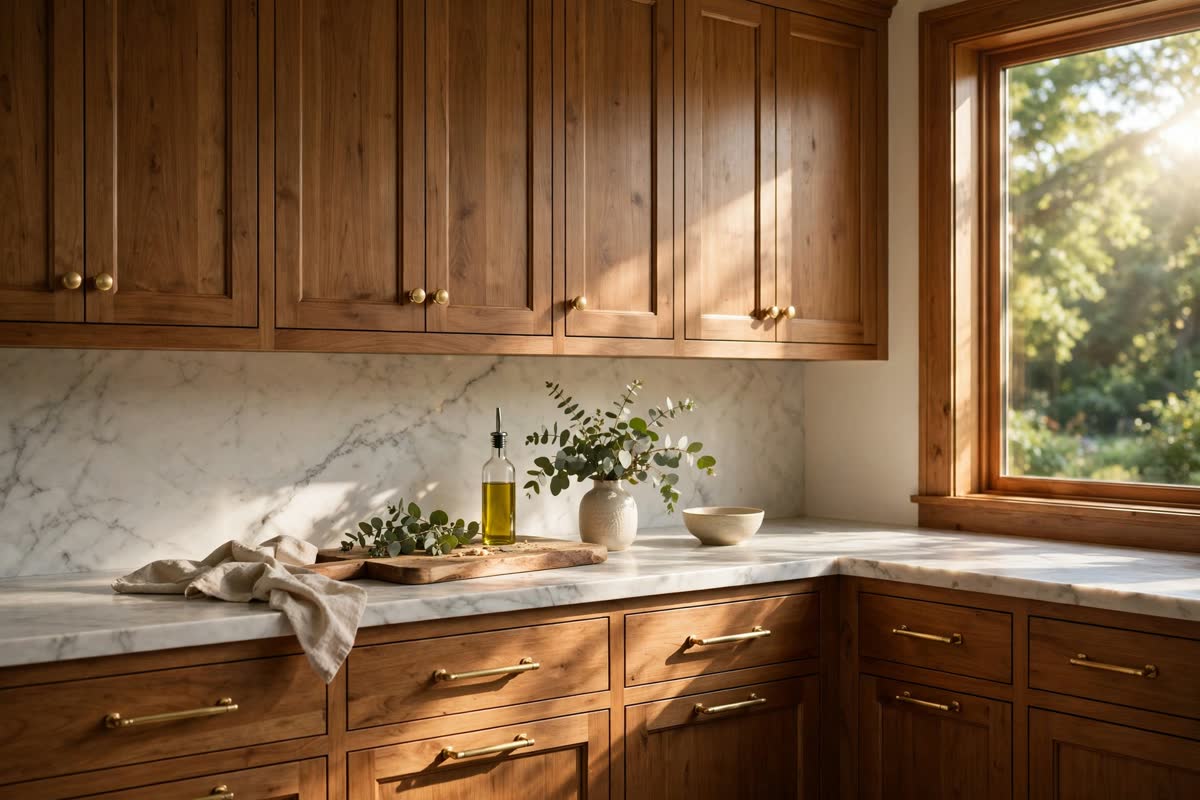
Here is the fastest way to make your kitchen look like it got a $15,000 renovation without touching the plumbing: paint the island. A painted kitchen island gives you the two-tone, designer-look that is dominating kitchen trends right now, and it costs less than a single new appliance. MasterBrand's 2026 cabinetry report found wood finishes overtook white as the top cabinetry preference for the first time in nearly a decade — and a warm brown island is the lowest-commitment way to ride that wave.
In this guide you will get exact paint colors for a kitchen island (the actual Sherwin-Williams and Benjamin Moore codes, not "warm beige-ish"), two-tone pairings that work with the cabinets you already have, a step-by-step weekend tutorial, honest costs, and the five mistakes that make DIY painted islands look amateur. Let us get into it.
Why a Painted Island Is 2026's Smartest Kitchen Upgrade
The island is the visual anchor of the kitchen — it is the first thing your eye lands on. Repainting just the island base (not every cabinet in the room) buys you roughly 80 percent of the impact of a full cabinet repaint for about 15 percent of the cost and a single weekend of work. That math is exactly why designers keep specifying two-tone kitchens: keep the perimeter cabinets you have, and let the island carry the color.
It is also a low-risk trend test. Love the warm brown kitchen wave but nervous about painting all your cabinets chocolate? An island is 8 to 12 square feet of visible paint. If you tire of it in three years, you repaint one piece of furniture, not a whole kitchen. Minor kitchen updates also return an average of 96 percent of project cost at resale, per Remodeling Magazine's Cost vs. Value Report — painted islands in warm, neutral tones like walnut and chocolate have broad buyer appeal, while very dark or hyper-customized colors carry more risk.
Best Paint Colors for a Kitchen Island
Skip the paint-chip guessing game. These are the specific colors designers are reaching for on islands in 2026, with the real codes so you can get the right can on the first trip:
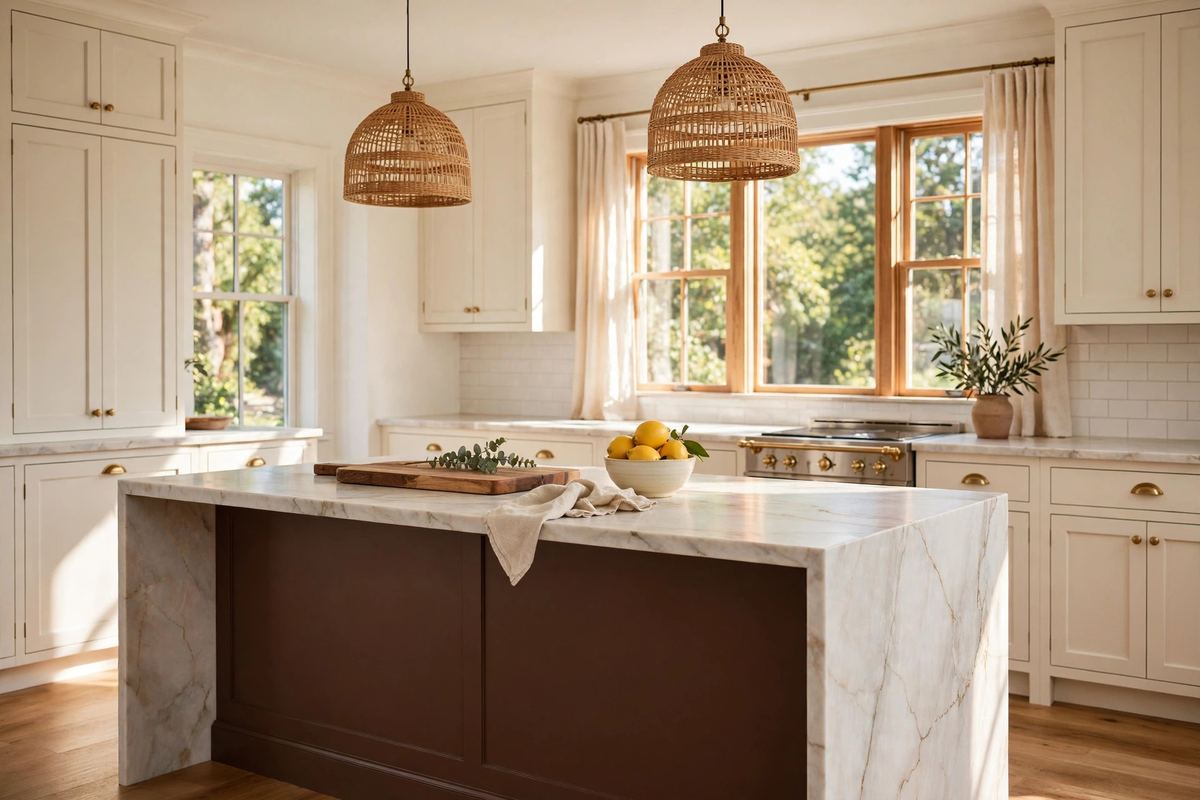
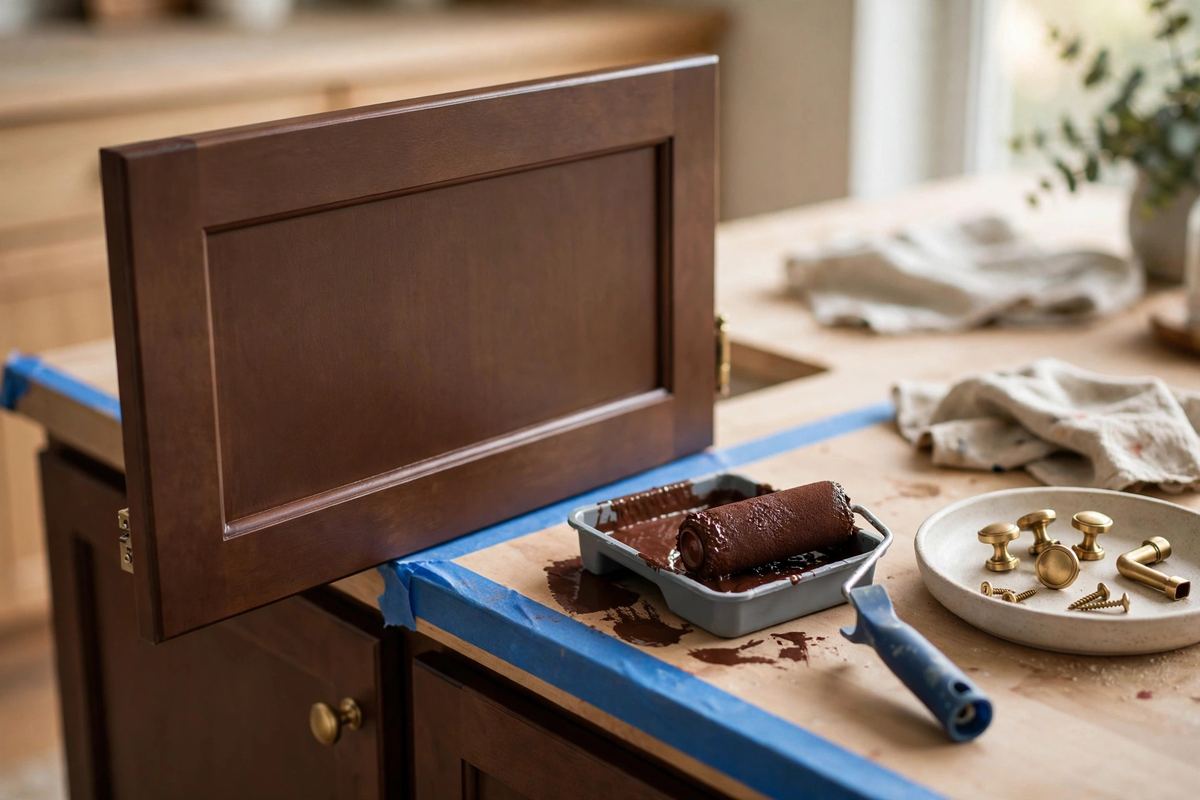
- Sherwin-Williams Urbane Bronze (SW 7048) — the warm chocolate-brown of the moment. It reads rich, not muddy, and sits beautifully against cream, white, or light wood cabinetry. This is the color in our hero photo's family.
- Benjamin Moore Wenge (AF-180) — a deep espresso brown with warm red undertones. Slightly darker and more dramatic than Urbane Bronze; great in kitchens with strong natural light.
- Farrow and Ball Tanner's Brown (No. 255) — a mid-tone warm brown that feels like dark cocoa. It softens the contrast with white cabinets, so the island feels cozy rather than stark.
- Benjamin Moore Midsummer Night (2134-20) — a moody blue-black that anchors the island like a piece of furniture. Best with bright white perimeter cabinets and warm metals.
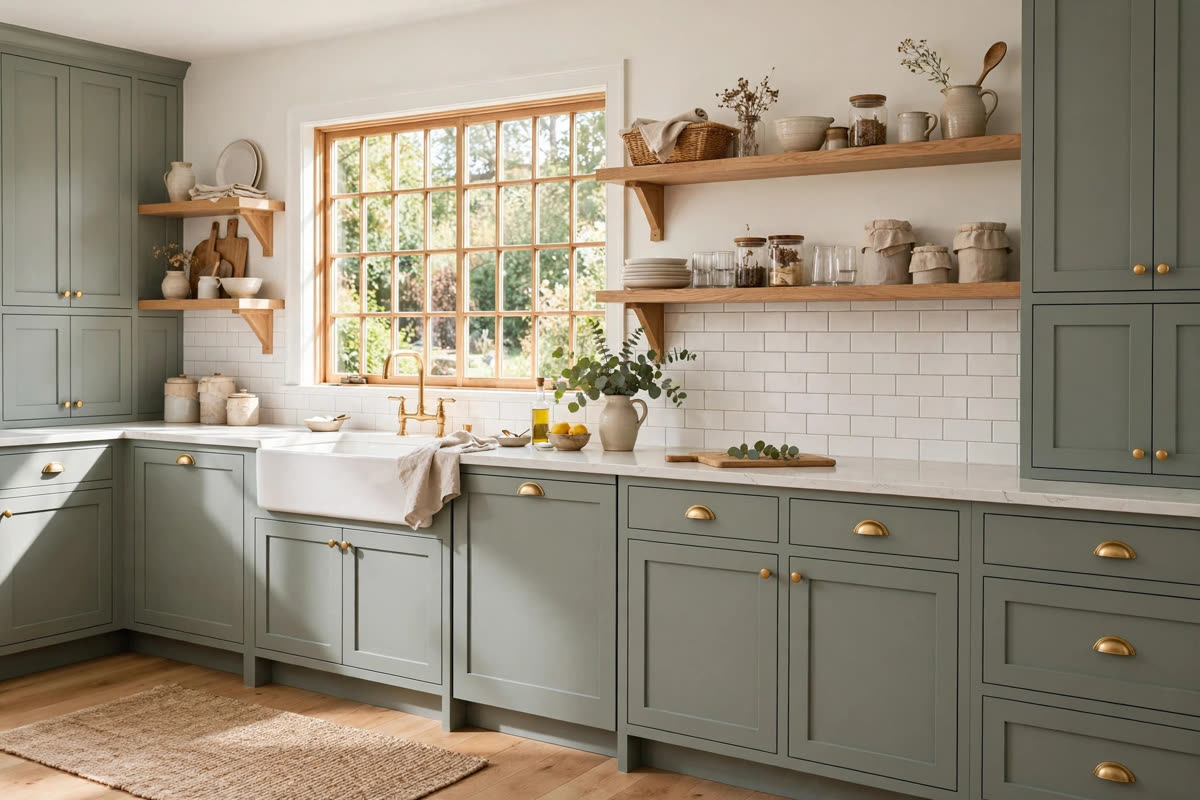
- Sherwin-Williams Evergreen Fog (SW 9130) — a muted sage-meets-gray green that brings the earthy, botanical feel in without screaming color. Pairs with butcher block beautifully.
Two finish rules: use a satin or semi-gloss cabinet enamel — never flat or eggshell wall paint — and buy a quart before you commit. Paint a 12-inch square on the island's least visible side and look at it in morning, noon, and evening light. Brown paint shifts dramatically under warm vs. cool bulbs, and that one quart will save you from a $60 mistake.
Two-Tone Pairings That Actually Work
The painted island is the hardest-working piece of furniture in your kitchen, but the color still has to get along with what is already there. Here is the shortcut: if your perimeter cabinets are white, cream, or light wood, you have almost total freedom. If your cabinets are already dark, the island should go lighter or stay in the same tonal family with a different finish.
These pairings are the ones designers specify on repeat:
- Chocolate island + cream Shaker cabinets — the classic for a reason. The island becomes the anchor and everything else recedes. Brass hardware on the island ties the two tones together.
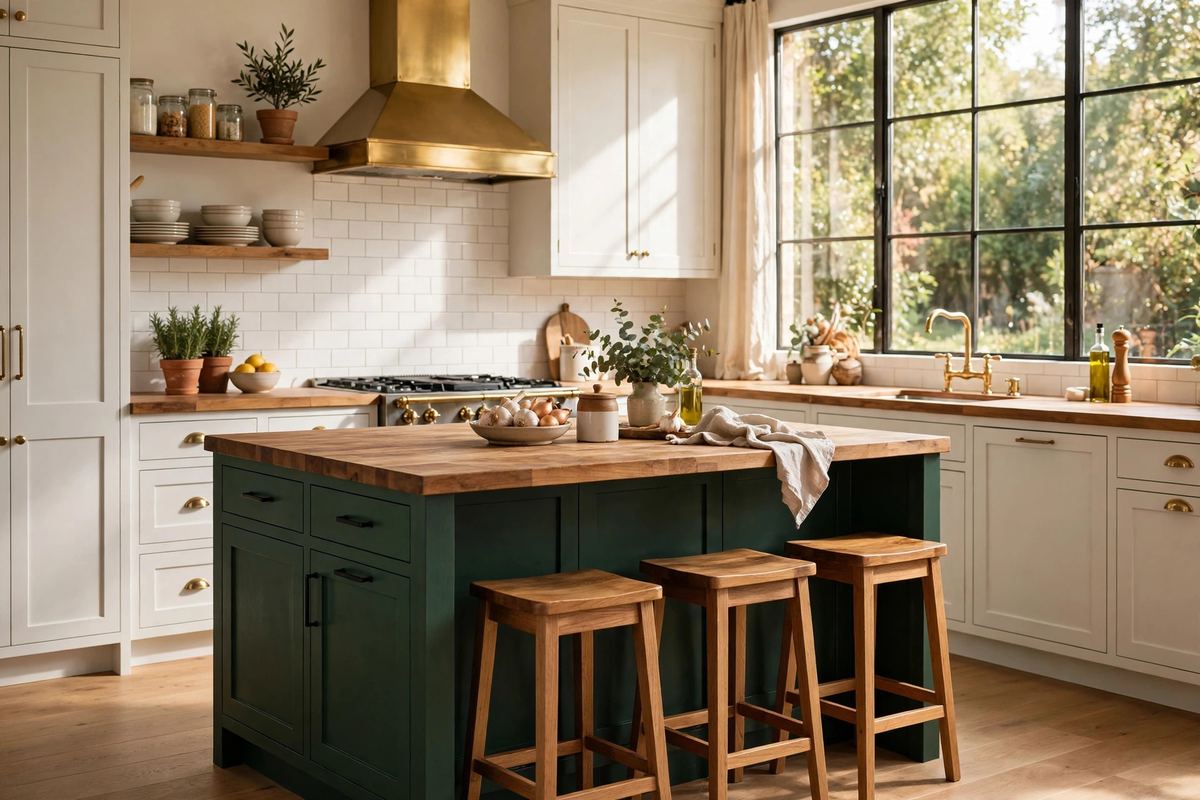
- Deep green island + warm white cabinets — a two-tone kitchen that feels collected rather than matched. Works especially well with butcher block or light stone on the island top.
- Black-blue island + light oak cabinets — modern contrast with warmth. Keep the countertop on the island light (marble-look quartz, butcher block) so the dark base does not feel heavy.
- Espresso island + walnut stained perimeter — monochrome-on-purpose. Varying the tones of the same brown family (dark island, mid-tone walnut cabinets) reads expensive and cohesive.
If you are already planning a full cabinet color refresh, browse these warm brown kitchen cabinet ideas for how the brown wave works across an entire kitchen — the same paint family scales up seamlessly to every cabinet.
Step-by-Step: How to Paint a Kitchen Island
A standard island takes one full weekend: Saturday for prep and priming, Sunday for two coats and hardware. Budget about 6 to 8 hours of actual work plus drying time.
1. Empty and degrease. Remove everything from the island, including the doors and drawers (label each one with painter's tape so it goes back in the right spot). Islands sit near the stove, so they carry a film of cooking grease that paint will not stick to. Scrub every surface with a TSP substitute or a strong degreaser, then rinse.
2. Scuff-sand everything. You do not need to strip to bare wood — a thorough scuff with 120 to 150 grit sandpaper is enough. Sand in the direction of the grain, and do not skip the edges and profiles where chipping starts.
3. Prime with a shellac-based bonding primer. One coat of a shellac-based primer (the classic is BIN) locks in tannins, seals stains, and gives the enamel something to grip. Thin it slightly if it drags, and ventilate well — the fumes are strong. Let it dry fully per the can's directions.
4. Apply two coats of acrylic enamel. Use a high-quality acrylic enamel or hybrid alkyd cabinet paint in satin or semi-gloss. Brush the detailed areas first, then roll the flat panels with a foam or microfiber roller for a sprayed look. Recoat after 16 hours minimum — earlier recoats cause wrinkling.
5. Reinstall hardware and rest. Wait a full 48 hours before rehanging doors and using the island normally. The paint will feel dry long before it is fully cured — treat it gently for the first two weeks and let it cure the full 14 to 30 days.
Real Costs: What This Project Actually Costs
This is a genuinely cheap transformation. For a typical 6-foot island you will spend:
- Cabinet enamel paint (1 gallon): $55 to $85
- Shellac-based bonding primer (1 quart): $20 to $25
- Degreaser, sandpaper, painter's tape, rollers, brushes: $30 to $45
- New hardware, optional (10 pulls at $6 to $10 each): $60 to $100
Realistic total: $105 to $255. Compare that to a pro cabinet repaint ($4,000 to $8,000 for a full kitchen) or even a pre-finished stock island ($800 to $2,000). The paint and supplies alone are about what a nice dinner out costs — the labor is yours, spread over a weekend.
Mistakes That Ruin a Painted Island
Most bad painted islands fail in exactly five ways. Avoid all five and your finish will look professional:
- Skipping the degrease. Grease is invisible until paint peels off in sheets. Always degrease before sanding — sanding first just grinds the grease into the wood.
- Using wall paint instead of cabinet enamel. Wall paint stays soft and chips the first time a stool bumps it. Cabinet enamel cures to a hard, washable shell. This is the single most important product choice in the project.
- Recoating too soon. Putting the second coat on before the first is fully dry causes wrinkling and poor adhesion. Respect the can's recoat time, usually 16 hours.
- Skipping the cure time. The paint feels dry in hours but takes weeks to fully harden. Go easy on the island for two weeks — no leaning heavy objects against it, no aggressive scrubbing.
- Choosing the color in the store. Store lighting lies. Always test your finalists on the actual island and check them in your kitchen's morning and evening light before buying the gallon.
Finishing Touches: Hardware and Styling
The paint is the transformation; the hardware is the jewelry. Swapping pulls and knobs is the easiest finishing move — a brass kitchen hardware refresh pairs especially well with brown and green islands, while matte black hardware suits the moody blue-black colors. Measure your existing hole spacing before you order; standard pulls are 3 to 3-3/4 inches center-to-center.
Style the finished island simply: a wooden cutting board leaned against the backsplash, a bowl of fruit or a small potted herb, and clear counter space. If your island is the new dark anchor, keep the styling light and warm so the room stays balanced — the contrast between a chocolate island and a light stone counter is exactly what makes this look work.
Thinking about taking the color further? These navy kitchen cabinet ideas show how moody paint colors scale up when you are ready to go beyond the island.