Can we talk about the saddest Halloween tradition of all? You spend an hour carving the perfect jack-o'-lantern, hands freezing, seeds everywhere — and by Friday it is a slumped, moldy puddle on your porch. Painted pumpkin ideas fix all of that. No knives, no slimy insides, and because the skin is never cut, a painted pumpkin lasts 6 to 10 weeks instead of 3 to 5 sad days.
Below are 15 painted pumpkin ideas anyone can pull off, grouped by vibe: girly pastels, farmhouse neutrals, spooky-cute Halloween faces, and kid-friendly designs that need zero artistic talent. I will give you the exact paints that actually stick, real costs (most pumpkins come in under $4 each), drying times, and the sealing step that keeps your porch looking good from the first week of October straight through Thanksgiving.
What You Need: Paints, Brushes and Supplies
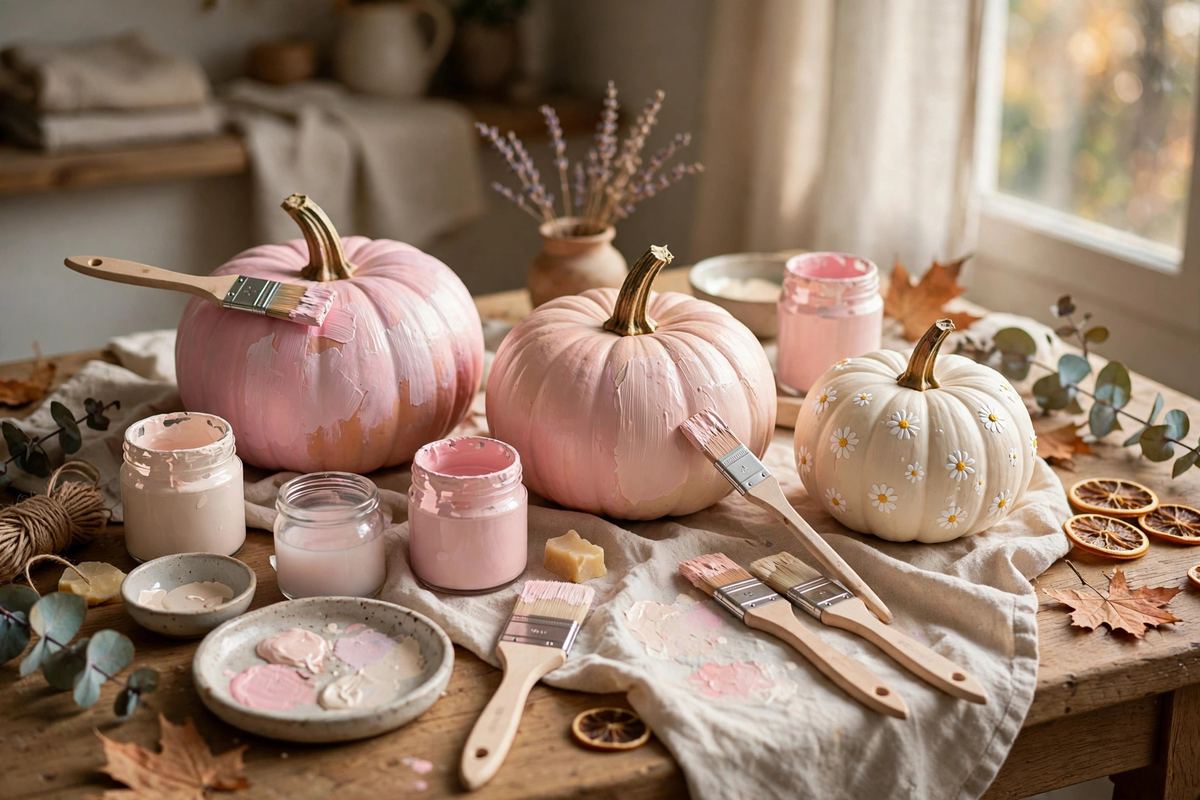
Let us start with the question everyone asks: what paint actually stays on a pumpkin? Pumpkin skin is smooth and slightly waxy, so your paint needs grip. Here is what works, in order of how often I reach for it:
- Multi-surface acrylic paint (like FolkArt Multi-Surface or DecoArt Americana) — the best all-rounder. It is self-sealing, weather-resistant, and covers in 2 coats. About $2–3 per 2 oz bottle.
- Chalk paint (like Rust-Oleum Chalked) — the farmhouse favorite. Dead-flat matte finish, sticks to almost anything with no primer, and distresses beautifully with a dry brush. One quart (about $18) paints 15–20 pumpkins.
- Acrylic paint pens (like Posca markers) — your secret weapon for faces, lettering, dots, and tiny details. No brush cleanup, no drips. A basic set runs $10–14.
- Regular craft acrylic — fine for indoor pumpkins; seal it if the pumpkin will live outside.
Skip oil-based paint (it takes forever to dry on pumpkin skin and can suffocate and soften the pumpkin) and skip watercolor or tempera for outdoor use — the first rain will wash your design away.
For brushes, you need exactly three: a 1-inch flat brush for fast base coats, a round #4 or #6 brush for details and vines, and a foam brush when you want a perfectly smooth solid coat. Add a pencil eraser or cotton swab for foolproof polka dots, painter's tape for stripes and checks, and a can of clear matte spray sealer (about $6–8) for outdoor pumpkins.
The budget math: a medium pumpkin costs $3–8 at the grocery store, mini pumpkins are often $0.75–1 each, and if you already own a few paint colors, each finished pumpkin lands between $2 and $4. A full porch set of 8 costs less than one store-bought wreath — which is why this project tops our list of budget home makeovers under $100 for fall.
Before You Paint: Prep Steps That Make Paint Stick
Ninety percent of peeling-paint disasters happen before the brush ever touches the pumpkin. Do these four things and your design will survive the season:
- Wash it. Scrub the pumpkin with warm soapy water (a splash of vinegar in the water helps) to remove dirt and the natural waxy coating in the grooves. Dirt left in the ribs is the #1 cause of flaking.
- Dry it completely. Pat dry, then let it air-dry for at least 2 hours — overnight is better. Paint over a damp pumpkin and it will bubble within days.
- Choose a healthy pumpkin. No soft spots, no cuts, no mold around the stem. A firm pumpkin with an intact stem lasts weeks longer.
- Prime problem pumpkins. Real pumpkins rarely need primer, but glossy faux craft-store pumpkins do — one coat of matte spray primer or a first coat of chalk paint gives acrylic something to grab.
One more pro move: paint the pumpkin sitting on a piece of parchment paper or an old plate you can rotate, so you are never gripping a wet side. And decide on the stem now — leave it natural, wrap it in twine later, or paint it metallic gold for instant glam.
Girly and Pastel Painted Pumpkin Ideas (1–4)
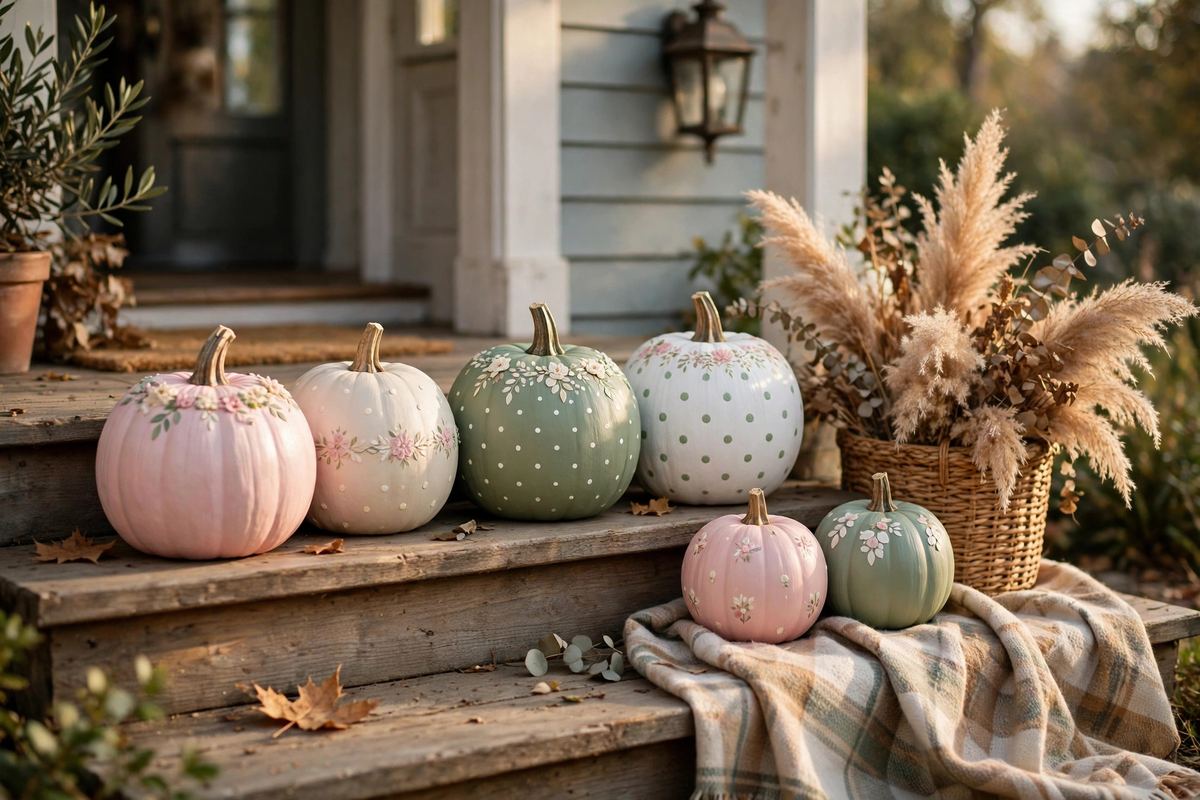
This is the group currently exploding on Pinterest — searches for pastel and "girly" painted pumpkins are up thousands of percent this season. The palette is simple: blush pink, cream, lavender, sage, and baby blue, all in matte acrylic.
1. Blush pink with white daisies. Two coats of blush pink acrylic, dry 1 hour between coats. Dip a round #4 brush in white and stamp five-petal daisies, then dot the centers yellow. Add tiny sage leaves. Foolproof and impossibly pretty on a porch.
2. Pastel polka dots. Base coat in cream or pale pink. Dip a pencil eraser or cotton swab in a contrasting pastel and stamp dots in loose rows — uneven spacing looks hand-done in the best way. Alternate two colors for a confetti effect.
3. Pastel ombre rainbow. Paint horizontal bands of pink, peach, cream, mint, and lavender around the pumpkin, blending each edge with a barely-damp foam brush while the paint is wet. It looks airbrushed and takes about 15 minutes.
4. Pink floral vine. Cream base, then a wandering vine of tiny pink roses and green leaves painted with the tip of a round brush, spiraling from stem to base. Finish with a gold-painted stem. This is the one that gets photographed at every fall party.
Farmhouse Neutral Painted Pumpkin Ideas (5–8)
If your fall style leans more "cozy cottage" than "candy shop," this is your group. Chalk paint is the star here — its flat, chalky finish makes a $4 grocery pumpkin look like a $30 boutique find.
5. Chalk-white with a twine stem. Two coats of white chalk paint, lightly distressed with fine sandpaper along the ribs once dry. Hot-glue or wrap jute twine around the stem. Clean, neutral, and it works from September to Thanksgiving without screaming Halloween.
6. Taupe gingham check. Cream base. With painter's tape, mask vertical stripes and paint them translucent taupe; let dry 30 minutes, remove, then mask horizontal stripes and repeat. Where the stripes overlap, the darker squares appear like magic. This is the most-shared farmhouse design for a reason.
7. Limewash stone look. Stipple on two shades of warm gray chalk paint with a crumpled paper towel, then wipe back with a damp cloth for that soft, cloudy plaster finish — the same technique we used on our DIY limewash accent wall, just pumpkin-sized. Gorgeous grouped in threes on an entryway table.
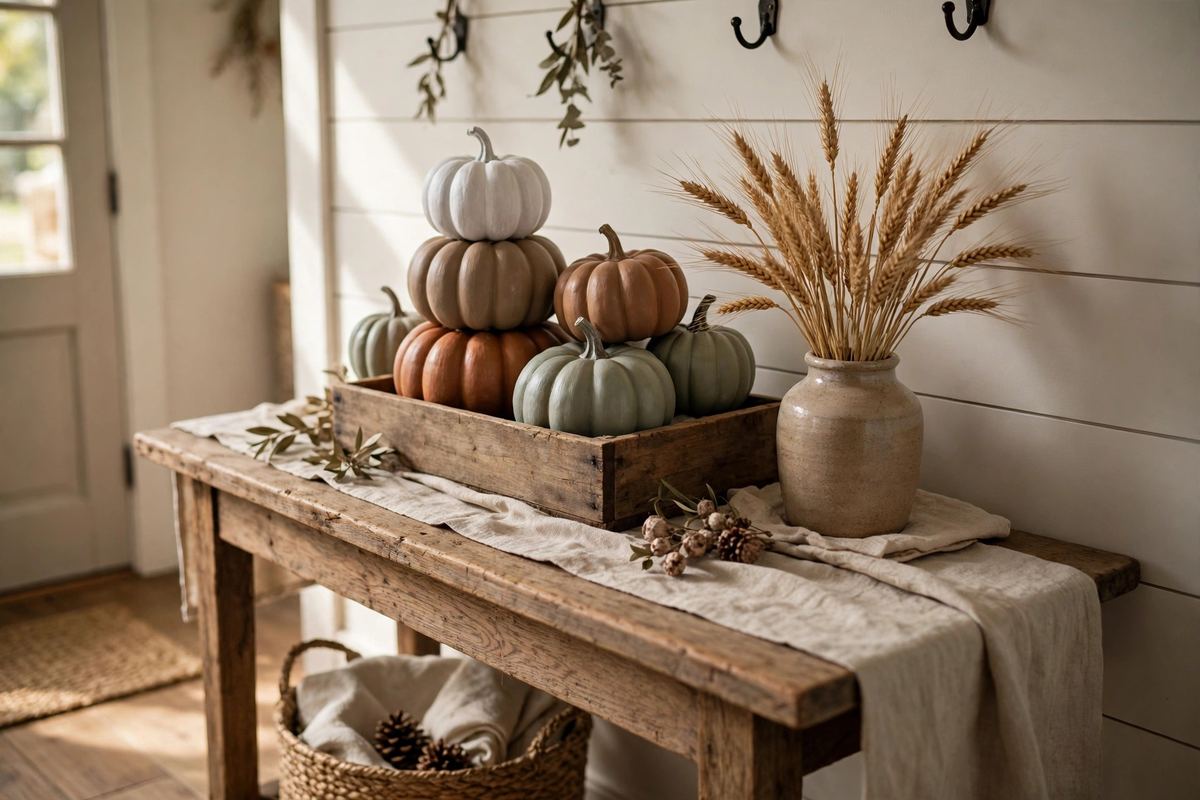
8. Muted solids stack. Paint three pumpkins in terracotta, warm taupe, and muted sage — solid coats, matte finish — and stack or cluster them in a wooden crate with dried wheat. No drawing skills required; the color palette does all the work.
Spooky-Cute Painted Pumpkin Ideas (9–12)
All of the Halloween personality, none of the jump scares. These are the designs that make trick-or-treaters smile instead of cry, and acrylic paint pens make every one of them take under 20 minutes.
9. Friendly ghost face. Paint the pumpkin matte white (or start with a white pumpkin variety) and use a black paint pen for two oval eyes and a small "o" mouth. Add pink cheeks with your fingertip. Done in 10 minutes, adorable for a decade.
10. Black cat face. Matte black base coat. Paint two triangles for ears above the stem, then whiskers, a pink nose, and sleepy or wide eyes in white and gold paint pens. A row of these on the porch steps is pure Halloween charm.
11. Pastel bats and moons. Lavender or sage base, then stamp or freehand small black bats, crescent moons, and stars with a detail brush. The soft background keeps it cute; the silhouettes keep it Halloween.
12. "BOO" lettering. Any solid base — dusty blue and blush pink are trending — with big hand-lettered BOO across the front in a contrasting paint pen. Wobbly letters are part of the charm. Add a tiny spider hanging from the second O if you are feeling brave.
Kid-Friendly Painted Pumpkin Ideas (13–15)
Painting instead of carving means kids as young as three can decorate their own pumpkin start to finish. Set out washable tempera or paint pens, cover the table, and let them run the show.
13. Paint-pen jack-o'-lantern faces. Give kids black and orange paint pens and a pile of small pumpkins. They draw the faces they would have carved — triangle eyes, zigzag mouths — with zero sharp tools and zero pumpkin guts on the kitchen floor.
14. Splatter pumpkins. Solid base coat (let an adult do this part), then kids flick contrasting paint off a stiff brush for a wild confetti splatter. Move this one outside. Every pumpkin comes out different and every kid calls it a masterpiece.
15. Tape-resist stripes and dots. Stick washi tape stripes or round stickers on an unpainted pumpkin, let kids paint the whole thing any color they like, dry 30–45 minutes, then peel to reveal crisp stripes and polka dots underneath. The big reveal is the best part.
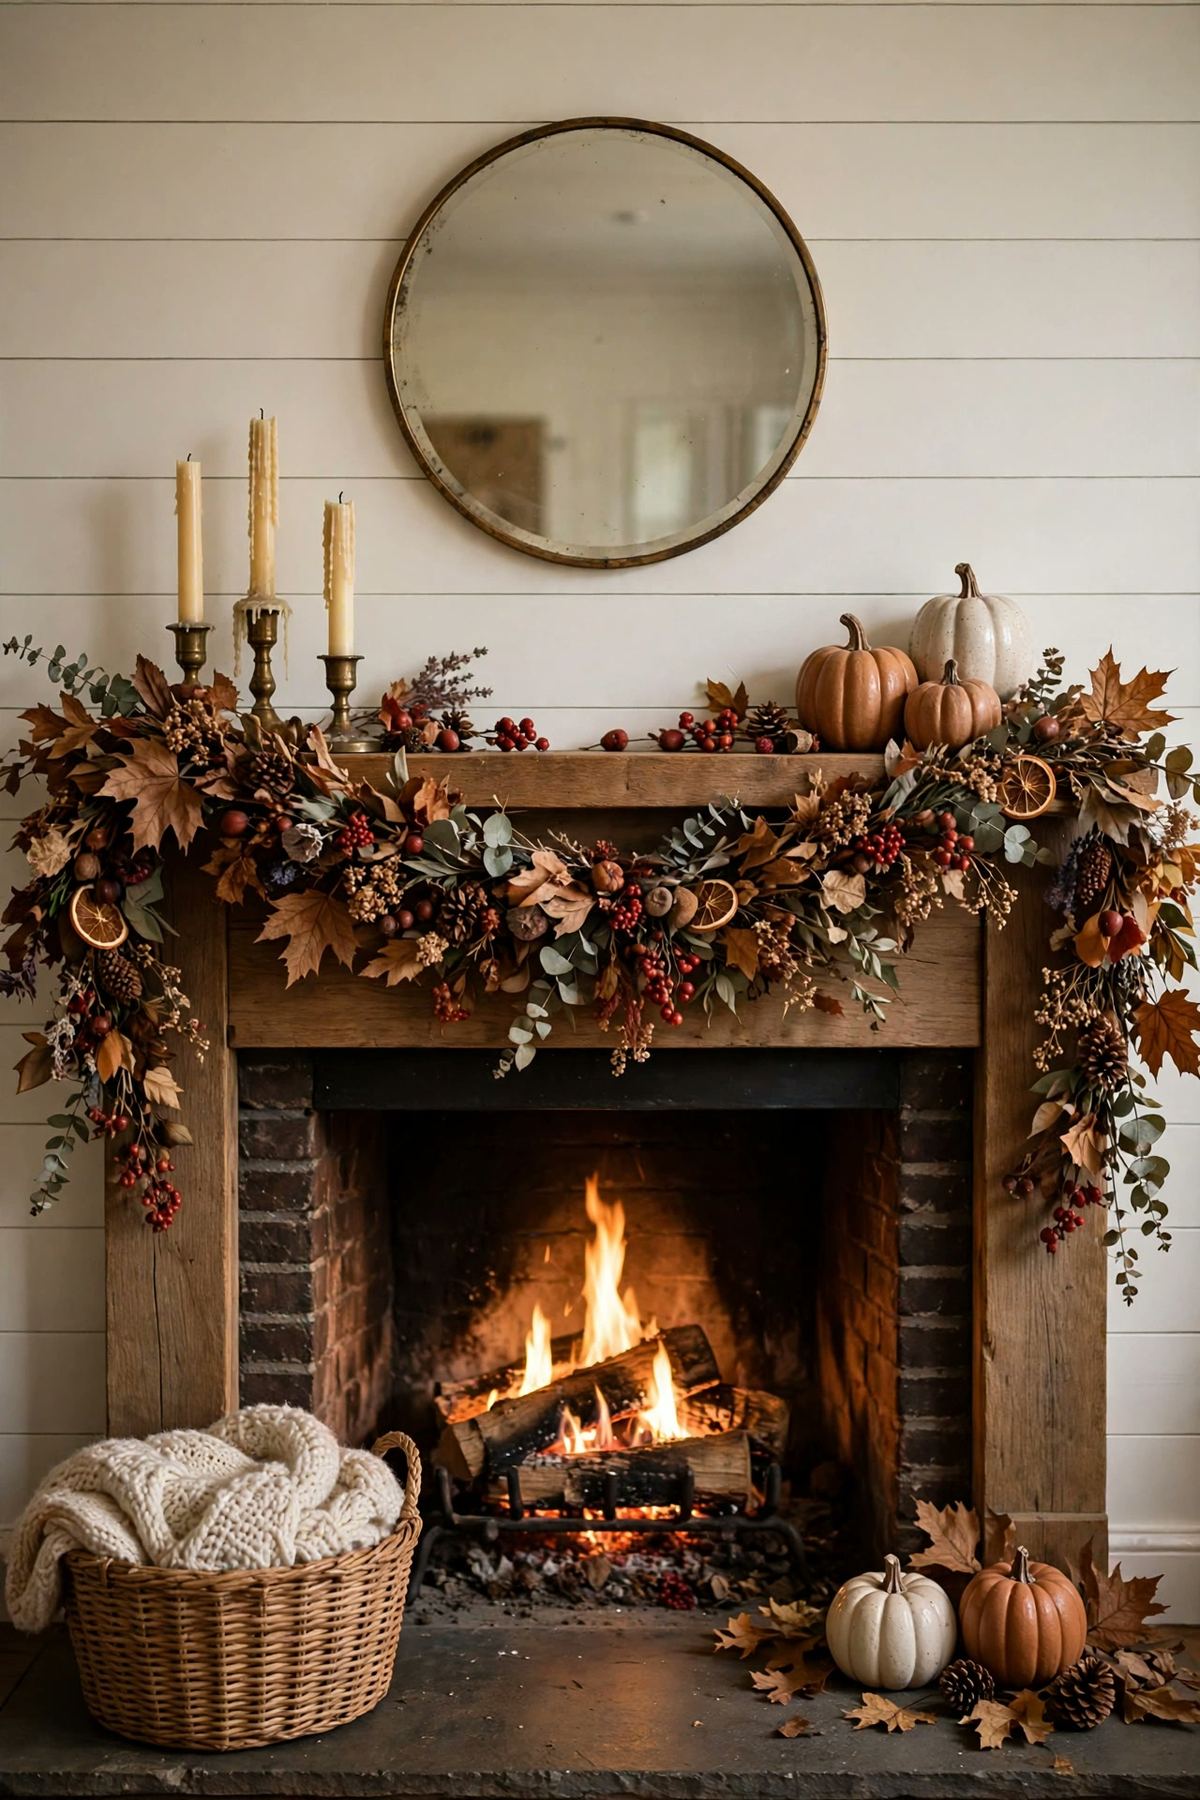
Style your finished pumpkins the way you would any fall display — grouped on porch steps, lined down a mantel, or as a dining table centerpiece. They pair beautifully with the dried foliage and taper candles in our DIY fall mantel decor guide.
How to Seal Painted Pumpkins So They Last All Season
Indoors, acrylic paint needs no help. Outdoors, sealing is the difference between a design that lasts until Thanksgiving and one that streaks in the first rain. Here is the exact process:
- Wait for a full cure. Acrylic feels dry in 20–30 minutes, but give it a full 24 hours before sealing or the topcoat can turn cloudy and sticky.
- Spray light, not wet. Use a clear matte (not gloss) spray sealer. Hold the can 10–12 inches away and apply one light mist coat. Heavy coats run and yellow.
- Wait 15 minutes, repeat. Two light coats protect better than one thick one. Rotate the pumpkin between coats for even coverage.
- Keep them dry-ish. Sealed pumpkins handle dew and light rain, but a covered porch beats an open yard. Bring them in during a downpour if you can.
One warning: never seal a pumpkin that already shows a soft spot, and never use an oil-based sealer over acrylic — the two finishes fight and the paint can wrinkle.
7 Painted Pumpkin Mistakes to Avoid
- Painting a dirty or damp pumpkin. Dirt in the ribs and moisture under the paint are the top two causes of peeling. Wash, then dry overnight.
- One thick coat. Thick acrylic cracks as it dries. Two or three thin coats, 30–60 minutes apart, always win.
- Using the wrong paint. Watercolor washes off, tempera flakes outdoors, and oil paint barely dries. Multi-surface acrylic or chalk paint, every time.
- Sealing too soon. Sealer over uncured paint turns milky. The 24-hour wait is not optional.
- Skipping the test patch. Paint a coin-sized spot on the bottom first. Some colors need a white base coat to read true — better to learn that underneath.
- Leaving the bottom sitting in water. A pumpkin resting in a puddle rots from below, paint or not. Set outdoor pumpkins on a mat, crate, or porch step, not bare wet ground.
- Painting the whole stem shut with gloss. A glossy stem looks plasticky. Leave stems natural, wrap them in twine, or use matte metallic gold.
Caught the painting bug? The same "thin coats, full cure" rules apply to our DIY painted arch wall — another one-afternoon project with an outsized payoff.